Hi there, friend! Welcome back to my kitchen at Moms Meals Daily. 💛 I’m so delighted you’re here today because I have a secret I’m dying to share: my recipe for the most spectacular, rich, and deeply satisfying Red Velvet Cookies you’ll ever bake. These aren’t your average cookies; they’re a luxurious twist on a classic cake, packed with a little bit of magic in every bite. They’re a fantastic treat to share with the people you love. If you’re as obsessed with easy, sweet things as I am, you’ll want to subscribe so you don’t miss any new recipes!
Table of Contents
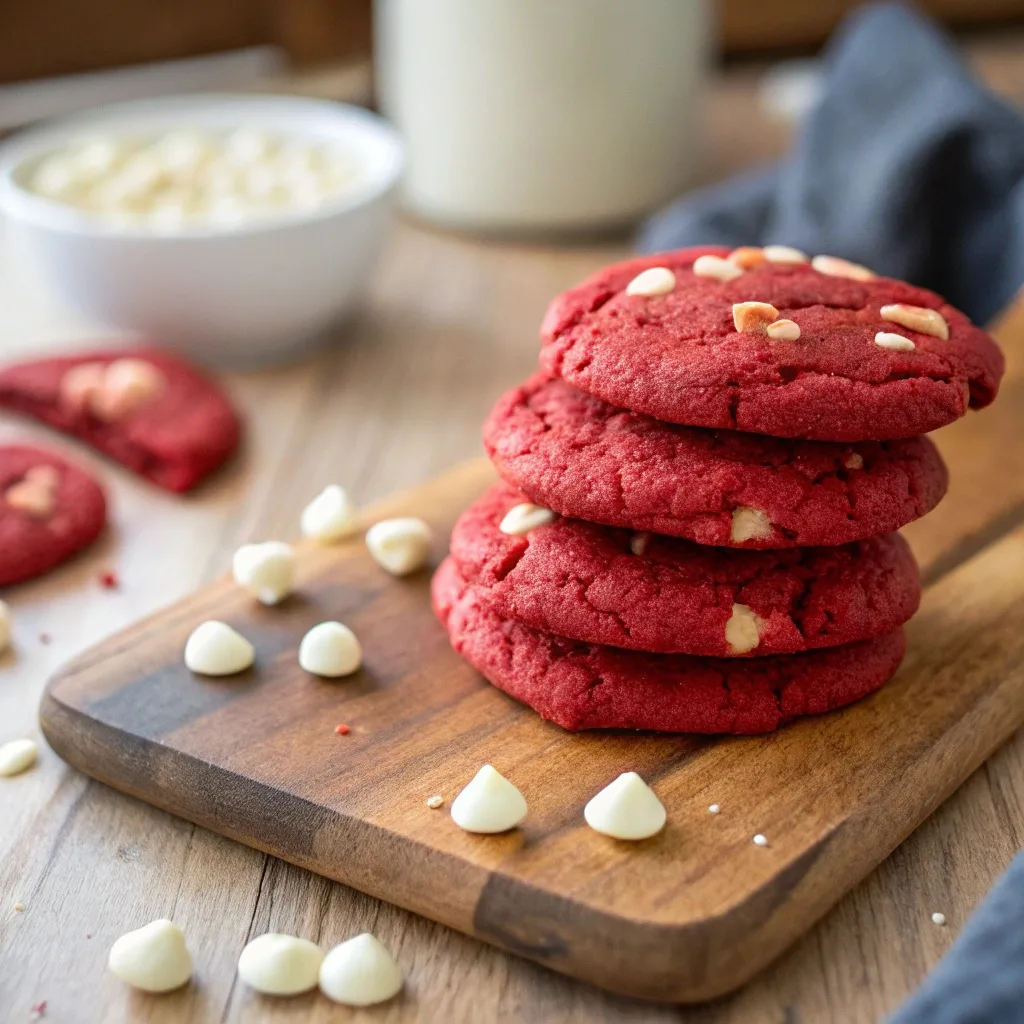
An Overview of These Magnificent Red Velvet Cookies
These aren’t just any cookies—they are a stunning celebration in a bite. They’re soft, chewy, and bursting with a gentle cocoa flavor that’s impossible to resist. The glorious red color is simply irresistible and makes them an absolute showstopper for any occasion, from birthdays to holiday cookie exchanges. Every single cookie is dotted with melted white chocolate chips, adding a creamy, sweet contrast to the subtle cocoa tang. The aroma that fills your house as they bake is pure heaven, a fragrant promise of the treats to come. This recipe is so simple and sure-fire, you’ll feel like a pro baker, even if it’s your first time.
Victoria’s Story
I’m Victoria—mom, home cook, and the heart behind Moms Meals Daily. 💛 I was born and raised in a cozy, food-loving family where meals were about connection, comfort, and creating memories. From a young age, I found joy in the kitchen, helping my mom whip up simple, nourishing meals that brought everyone to the table. That love grew stronger when I became a mom myself. Between juggling little ones and busy days, I realized I needed meals that were easy, nourishing, and real. That’s how Moms Meals Daily was born: out of a passion for sharing doable, everyday recipes that bring joy without the stress. My husband, my biggest supporter, is my favorite taste-tester. Together, we’re raising our family with love, laughter, and plenty of good food. Welcome to my kitchen! 🍽️✨
Ingredients
- 1 cup (2 sticks) unsalted butter, softened
- 1 ½ cups granulated sugar
- 2 large eggs
- 1 tablespoon pure vanilla extract
- 2 tablespoons unsweetened cocoa powder
- 1 tablespoon red food coloring (gel food coloring works best for a vibrant color)
- 2 ¼ cups all-purpose flour
- 1 teaspoon baking soda
- ½ teaspoon salt
- 1 cup white chocolate chips
Tools Needed
- Stand mixer with a paddle attachment (or a hand mixer)
- Mixing bowls
- Measuring cups and spoons
- Baking sheets
- Parchment paper
- Wire rack for cooling
Substitutions and Additions
- For the Red Color: If you want a more natural approach, you can use beet powder, though the color might not be as vibrant.
- For the Chocolate Chips: Feel free to swap white chocolate chips for milk or semi-sweet chocolate chips. You can also mix in chopped nuts like pecans or walnuts for an added crunch.
- Cream Cheese Frosting: For the ultimate red velvet experience, roll the warm cookies in a light dusting of powdered sugar after cooling, or top them with a dollop of my homemade cream cheese frosting.
How to Make These Decadent Red Velvet Cookies
Making these beautiful red velvet cookies is an incredibly simple and rewarding process. I’m so excited to walk you through each step.
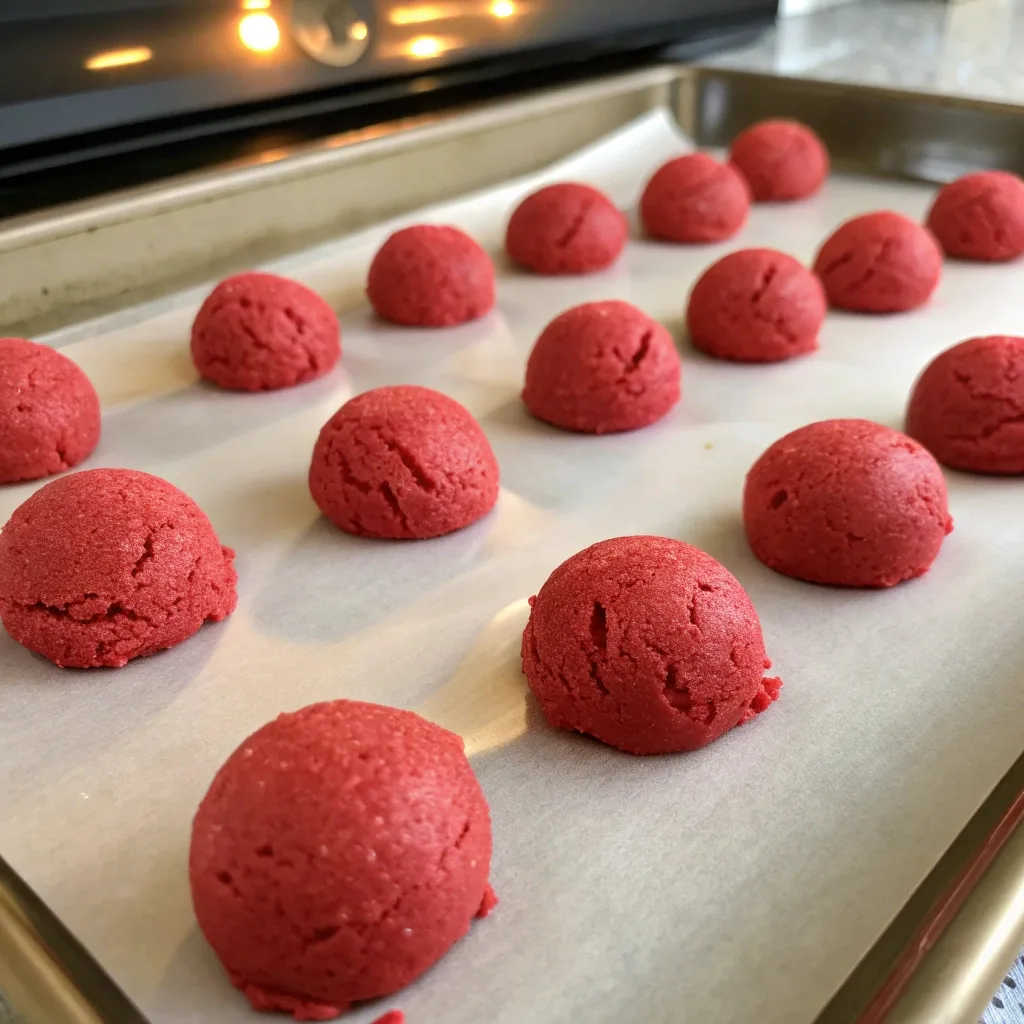
- First, preheat your oven to 375°F (190°C) and line your baking sheets with parchment paper. This simple step will prevent any sticking and make for a quick, effortless cleanup.
- In your stand mixer, cream together the softened butter and granulated sugar on medium speed until the mixture is light and fluffy. This usually takes about 2-3 minutes. Don’t rush this part—it’s the secret to a soft cookie!
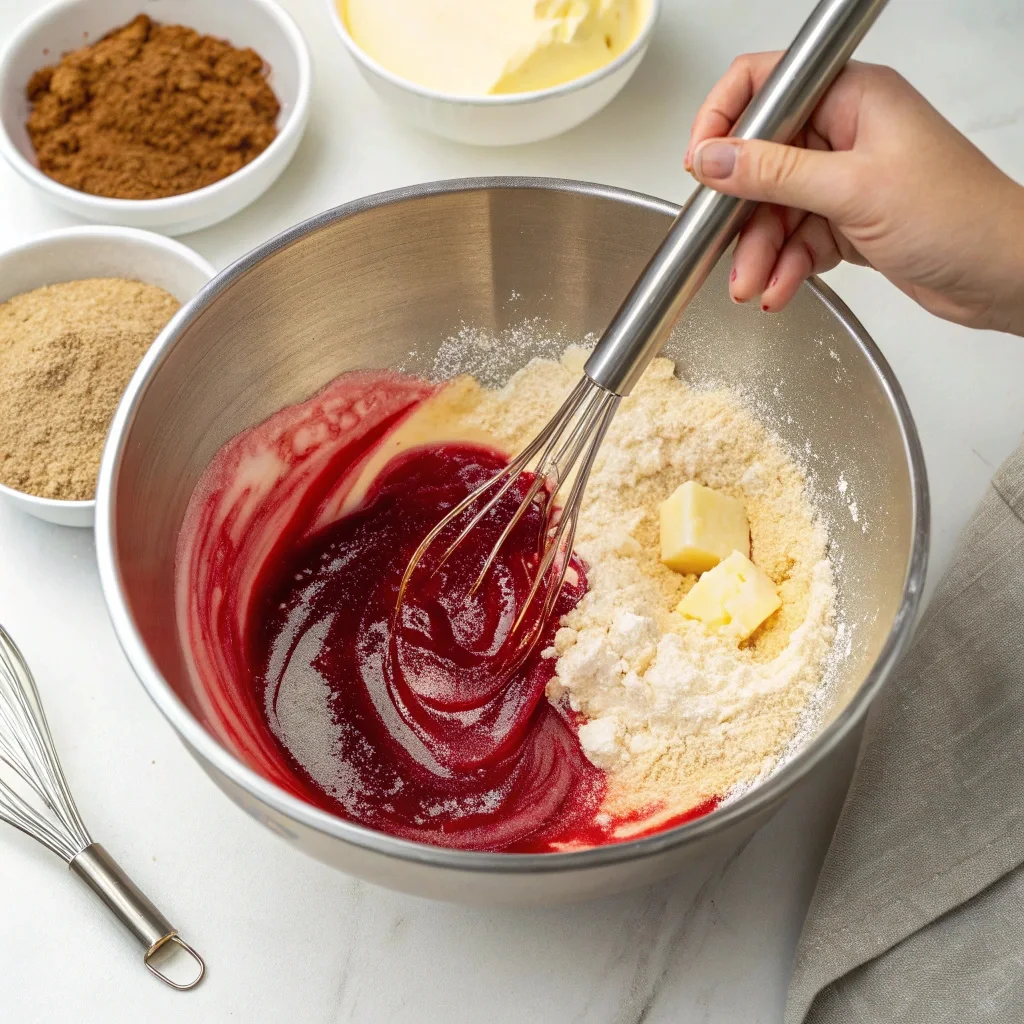
- Next, crack in the two large eggs, one at a time, mixing well after each addition. The mixture should feel smooth and luscious. Then, pour in the vanilla extract, cocoa powder, and the red food coloring. You can’t add too much emotion here! Mix until the color is a uniform, deep red.
- In a separate bowl, whisk together the flour, baking soda, and salt. Gently add this dry mixture to the wet ingredients in your mixer on low speed. Mix until just combined, being careful not to overmix. A good tip is to stop as soon as you don’t see any streaks of flour.
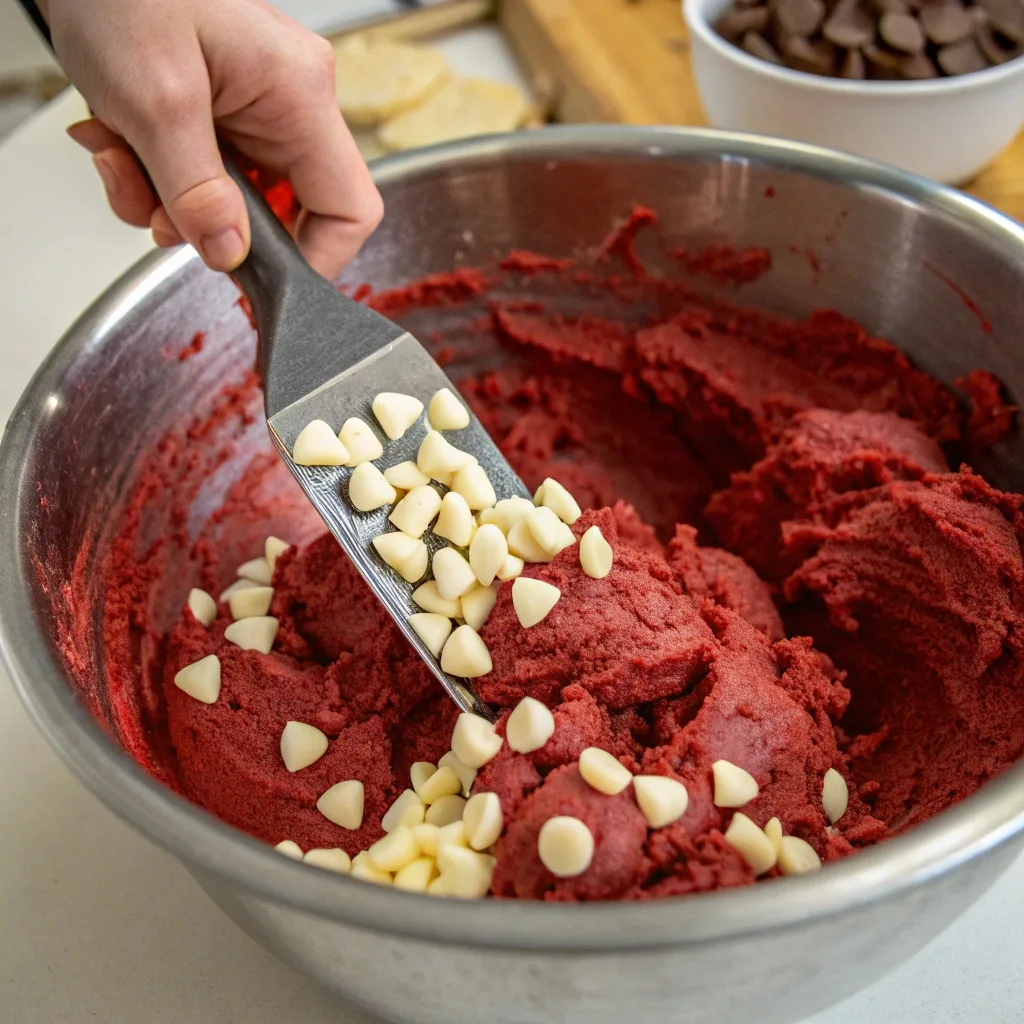
- Finally, fold in those beautiful white chocolate chips by hand. I find using a spatula here works best, so the chips don’t get pummeled by the mixer.
- Scoop rounded tablespoons of cookie dough onto your prepared baking sheets, leaving about two inches of space between each. The dough is so soft and inviting, you might be tempted to eat it raw—don’t worry, I won’t tell!
- Bake for 9-11 minutes, or until the edges are set and the centers are still slightly soft. They will firm up as they cool.
- Let the cookies cool on the baking sheet for 5 minutes before transferring them to a wire rack to cool completely. This is the moment to savor the amazing aroma in your kitchen!
What to Serve with Red Velvet Cookies
These vibrant red velvet cookies are so delightful, they stand perfectly on their own. But if you’re looking to create an extra-special treat, try pairing them with:
- Classic Cream Cheese Frosting: A small swirl of tangy cream cheese frosting on top makes these cookies taste even more like their cake counterpart.
- A Cold Glass of Milk: The simple, pure taste of milk is a timeless and satisfying match for these rich, chocolatey cookies.
- Warm Coffee or Espresso: For a truly decadent experience, dunk these beauties into a mug of freshly brewed coffee. The flavors are a marriage made in heaven.
- A Scoop of Vanilla Bean Ice Cream: Turn them into a cookie sandwich for a truly lavish dessert.
Tips for Making It Perfect
- Don’t Overbake: These cookies are meant to be soft and chewy. Pull them out of the oven when the edges are just set and the centers look slightly underdone.
- Chill the Dough: For thicker cookies, chill the dough for at least 30 minutes before baking.
- Use Gel Food Coloring: For that truly sensational and deep red color, opt for gel food coloring over liquid. A little goes a long way!
Storage Instructions
You can store these cookies in an airtight container at room temperature for up to one week. If you want to keep them longer, they freeze wonderfully. Just wrap them tightly in plastic wrap and place them in a freezer-safe bag for up to three months. To enjoy them again, simply let them thaw on the counter or give them a quick, unexpected warm-up in the microwave.
General Information
The history of red velvet cake is a fun one! The exact origin is a bit murky, with some tracing it back to the Victorian era. The name “red velvet” likely came from the fine, soft texture of the cake, often called “velvet” cake. The red color was originally a chemical reaction from the cocoa powder, buttermilk, and vinegar, but modern recipes use food coloring for that iconic, striking hue. These cookies capture that classic, sophisticated taste in a simple, portable form.
Frequently Asked Questions
Why are my red velvet cookies spreading too much?
Can I make the dough ahead of time?
What if I don’t have a stand mixer?
Is there a healthier alternative to white chocolate chips?
Interactive Elements
I would absolutely love to see your stunning creations! If you make these red velvet cookies, please share a photo and tag me on Pinterest! It thrills me to see what you’re making in your kitchens.
Pinterest: https://www.pinterest.com/mommealsdaily
Recipes you might like and want to try:

Emily brings four years of dedicated baking experience and professional pastry-focused training to Moms Meals Daily. She oversees recipe validation and quality control to ensure every dessert performs consistently and reliably.
Victoria Recipe | Easy Desserts & Dessert Recipes
Easy & Delicious Recipes
Follow for quick family-friendly recipes, baking inspiration, and comfort food favorites.
Follow on Pinterest