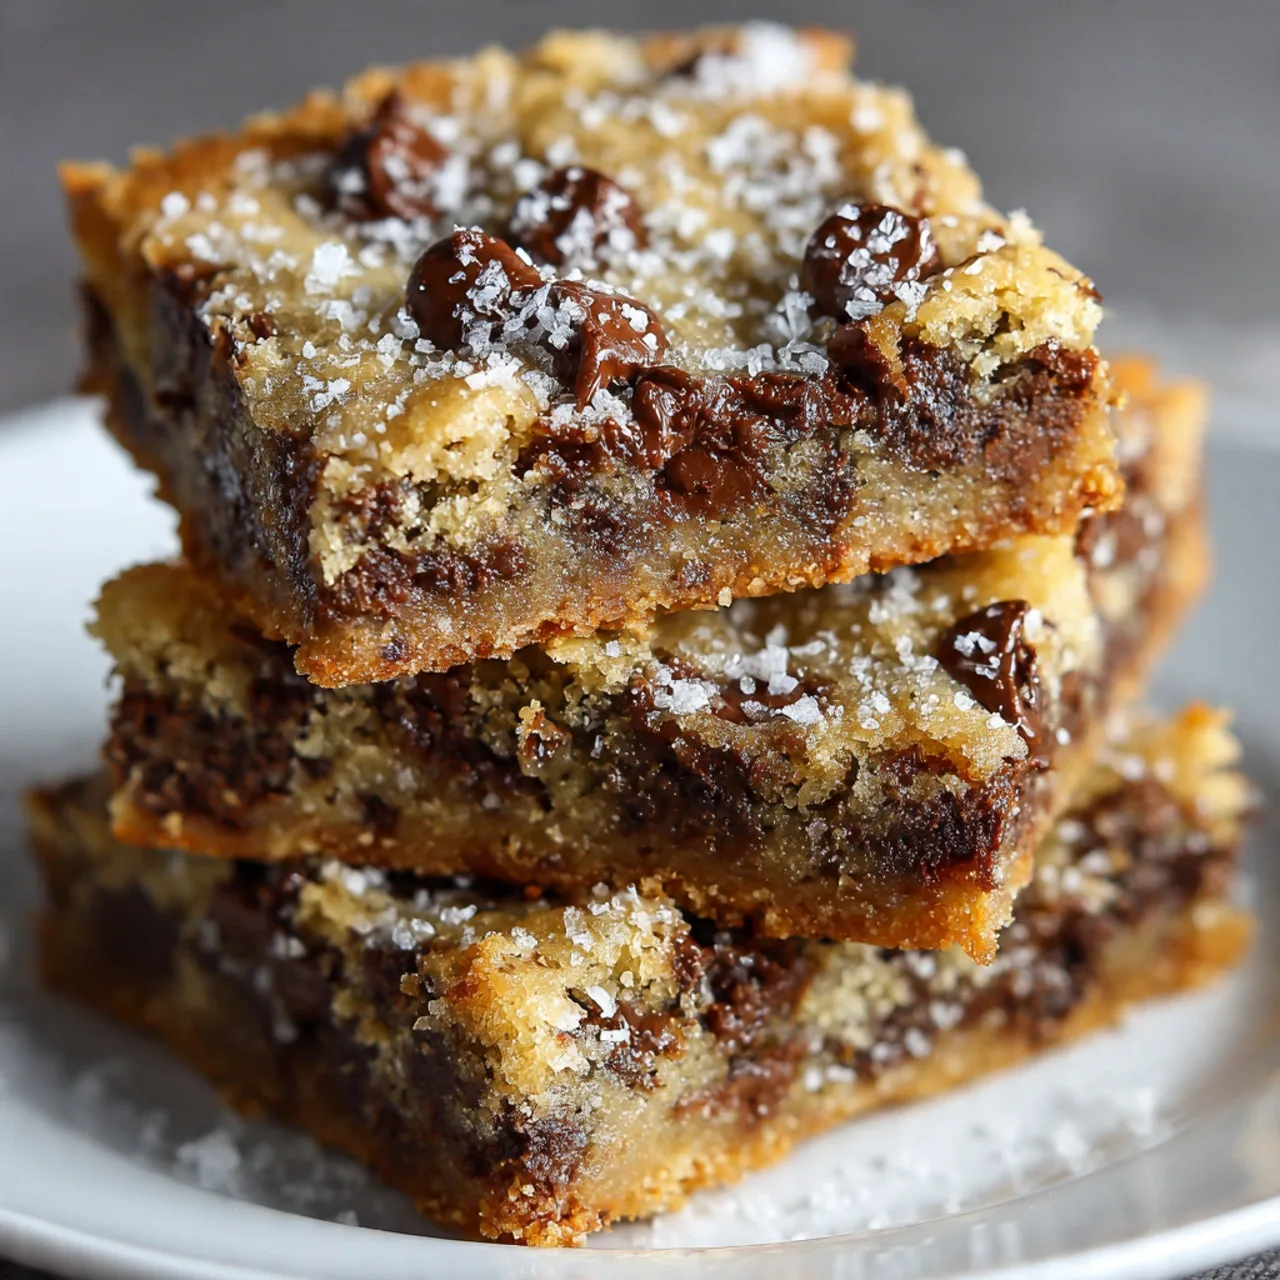
There’s something wonderfully nostalgic about baking Chocolate Chip Cookie Bars. It’s the aroma that fills your kitchen, the golden buttery edges, and that soft, gooey middle that makes everyone—especially kids—come running. Growing up, I watched my mom, an absolute baking wizard, transform a simple pan of cookie dough into a family treat that made even ordinary days feel special. Today, as a mom myself, I carry that same magic forward in my own kitchen for my little ones.
Table of Contents
I remember the first time I baked a batch of Nestle Toll House Cookie Bars. I followed the recipe on the back of the chocolate chip bag, carefully leveling the flour and sneaking a few extra chips for good luck. What came out of the oven was pure joy—crispy on top, chewy in the center, and filled with melty chocolate ribbons that tasted like a warm hug. From that day, Easy Cookie Bars became my go-to whenever I needed a comforting dessert without the hassle of scooping individual cookies.
If you’ve ever found yourself craving the flavor of chocolate chip cookies but without the effort, these Choc Chip Cookie Bars are your answer. They’re soft, chewy, and baked in a single 9×13-inch pan, which means fewer dishes and no waiting around for multiple trays to finish. These Chocolate Chip Bars 9X13 are perfect for bake sales, lunchboxes, potlucks, or a cozy movie night at home.
As I perfected my recipe for Sheet Pan Cookie Bars, I learned that the secret lies in the balance of butter and brown sugar. Too much flour, and they’re cakey. Too little, and they’re greasy. But the right combination? It gives you that melt-in-your-mouth texture that’s just heavenly. And don’t be afraid to experiment—sometimes I swirl in a bit of brownie batter to make Chocolate Chip Cookie Brownies, a decadent twist that combines two beloved desserts in one pan.
I also love sharing tips like this over on my Desserts & Baking category, where you’ll find recipes that bring sweetness and simplicity together. Another reader favorite is my Homemade Brownie Mix—it pairs beautifully with these bars for a layered treat that looks like it came straight from a bakery.
Every time I make these Chocolate Chip Bars Recipes, I’m reminded that baking doesn’t need to be complicated. It’s about slowing down, whisking with love, and making memories with your family. When my kids sneak into the kitchen to “help,” they’re really here for that first warm square right out of the pan—and honestly, who can blame them?
So grab your mixing bowl, preheat that oven, and get ready to make the best Pan Chocolate Chip Cookies you’ve ever tasted. These bars are foolproof, freezer-friendly, and guaranteed to disappear fast.
Recipe Essentials
Let’s talk about what makes these Chocolate Chip Cookie Bars so irresistible. The magic starts with classic pantry staples, but it’s how you bring them together that creates the perfect chewy bite.
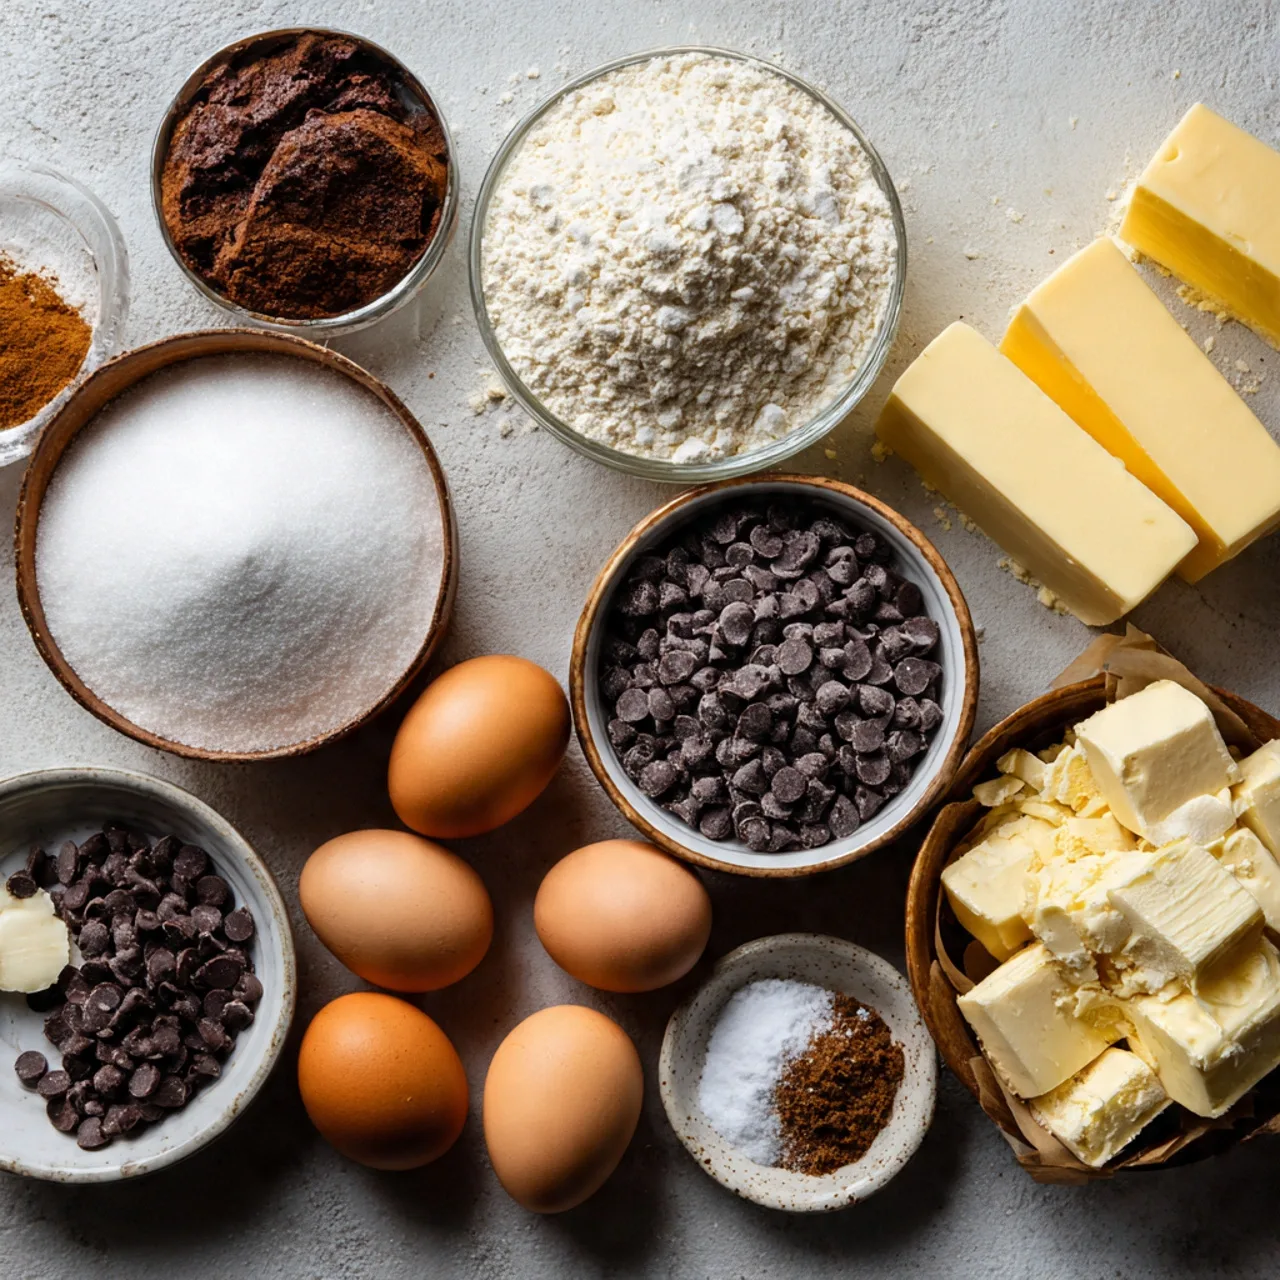
Ingredients You’ll Need
- 1 cup (2 sticks) unsalted butter, melted and slightly cooled
- 1 cup packed brown sugar
- ½ cup granulated sugar
- 2 large eggs
- 2 tsp pure vanilla extract
- 2 ¼ cups all-purpose flour
- ½ tsp baking soda
- ½ tsp salt
- 2 cups semi-sweet chocolate chips (Nestle Toll House or your favorite brand)
Optional add-ins:
- ½ cup chopped walnuts or pecans
- ½ cup white chocolate chips or caramel bits
- A swirl of brownie batter for Chocolate Chip Cookie Brownies
Each ingredient serves a purpose. The butter adds richness and chew, while the brown sugar lends that caramelized, molasses-like depth that keeps these Easy Cookie Bars soft for days. The balance between brown and granulated sugar is what gives that iconic cookie flavor—sweet, slightly toffee-like, and irresistible.
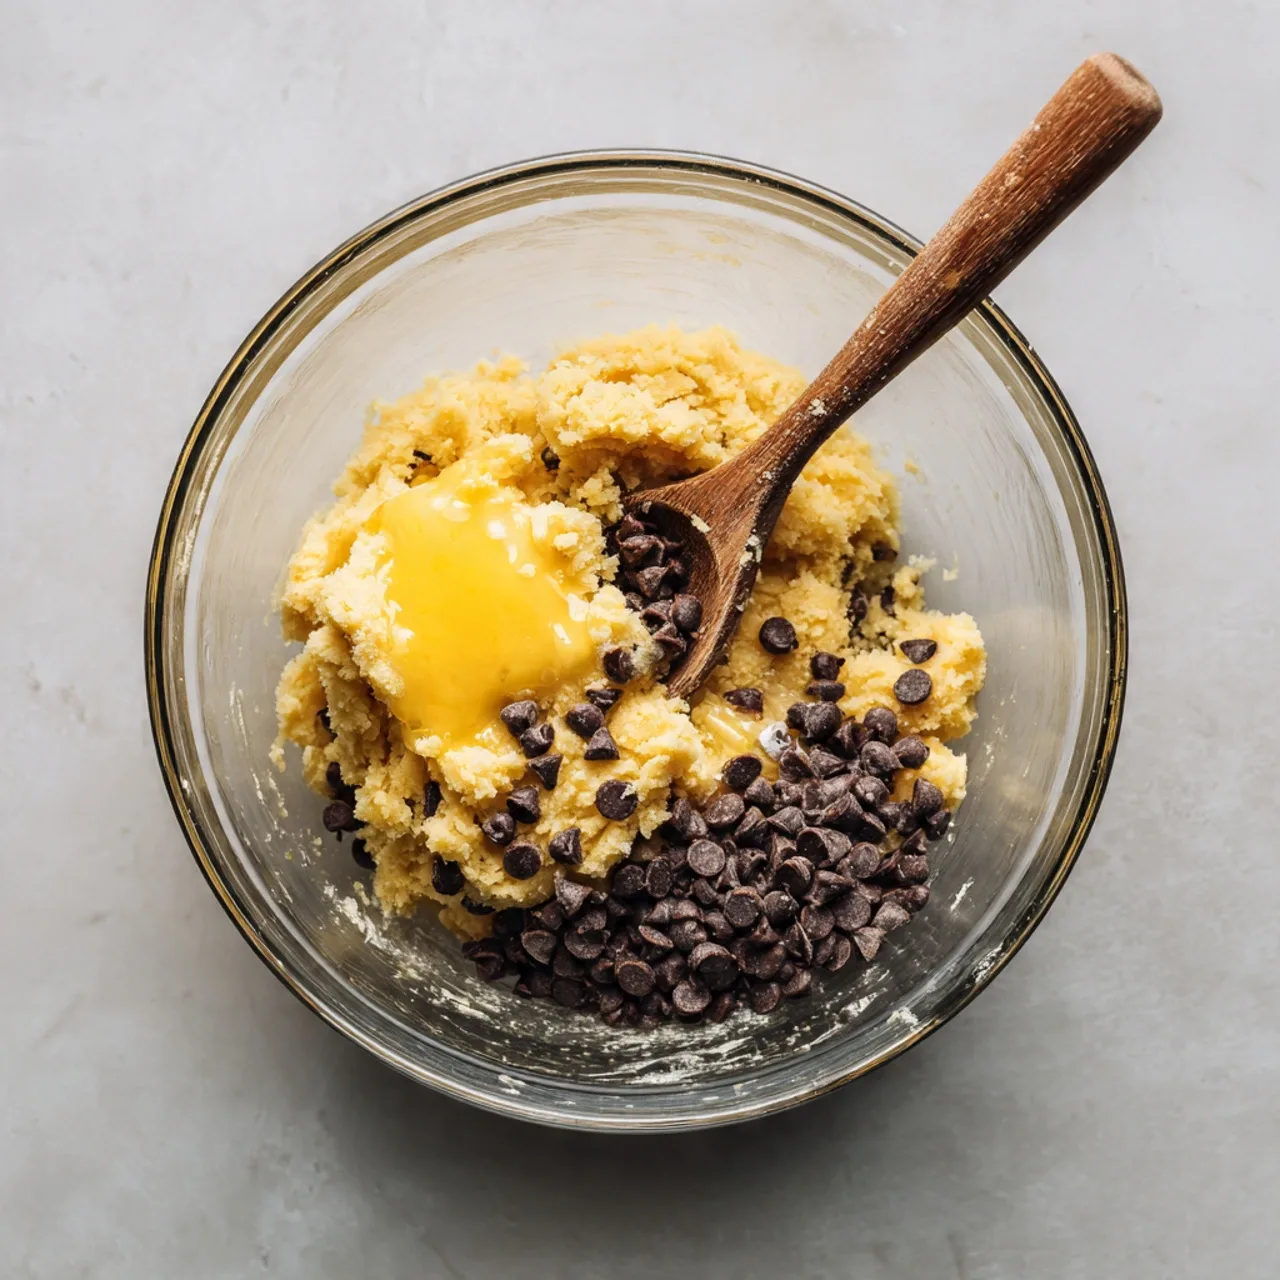
Using melted butter instead of creamed butter helps you skip the mixer entirely. You can stir everything together in one bowl, making cleanup a breeze. The flour, baking soda, and salt provide structure, while vanilla ties everything together with that warm, comforting aroma.
Of course, the star here is chocolate—lots of it. I use Nestle Toll House semi-sweet chips, but you can experiment with chunks, mini chips, or even dark chocolate for a richer bite. For an extra layer of decadence, toss in some brownie batter to create marbled Chocolate Chip Brownie Cookies—half cookie, half fudge, and totally irresistible.
Why a 9×13 Pan Works Best
When you bake these Chocolate Chip Bars 9X13, you’re creating the ideal thickness for chewy edges and a soft center. A smaller pan makes them too thick; a larger sheet pan makes them crispier, turning them into Sheet Pan Cookie Bars—which is great if you like crunch!
If you’re serving a crowd, you can double the recipe and bake it in a half-sheet pan. Just keep an eye on the bake time; they’ll cook faster when spread thinner.
You’ll find similar crowd-pleasing recipes on our Family Desserts page, where I share bakes that bring everyone to the table—no fancy equipment, no stress.
Equipment You’ll Need
- 9×13-inch baking pan (lined with parchment paper for easy removal)
- Mixing bowl and whisk
- Rubber spatula
- Cooling rack
- Measuring cups and spoons
That’s it! No stand mixer, no chilling time, no complicated steps. Just mix, bake, and enjoy.
How to Make It
These Choc Chip Cookie Bars come together faster than you’d expect. In under 10 minutes of prep, your kitchen will be filled with that classic bakery aroma.
Step by Step Instructions
| Step | Action |
|---|---|
| 1 | Preheat your oven to 350°F (175°C) and line a 9×13-inch baking pan with parchment paper. |
| 2 | In a large bowl, whisk together melted butter, brown sugar, and granulated sugar until smooth. |
| 3 | Add eggs and vanilla extract; whisk until fully combined. |
| 4 | Stir in flour, baking soda, and salt until just combined—don’t overmix! |
| 5 | Fold in the chocolate chips and any optional add-ins like nuts or caramel bits. |
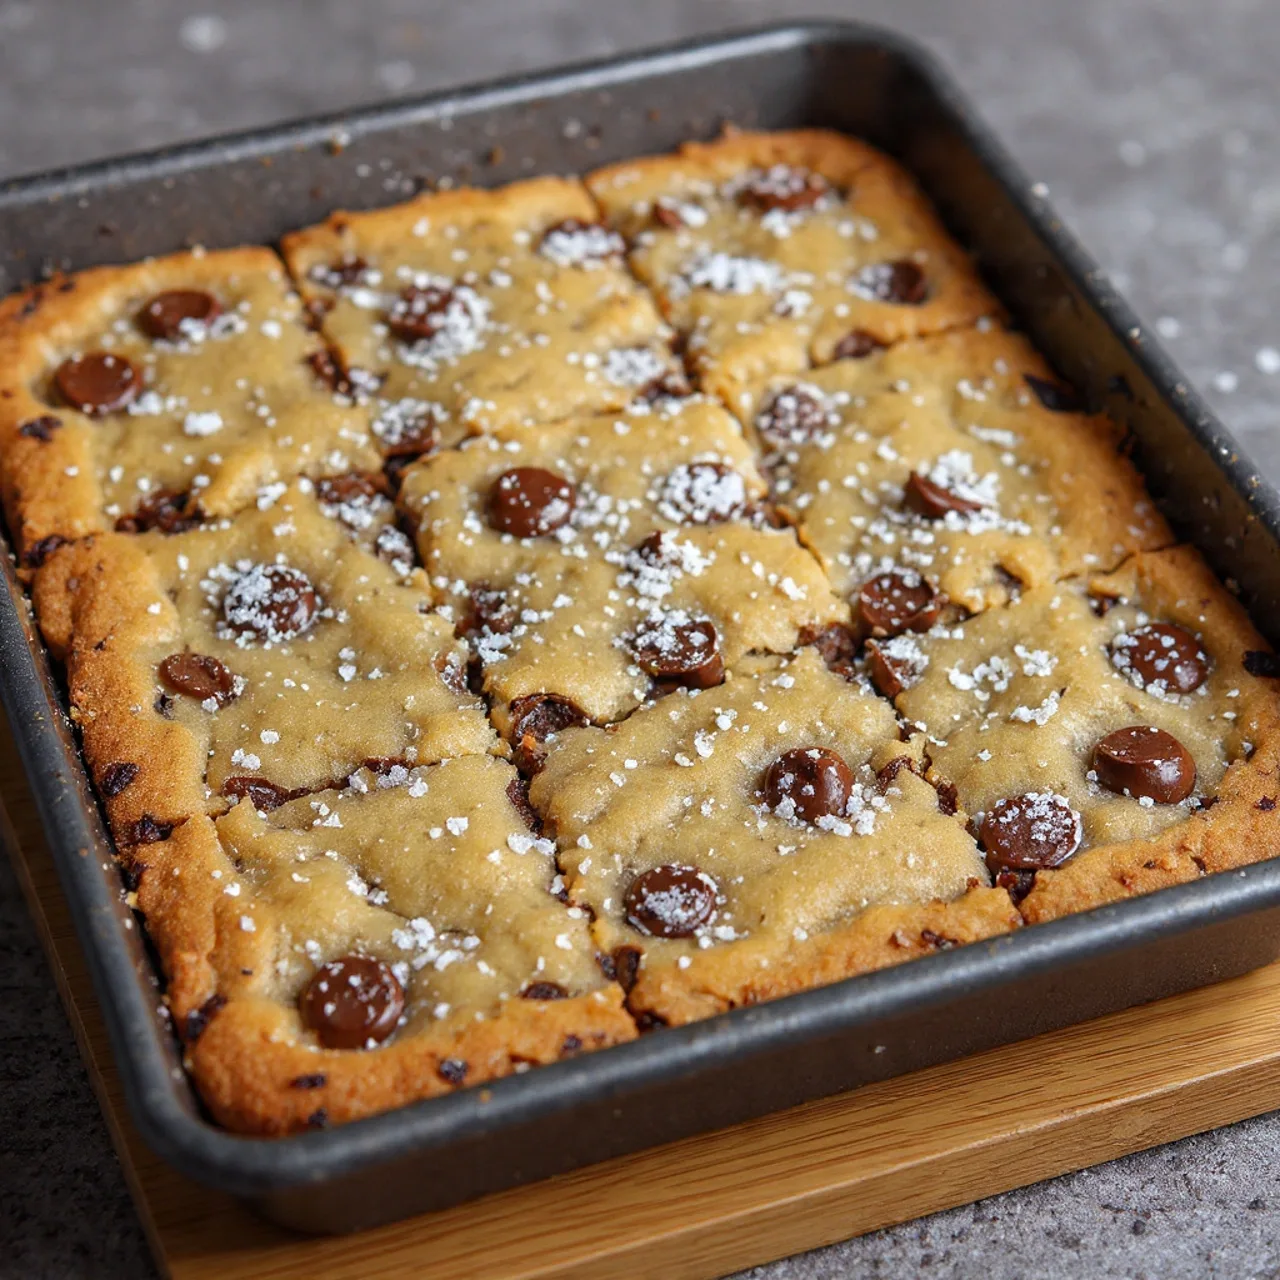
| 6 | Spread dough evenly into your prepared pan. The batter will be thick; press gently to flatten. |
| 7 | Bake for 25–30 minutes, or until golden brown at the edges and just set in the center. |
| 8 | Cool in the pan for at least 20 minutes before slicing into squares or rectangles. |
The hardest part? Waiting for them to cool. The smell of melting chocolate and butter will test your patience! Once cooled, slice into squares and serve with cold milk, ice cream, or a drizzle of warm caramel.
If you enjoy one-pan recipes like this, check out my One-Bowl Baking section, filled with quick, cleanup-friendly desserts.
Tips, Serving & Storage
Baking Tips
- Don’t overbake. The key to chewy Chocolate Chip Cookie Bars is to pull them out when the center still looks a little soft—it’ll firm up as it cools.
- Line your pan. Always use parchment for easy lift-out and clean slices.
- Mix-ins matter. Add peanut butter chips, toffee bits, or swirl in Nutella for a gourmet touch.
- Chill before slicing. For neat bars (especially for bake sales), chill them for 30 minutes before cutting.
Serving Suggestions
Serve these Pan Chocolate Chip Cookies slightly warm with a scoop of vanilla ice cream for a simple dessert. Or crumble one over a sundae—it’s heavenly! They also make perfect gifts; wrap a few squares in parchment and tie with twine for a homemade touch.
For another easy dessert idea, visit my Baking for Kids page, where I share fun recipes little hands can help with.
Storage
Store your Chocolate Chip Bars Recipes in an airtight container at room temperature for up to 5 days. They also freeze beautifully—wrap individual squares in plastic wrap, place in a freezer bag, and freeze for up to 2 months. To reheat, warm in the microwave for 10–15 seconds to restore that gooey texture.
If you love freezer-friendly desserts, check out my Make-Ahead Treats section, perfect for busy moms like us.
Troubleshooting
- Bars too dry? Overbaked—reduce baking time next round.
- Greasy texture? Butter wasn’t cooled enough before mixing.
- Bars too dense? Overmixed flour—gently fold until just combined.
Variations
- Chocolate Chip Cookie Brownies: Layer brownie batter on the bottom, cookie dough on top, and bake until golden.
- White Chocolate Raspberry Bars: Swap chips for white chocolate and swirl in raspberry jam.
- S’mores Cookie Bars: Add crushed graham crackers and mini marshmallows to the batter.
FAQ(s)
Q1: Can I make these cookie bars gluten-free?
Q2: How do I make them more fudgy like brownies?
Q3: Can I bake these in a different pan size?
Q4: Can I add other flavors?
Conclusion
There’s something timeless about a warm pan of Chocolate Chip Cookie Bars—they’re sweet, simple, and always a crowd favorite. Whether you bake them for school lunches, parties, or just to make your home smell amazing, this recipe guarantees chewy perfection in every bite. Save this one, share it with a friend, and bake a little love into your week.
For more inspiring recipes, follow us on Pinterest: https://www.pinterest.com/mommealsdaily/

Emily brings four years of dedicated baking experience and professional pastry-focused training to Moms Meals Daily. She oversees recipe validation and quality control to ensure every dessert performs consistently and reliably.
Victoria Recipe | Easy Desserts & Dessert Recipes
Easy & Delicious Recipes
Follow for quick family-friendly recipes, baking inspiration, and comfort food favorites.
Follow on Pinterest