
Thanks for being here! I’m so excited to share with you my classic Slice-Aesthetic Strawberry Layer Cake recipe. This isn’t just any cake; it’s a burst of luscious strawberries layered perfectly with fluffy vanilla frosting, creating a masterpiece that’s as pleasing to the eyes as it is to the palate. Every slice is a celebration of summer sweetness and nostalgia. Whenever I see a slice of strawberry cake, I’m transported back to my grandmother’s backyard picnics filled with laughter and joy, every bite is a little piece of love.
I know you’ll cherish this recipe in the same way I do! Perfect for birthdays, anniversaries, or simply a rainy afternoon when you need a treat, this cake brings everyone together. So, gather your ingredients, and let’s bake something extraordinary!
If you love cozy recipes like this, subscribe to my email list!
Table of Contents
Overview of Recipe Content
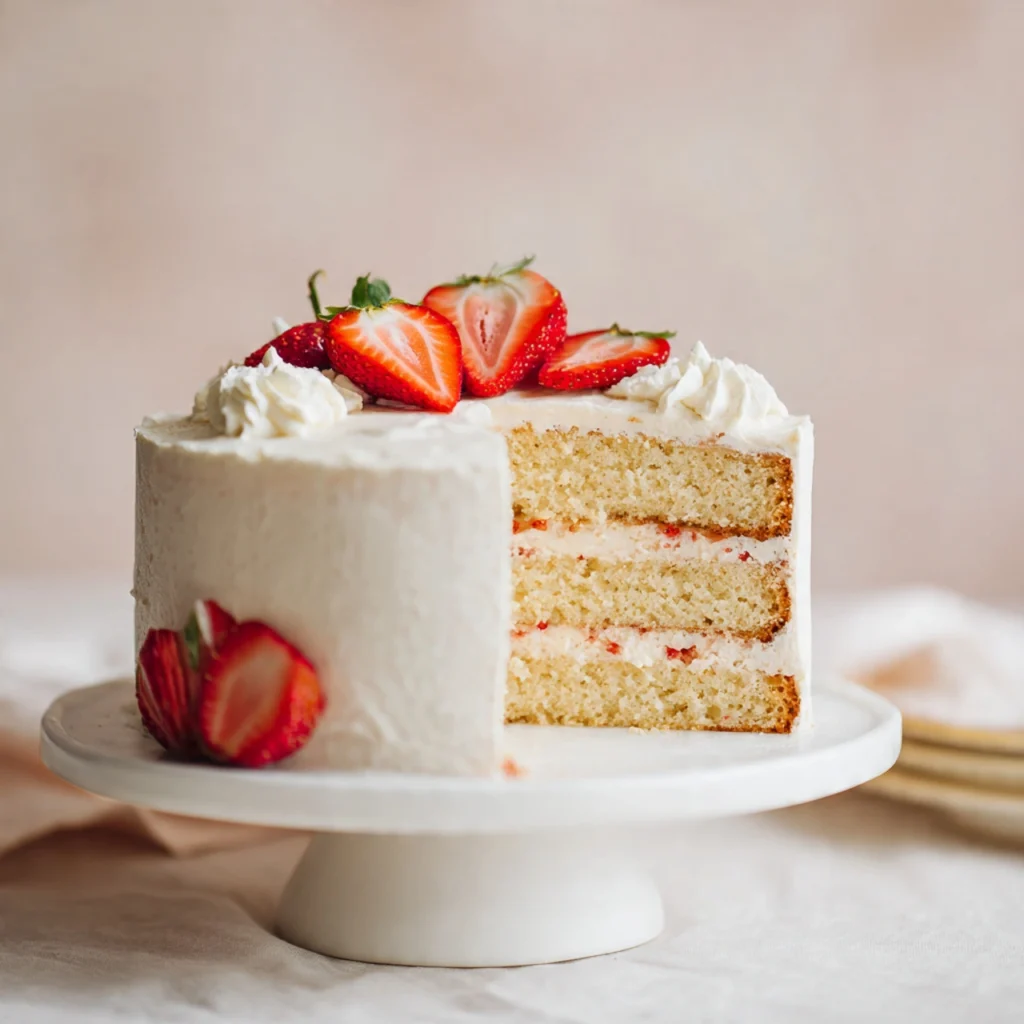
The Slice-Aesthetic Strawberry Layer Cake is a stunning dessert that features moist strawberry-infused layers, decorated elegantly with whipped vanilla frosting. It’s perfect for spring and summer gatherings, showcasing ripe strawberries at their peak. Each mouthful is light, fluffy, and filled with the sweet-tart flavor of strawberries, making it a refreshing treat for gatherings.
This cake is not only eye-catching, but it’s also a crowd-pleaser, quickly becoming a favorite at any event. It’s a great option for those who are looking for something easy to make yet incredibly impressive. Plus, strawberries are rich in vitamin C and antioxidants, so you’re enjoying a bit of health while indulging in sweetness.
Ingredients
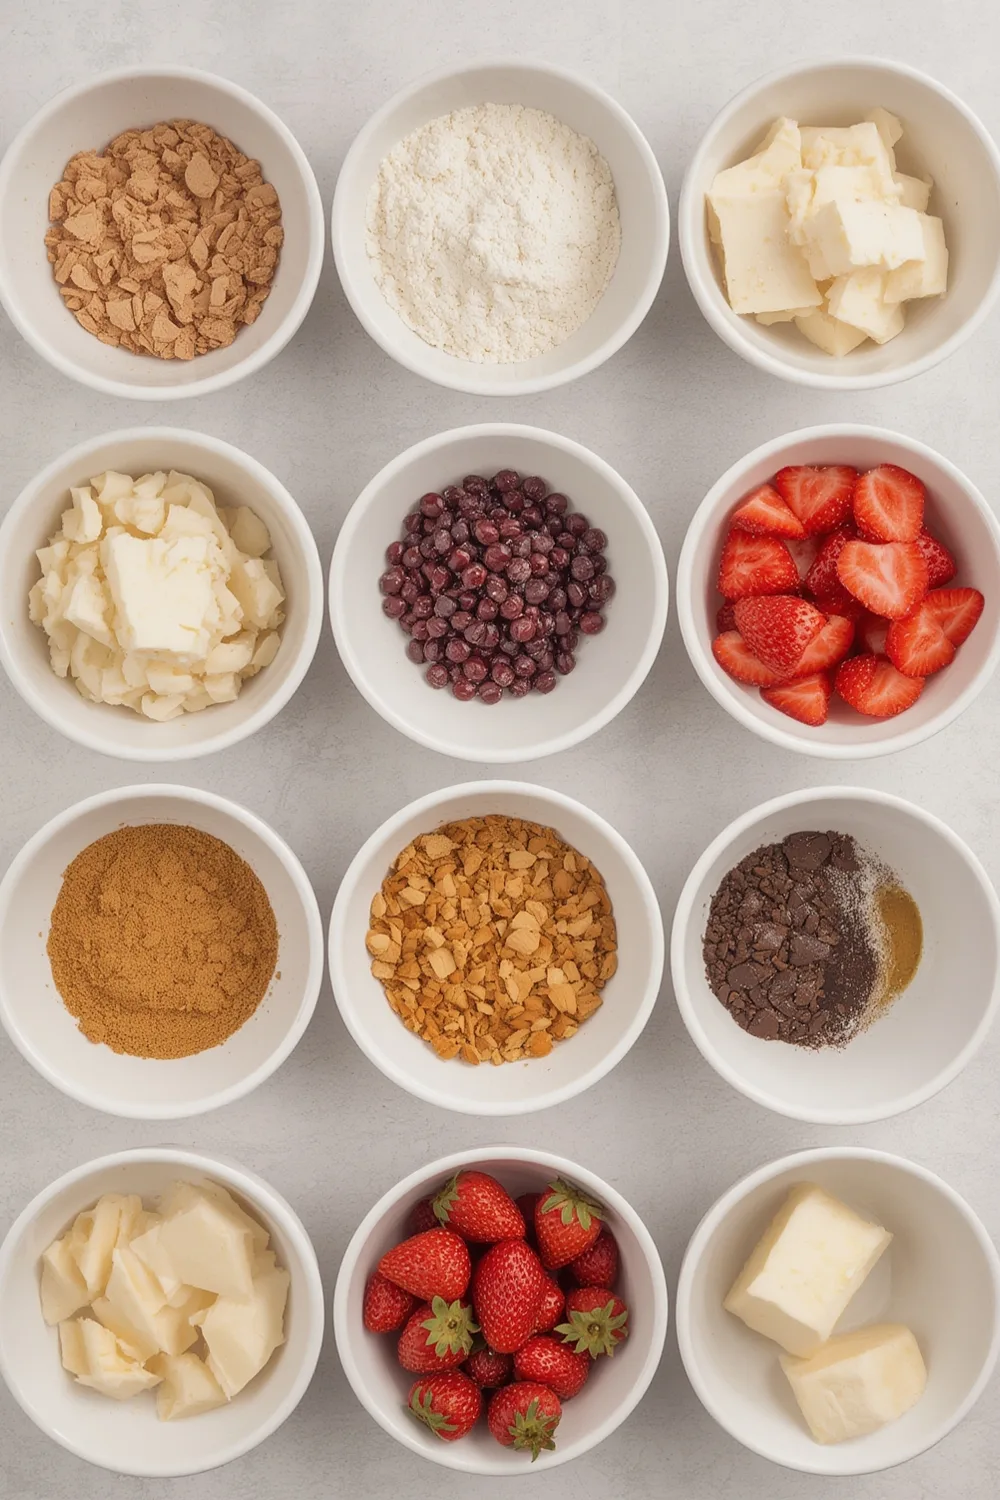
- 2 cups all-purpose flour
- 1 ½ cups granulated sugar
- 1 tablespoon baking powder
- ½ teaspoon salt
- ¾ cup unsalted butter, softened
- 1 cup whole milk
- 3 large eggs
- 1 teaspoon vanilla extract
- 1 cup fresh strawberries, pureed
- 2 cups heavy cream (for frosting)
- 1 cup powdered sugar (for frosting)
- Fresh strawberry slices for decoration
Tools Needed
- Two 8-inch round cake pans
- Mixing bowls
- Hand mixer or stand mixer
- Rubber spatula
- Wire rack for cooling
- Measuring cups and spoons
- Piping bag and star tip (for decoration)
Suggested Substitutions and Additions
- Gluten-free all-purpose flour for a gluten-free cake
- Coconut cream in place of heavy cream for a dairy-free version
- Vanilla bean paste instead of vanilla extract for added richness
- Lemon zest for a citrusy twist in the cake
- Alternate fruit purees like raspberry for a mixed berry cake
How to Make
Step 1: Mix the Dry Ingredients
In a large mixing bowl, whisk together the all-purpose flour, granulated sugar, baking powder, and salt. This mix provides the foundation for your cake, creating a soft and tender crumb. You’ll know it’s ready when the sugar and flour are thoroughly blended.
Step 2: Cream the Butter
In another bowl, beat the softened butter until it’s light and fluffy using a hand mixer or stand mixer. This step is crucial, as it will create a base that combines beautifully with your other ingredients. You’ll know it’s ready when it looks creamy and pale.
Step 3: Combine Wet Ingredients
Add the milk, eggs, and vanilla extract to the creamed butter. Blend until fully combined, and then slowly incorporate the strawberry puree. The batter should have a light pink hue, and the scent of strawberries will be utterly irresistible!
Step 4: Combine the Mixtures
Gradually mix the dry ingredients into the wet mixture. Be careful not to overmix; stop when everything is just combined. The batter should be smooth and pourable—it’s like liquid sunshine!
Step 5: Bake
Preheat your oven to 350°F (175°C). Divide the batter evenly into the prepared cake pans and smooth the tops with a spatula. Bake for approximately 25-30 minutes, checking with a toothpick; it should come out clean. You’ll know the cakes are ready when they are golden and your kitchen smells heavenly!
Step 6: Cool the Cakes
Once baked, remove the cakes from the oven and let them cool in the pans for 10 minutes before flipping them onto a wire rack to cool completely. This will help preserve their moisture!
Step 7: Prepare the Frosting
In a mixing bowl, whip the heavy cream with a hand mixer until soft peaks form. Gradually add in the powdered sugar until the mixture holds a soft peak and is fluffy. This will create a perfectly light frosting that complements the strawberries beautifully.
Step 8: Assemble the Cake
Once the cakes are completely cool, place one layer on a serving plate. Spread a generous amount of whipped cream frosting on top and layer sliced strawberries. Place the second layer on top and spread frosting over the entire cake. Decorate with more fresh strawberry slices on top for a stunning aesthetic.
What to Serve with Slice-Aesthetic Strawberry Layer Cake
This beautiful cake shines on its own, but serving it alongside some vanilla ice cream or a warm cup of tea can elevate the experience. I also recommend pairing it with a refreshing summer punch or a light white wine for adult celebrations.
For more delicious pairings, check out my recipes for:
Tips for Making It Perfect
- Prep in Advance: You can make the strawberry puree a day ahead.
- Fix Common Mistakes: If you find your cake is domed on top, trim it with a serrated knife after cooling for an even finish.
- Make Ahead: This cake can be made a day ahead, simply store it in the fridge once assembled.
- Double the Batch: Need more? Just multiply the ingredients and bake in 10-inch pans for a taller cake!
Storage Instructions
To store, wrap the assembled cake gently in plastic wrap and refrigerate. It will last for about 3-5 days in the fridge. For longer storage, you can freeze the cake layers (wrapped individually) for up to 3 months. Thaw in the fridge overnight before frosting and serving.
General Information
The origins of strawberry cake can be traced back to the Southern United States where strawberries are plentiful in spring. This cake style takes on a unique aesthetic through the layers of vibrant colors, often reflecting the lush gardens that inspired its creation. Personally, this cake always turns family gatherings into a festive occasion, each layer symbolizing a different part of life’s sweet moments.
Frequently Asked Questions
- Ingredient Swaps: Can I use frozen strawberries? Absolutely! Just thaw and puree them, although fresh is always best for flavor.
- Storage Time: How long will it last in the fridge? It stays delicious for up to 5 days.
- Texture Issues: Why is my cake dense? Ensure you’re measuring flour correctly, and avoid over-mixing when combining wet and dry ingredients.
- Dietary Adaptations: Can I make this vegan? Swap the butter for coconut oil and use flaxseed meal mixed with water to replace eggs.
Conclusion
This Slice-Aesthetic Strawberry Layer Cake isn’t just a treat; it’s a slice of joy that brings smiles to anyone who enjoys it. Packed with fresh flavors and adorned beautifully, it captures the essence of celebration. Don’t forget to check out my other recipes, including the Raspberry Cream Cake [link] and the Shortcake Delight [link]!
Thanks again for being here, and happy baking!
Interactive Elements
I’d love to hear how your cake turns out! Please leave a review or comment below. If you share a photo, tag me on Instagram or pin it to your favorite board .
Nutritional Information
Approximate calories and macros per serving:
| Nutrient | Value per Serving |
| Calories | 350 |
| Total Fat | 20g |
| Saturated Fat | 12g |
| Carbohydrates | 38g |
| Fiber | 1g |
| Sugar | 25g |
| Protein | 4g |

Emily brings four years of dedicated baking experience and professional pastry-focused training to Moms Meals Daily. She oversees recipe validation and quality control to ensure every dessert performs consistently and reliably.
Slice-Aesthetic Strawberry Layer Cake Recipe
By Emily Hart
Ingredients
Instructions
Save this recipe for later ❤️
Follow @mommealsdaily on Pinterest for easy dinners, desserts, and weekly inspiration.
Victoria Recipe | Easy Desserts & Dessert Recipes
Easy & Delicious Recipes
Follow for quick family-friendly recipes, baking inspiration, and comfort food favorites.
Follow on Pinterest