
Thanks for being here! I’m so excited to share this indulgent Strawberry Red Velvet Layer Cake with you all. This cake has a special place in my heart as it’s not only visually stunning but also deliciously moist and bursting with vibrant flavors. Every bite transports you to a world of comfort and sweetness, perfect for any celebratory occasion—be it Valentine’s Day or just a cozy family gathering.
The combination of rich red velvet and fresh strawberries makes this cake an absolute showstopper. It’s the kind of dessert that brings people together, sparking joy and creating sweet memories. If you love cozy recipes like this, subscribe to my email list!
Table of Contents
Overview of Recipe Content
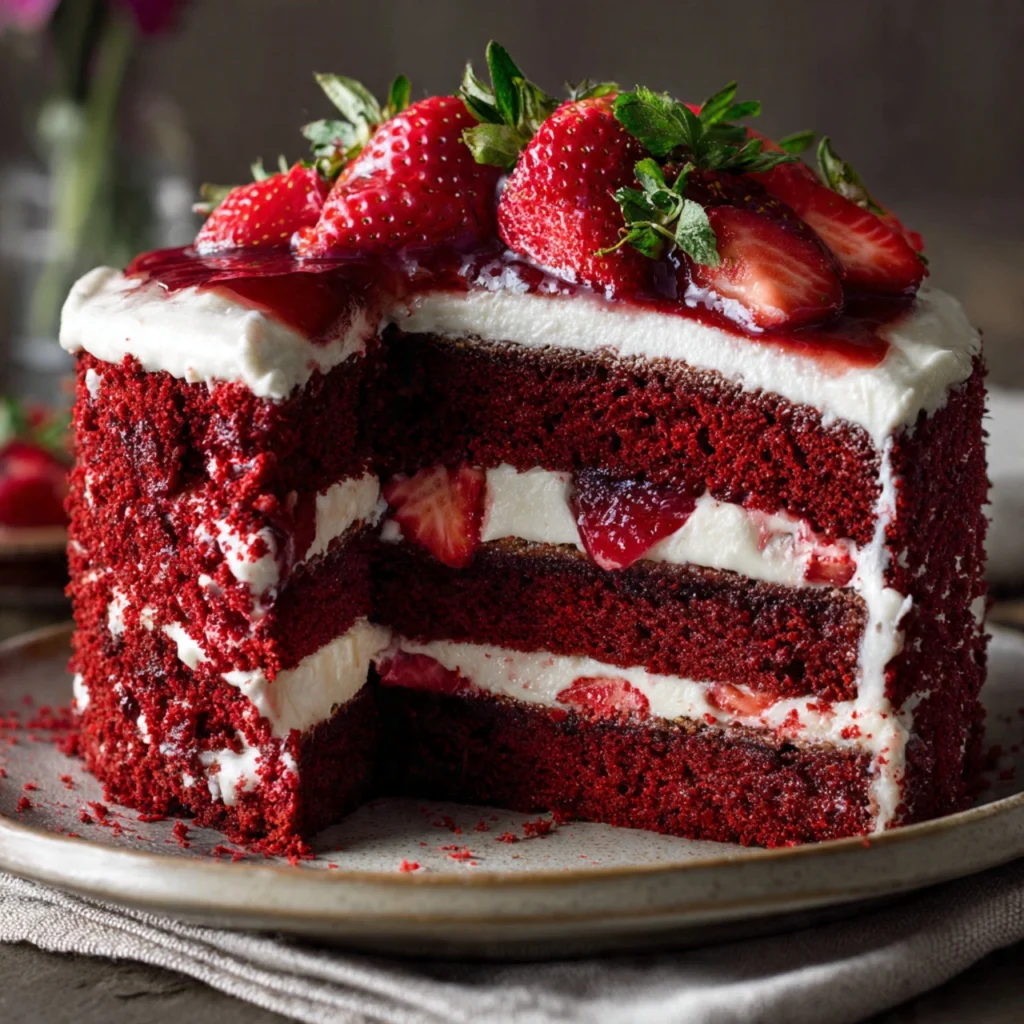
This Strawberry Red Velvet Layer Cake is a delightful twist on the classic red velvet cake, featuring layers of luscious strawberries paired beautifully with cream cheese frosting. Serve it at celebrations, special dinners, or just because you deserve it.
With its rich flavor profile, soft texture, and eye-catching layers, readers will adore this cake for its crowd-pleasing nature and comforting appeal. Strawberries in season bring a juicy sweetness, while longing for that cozy evening feel at home makes this an ideal pick for your dessert table. Not to mention, red velvet is known for its luxuriously tender crumb, making each forkful melt in your mouth.
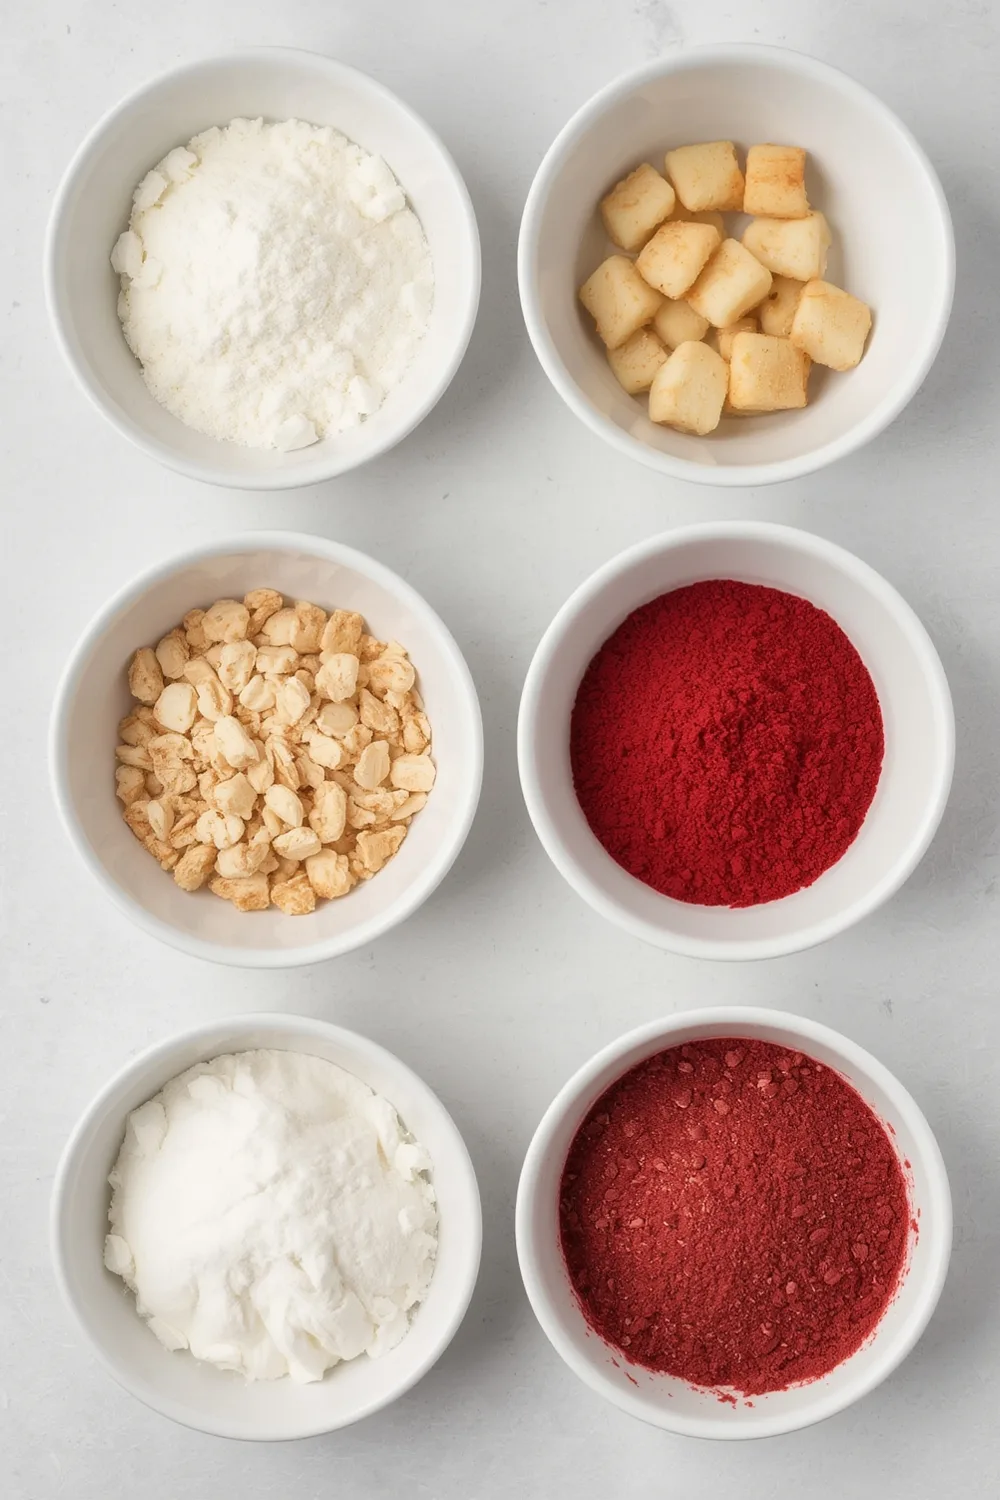
Ingredients
- 2 ½ cups all-purpose flour
- 1 ½ cups granulated sugar
- 1 teaspoon baking soda
- 1 tablespoon unsweetened cocoa powder
- 1 teaspoon salt
- 1 cup vegetable oil
- 1 cup buttermilk, room temperature
- 2 large eggs, room temperature
- 2 tablespoons red food coloring
- 1 teaspoon vanilla extract
- 1 tablespoon white vinegar
- 2 cups fresh strawberries, sliced
- 1 cup unsalted butter, softened
- 8 oz cream cheese, softened
- 4 cups powdered sugar
- 1 teaspoon vanilla extract
- Fresh strawberries for decoration
Tools Needed
- 2 9-inch round cake pans
- Mixing bowls
- Electric mixer
- Measuring cups and spoons
- Rubber spatula
- Cooling rack
- Cake stand or serving platter
Suggested Substitutions and Additions
- Substitute all-purpose flour with whole wheat flour for a healthier option.
- Maple syrup can replace granulated sugar for a more natural sweetness.
- Use dairy-free alternatives such as almond milk and coconut cream cheese for a vegan option.
- For extra flavor, mix in a teaspoon of almond or lemon extract.
- Add a layer of whipped cream or chocolate ganache between the cake layers for an indulgent twist.
How to Make
Step 1: Preheat and Prepare
Preheat your oven to 350°F (175°C). Grease and flour the cake pans. This is an important step that ensures your layers pop out easily without any fuss. You’ll know it’s time to move on when you start to feel that warmth with a hint of the buttery aroma from the greased pans.
Step 2: Combine Dry Ingredients
In a large mixing bowl, whisk together the flour, sugar, baking soda, cocoa powder, and salt until combined. This is the foundational mix that helps give our cake its structure and sweetness. You’ll know it’s ready when it’s a beautiful, fluffy mixture.
Step 3: Mix Wet Ingredients
In another bowl, combine the vegetable oil, buttermilk, eggs, red food coloring, vanilla extract, and vinegar. Whisk these ingredients together until you get a smooth mixture that looks like molten rubies. The color is just stunning and will only get richer as it cooks!
Step 4: Combine Wet and Dry
Slowly pour the wet ingredients into the dry mixture, and use your electric mixer on low speed to combine until just blended. Be careful not to over-mix—this will keep our cake soft and fluffy. When everything comes together and there are no lumps, you’ll know it’s time!
Step 5: Bake the Cake
Divide the cake batter evenly between the prepared pans. Place them in the oven and bake for 25-30 minutes or until a toothpick inserted into the center comes out clean. While baking, your kitchen will fill with an irresistible smell that’ll have everyone anticipating dessert.
Step 6: Cool the Layers
Once baked, allow the cakes to cool in their pans for about 15 minutes, then gently turn them out onto a cooling rack. Let them cool completely before frosting. This is the moment to bask in the warm and cozy vibes that a freshly baked cake brings.
Step 7: Make the Frosting
In a mixing bowl, combine the softened butter and cream cheese. Beat together until smooth and creamy, then add the powdered sugar and vanilla extract. Continue to mix on low speed until incorporated, then increase to high for about 2 minutes until fluffy and spreadable.
Step 8: Assemble the Layers
Once the cakes are completely cool, place one layer on the serving platter. Spread a generous amount of frosting over the top and layer with sliced strawberries. Add the second cake layer on top and repeat the process, frosting the sides and top of the cake. You might want to save some frosting for decoration!
What to Serve with Strawberry Red Velvet Layer Cake
This Strawberry Red Velvet Layer Cake pairs wonderfully with:
- A scoop of vanilla or strawberry ice cream.
- Fresh fruit salad drizzled with honey.
- A cup of hot cocoa or coffee.
If you love desserts like this, you may also enjoy my Chocolate Lava Cake or Strawberry Shortcake Recipe from my blog!
Tips for Making It Perfect
- Prep ahead: Make the cake layers a day in advance and wrap them tightly to keep moist.
- Fix mistakes: If your layers dome, trim the tops with a serrated knife for even stacking.
- To make it ahead, bake the cake layers, cool thoroughly, wrap tightly in plastic, and freeze for up to a month before frosting.
Storage Instructions
Store the assembled cake in an airtight container in the refrigerator for up to 5 days. If you’ve stored cake layers separately, they can remain in the fridge for a week. If you want to freeze your cake, wrap tightly in plastic wrap and foil and it can last for up to 3 months. Just thaw in the fridge overnight before serving.
General Information
The red velvet cake has a long history rich in southern roots and is often associated with celebrations and love. Its striking color, combined with the fluffy texture, makes it a symbol of affection and indulgence. I fondly remember making this cake with my mother for special occasions, filling our home with color, laughter, and love. It’s a timeless dessert that continues to inspire and excite every baker eager to make their mark.
Frequently Asked Questions
- Can I use a sugar substitute?
Yes, feel free to use a sugar substitute, but be sure to check conversion guidelines as they vary based on the brand.
- How long does it last in the fridge?
Stored properly, the cake will last about 5 days.
- I overbaked it, and now it’s dry. What can I do?
If you find your cake dry, consider soaking it with a simple syrup before frosting to enhance moisture.
- Can I make this gluten-free?
Absolutely! Swap the all-purpose flour for a 1:1 gluten-free baking flour.
- Can I replace the cream cheese?
Yes, a whipped buttercream or vanilla frosting can be delightful variations.
Conclusion
This Strawberry Red Velvet Layer Cake combines the elegance of a classic with the vibrant taste of fresh strawberries. It’s truly a treat that brings joy with every slice. If you’re looking for more delightful recipes, check out my Red Velvet Cupcakes or Easy Vanilla Pudding!
Thank you for joining me today! I can’t wait to see you dive into this cake and create your happy memories.
Interactive Elements
I would love to hear what you think! Please leave a review or comment below. If you make this cake, don’t forget to share a photo on Pinterest. Tag me on Instagram—I can’t wait to see your delicious creations!
Nutritional Information
Approximate values per serving:
- Calories: 450
- Protein: 5g
- Carbohydrates: 60g
- Fat: 22g
- Sugar: 40g
Enjoy baking, and I hope this recipe brings smiles and warmth to your kitchen!

Emily brings four years of dedicated baking experience and professional pastry-focused training to Moms Meals Daily. She oversees recipe validation and quality control to ensure every dessert performs consistently and reliably.
Strawberry Red Velvet Layer Cake Recipe
By Emily Hart
Ingredients
Instructions
Save this recipe for later ❤️
Follow @mommealsdaily on Pinterest for easy dinners, desserts, and weekly inspiration.
Victoria Recipe | Easy Desserts & Dessert Recipes
Easy & Delicious Recipes
Follow for quick family-friendly recipes, baking inspiration, and comfort food favorites.
Follow on Pinterest