Thanks for being here! I’m so excited to share this charming Easter Bunny Burrow Cake recipe with you. Easter has always held a special place in my heart; it’s a time of renewal, family gatherings, and, of course, sweet treats. This whimsical cake is not just a feast for the eyes; it embodies the spirit of joy and celebration that comes with the Easter holiday. Imagine a fluffy cake that surprises you with a sweet filling and is topped with colorful candies and a playful bunny theme. What better way to celebrate than with this delightful centerpiece that will bring smiles to everyone at the table? If you love cozy recipes like this, subscribe to my email list!
Table of Contents
Overview of Recipe Content
The Easter Bunny Burrow Cake is a playful and beautifully decorated cake that’s perfect for your spring celebrations. Whether you’re hosting a family gathering or simply having a quiet brunch, this cake is sure to impress. The taste is a delightful combination of fluffy cake, sweet frosting, and an array of colorful candies that remind you of blooming flowers and lively Easter egg hunts.
Readers will love this cake because it is both fun and flavorful. It’s a quick and easy recipe that provides a crowd-pleasing presentation without requiring advanced baking skills. Plus, it’s a fantastic way to incorporate seasonal ingredients and make use of springtime flavors. With each slice, you’re not just enjoying a dessert but a burst of spring happiness.
Ingredients
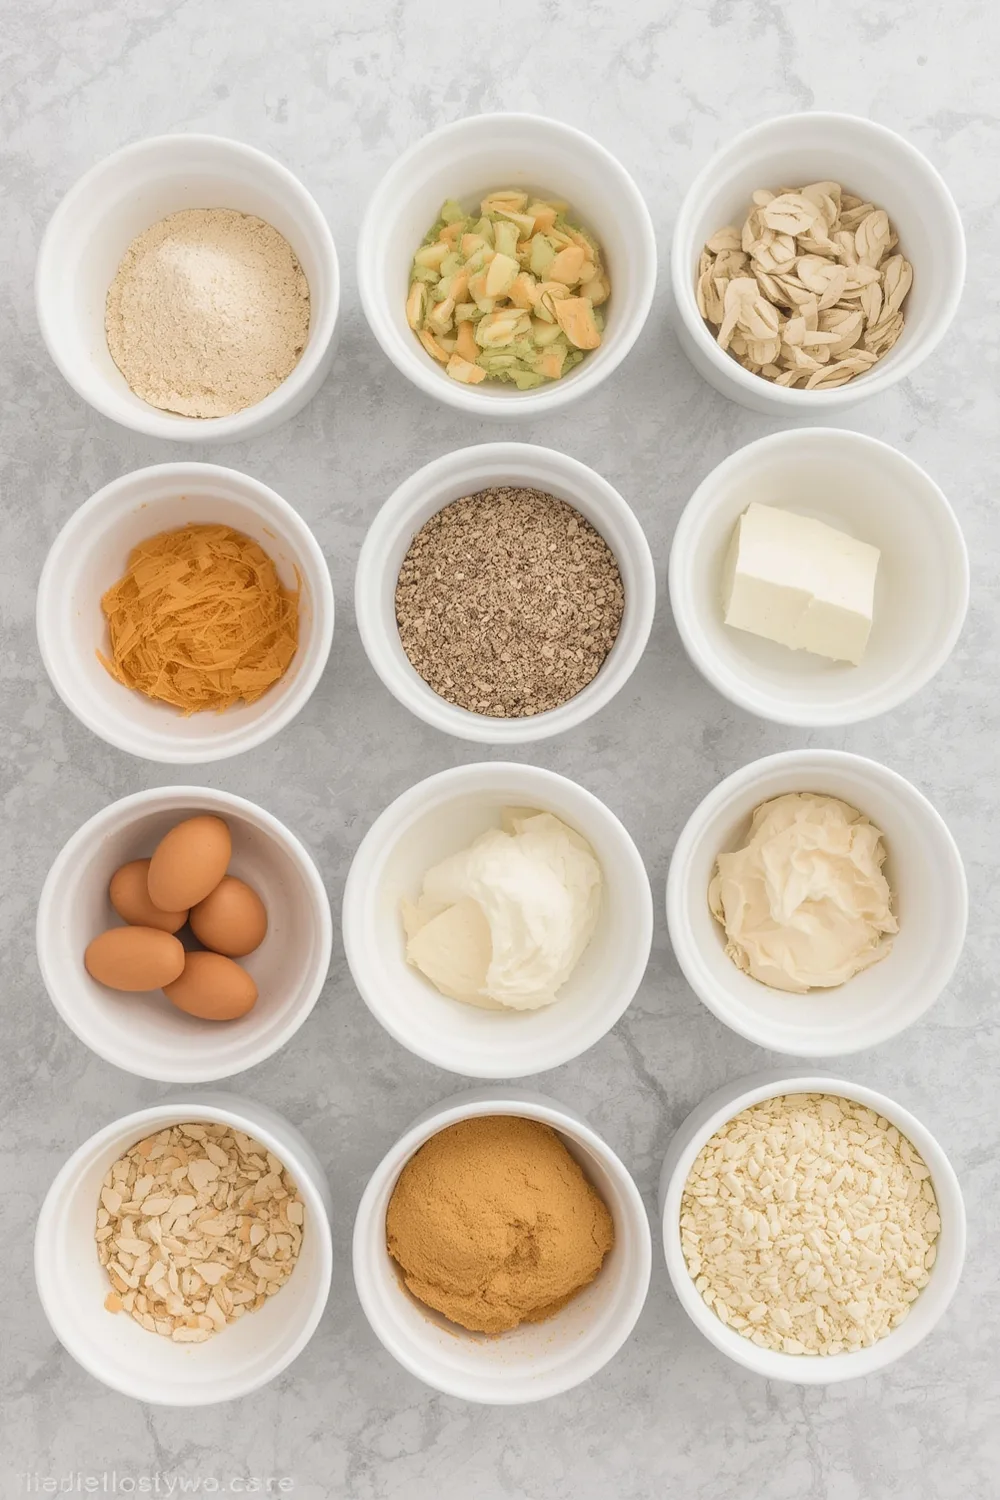
- 2 cups all-purpose flour
- 1 ½ cups granulated sugar
- 1 cup unsalted butter, softened
- ½ cup milk
- 4 large eggs
- 1 tablespoon baking powder
- 1 teaspoon vanilla extract
- ½ teaspoon salt
- 2 cups mixed candy (gummy bunnies, chocolate eggs, etc.)
- Green shredded coconut (for grass decor)
- Edible flowers or extra candy for decoration (optional)
Tools Needed
- Two 9-inch round cake pans
- Mixing bowls
- Electric mixer or whisk
- Rubber spatula
- Cooling rack
- Piping bag (if decorating with frosting)
- Knife for leveling cakes
Suggested Substitutions and Additions
- Use almond milk instead of regular milk for a nutty flavor.
- Replace all-purpose flour with gluten-free flour for a gluten-free version.
- Swap granulated sugar for coconut sugar for a healthier option.
- Try adding zest of orange or lemon for a citrusy twist.
- Use your favorite candies based on dietary preferences, such as dark chocolate or vegan options.
How to Make
Step 1: Prepare the Cake Batter
Start by preheating your oven to 350°F (175°C). In a mixing bowl, combine the flour, baking powder, and salt. Whisk together until evenly mixed.
In a separate bowl, cream the softened butter and granulated sugar with an electric mixer until it becomes light and fluffy (about 3-5 minutes). You’ll know it’s ready when the mixture is pale and airy!
Step 2: Add the Wet Ingredients
Once your butter and sugar are ready, it’s time to add the eggs, one at a time, mixing well after each addition. Stir in the vanilla extract and milk until just combined.
Step 3: Combine Dry and Wet Mixtures
Gradually add the dry ingredients to the wet mixture, folding gently. The batter should be smooth without any lumps. Don’t overmix; you want that cake to stay tender and fluffy!
Step 4: Bake the Cakes
Divide the batter evenly between the two prepared cake pans. Bake in the preheated oven for 25-30 minutes, or until a toothpick inserted into the center comes out clean.
As the cakes bake, your kitchen will fill with a gorgeous aroma that’ll make your mouth water in anticipation!
Step 5: Cool
Once baked, let the cakes cool in the pans for about 10 minutes, then transfer them to a cooling rack to cool completely. The cakes must be fully cool before frosting.
Step 6: Frost the Cakes
Once cooled, you can level the cakes if needed. Place one layer on a serving platter and spread a generous layer of your favorite frosting over the top. Add a mix of your colorful candies as a sweet surprise. Place the second cake layer on top and frost the whole cake beautifully.
Step 7: Decorate
Now comes the fun part! Top your frosted cake with green shredded coconut to resemble grass. Decorate around the top with remaining candies and edible flowers if using. You can even create a little bunny burrow scene!
What to Serve with Easter Bunny Burrow Cake
This cake pairs wonderfully with a light and refreshing drink like iced tea or lemonade. You might also consider serving it alongside:
- Fresh fruit salad
- A mixed green salad with a tangy vinaigrette
- Easter-themed cookies like decorated sugar cookies
For more inspiration, check out my recipes for Classic Lemonade and Spring Fruit Tart!
Tips for Making It Perfect
- Prep in advance: You can make the cakes a day ahead and store them wrapped in the fridge.
- If the cake layers dome while baking, simply trim the tops for even stacking.
- To avoid a dry cake, do not overbake; keep an eye on your cakes during the final minutes.
- If your frosting is too thick, add a tablespoon of milk to achieve a smoother consistency.
- Feeling adventurous? Double the batch and make a two-tier version for larger gatherings!
Storage Instructions
You can store any leftover cake in an airtight container at room temperature for up to three days. If you want to keep it longer, wrap it tightly and freeze for up to three months. Simply allow it to thaw in the fridge overnight before enjoying again.
General Information
The tradition of decorating cakes for Easter stems from ancient customs celebrating spring and renewal. Families would create special baked goods to commemorate the holiday. This Easter Bunny Burrow Cake draws inspiration from those age-old traditions, infusing them with playful elements that resonate with children and adults alike. The combination of cheerful colors and a delicious cake reminds us of the joy of the season.
Frequently Asked Questions
Q: Can I use a different type of frosting?
A: Absolutely! Cream cheese frosting, chocolate ganache, or whipped cream are all delicious options.
Q: What if I have leftover shredded coconut?
A: You can use it as a topping for other desserts or sprinkle it on yogurt!
Q: How long does the cake stay fresh?
A: The cake stays fresh for about 3 days at room temperature and can be frozen for up to 3 months.
Q: Can this recipe be made dairy-free?
A: Yes, just substitute the butter and milk with dairy-free alternatives, and you’re good to go!
Q: What happens if the texture is off?
A: Crumbly cake could be a sign of overmixing or not enough fat. Play with your mixing technique next time!
Conclusion
The Easter Bunny Burrow Cake is more than just a festive dessert; it’s a centerpiece that brings joy and lovely memories to your table during the spring season. This recipe is a fun way to celebrate Easter with family, reminding us of the joy that comes from creating and sharing together. Don’t forget to check out my other recipes, like Spring Lemon Bars and Bunny-Shaped Sugar Cookies. Goodbye for now, and happy baking!
Interactive Elements
I would love to hear from you! Please leave a review or comment about your experience making this cake. If you take a photo, share it on Pinterest or tag me on Instagram.
Nutritional Information
Approximate calories and macros per serving (based on 12 servings):
| Nutrient | Amount |
| Calories | 350 |
| Total Fat | 18 g |
| Saturated Fat | 10 g |
| Carbohydrates | 45 g |
| Protein | 4 g |
| Sugars | 25 g |
Enjoy this delightful cake and have a joyous Easter celebration!

Emily brings four years of dedicated baking experience and professional pastry-focused training to Moms Meals Daily. She oversees recipe validation and quality control to ensure every dessert performs consistently and reliably.

Easter Bunny Burrow Cake: A Delightful Spring Treat
By Emily Hart
Ingredients
Instructions
Tools Needed
Save this recipe for later ❤️
Follow @mommealsdaily on Pinterest for easy dinners, desserts, and weekly inspiration.
Victoria Recipe | Easy Desserts & Dessert Recipes
Easy & Delicious Recipes
Follow for quick family-friendly recipes, baking inspiration, and comfort food favorites.
Follow on Pinterest