Thanks for being here! I’m so excited to share this delightful recipe for Classic No Bake Peanut Butter Bars with you! As a seasoned chef and food lover, there’s something incredibly comforting about easy recipes that come together without ever needing to turn on the oven. These bars have been a staple in my household for years—perfect for a quick pick-me-up, a sweet treat for a gathering, or simply a delicious bite to enjoy after a long day.
In just a few simple steps, you’ll create a scrumptious dessert full of chewy, nutty goodness that everyone will adore. Let’s get started on a recipe that will surely delight your taste buds and warm your heart!
Table of Contents
Overview of Recipe Content
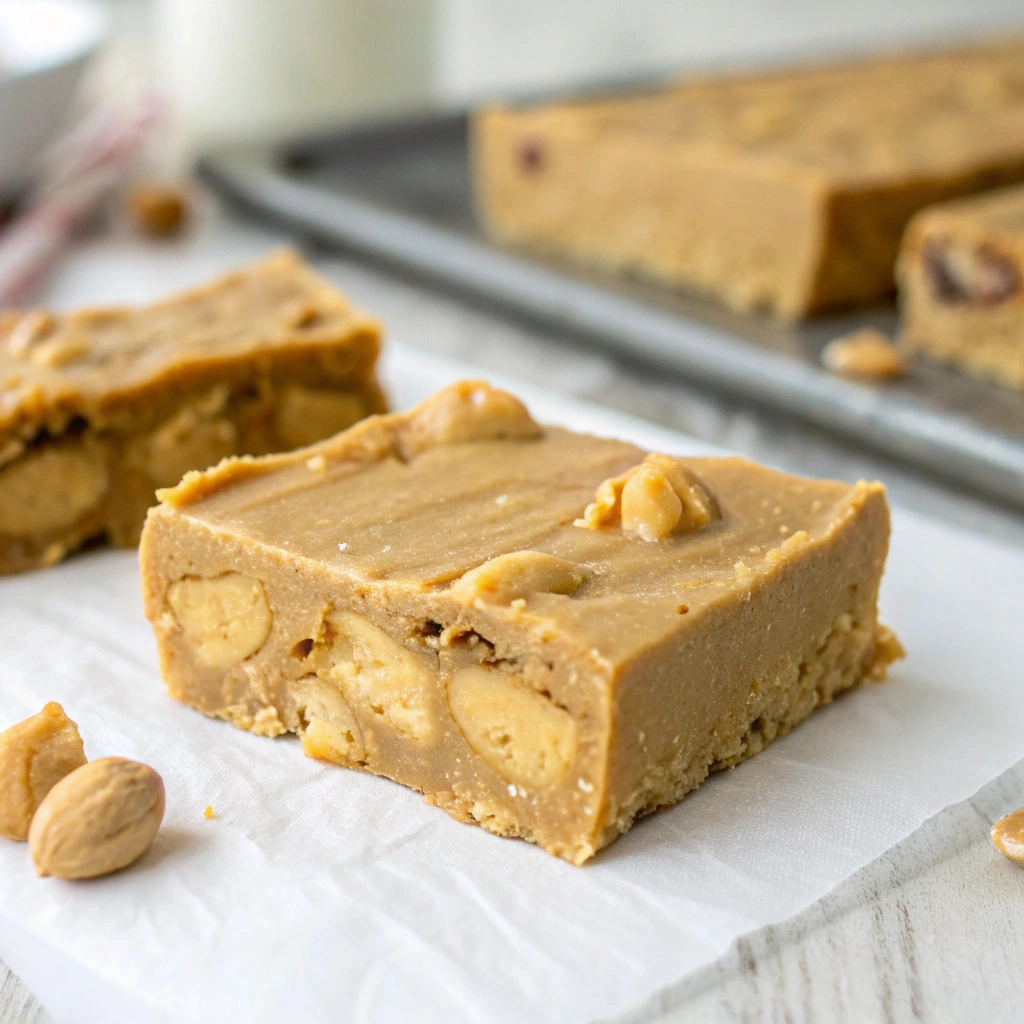
Our Classic No Bake Peanut Butter Bars are just what the sweet tooth ordered! These bars feature a harmonious blend of creamy peanut butter, sweet honey, and rich oats, all layered to create a delectable treat.
Whether you’re hosting a get-together, preparing snacks for the week, or just needing a sweet escape, these bars fit the bill perfectly. They are quick, healthy, and offer that comforting, classic peanut butter flavor that everyone loves. Each bite is a mix of creamy and chewy with a touch of sweetness, making them the perfect energy boost at any time of the day!
In terms of nutritional benefits, peanut butter offers a wonderful source of protein, while oats provide healthy fiber, making these bars an incredibly satisfying snack.
Ingredients
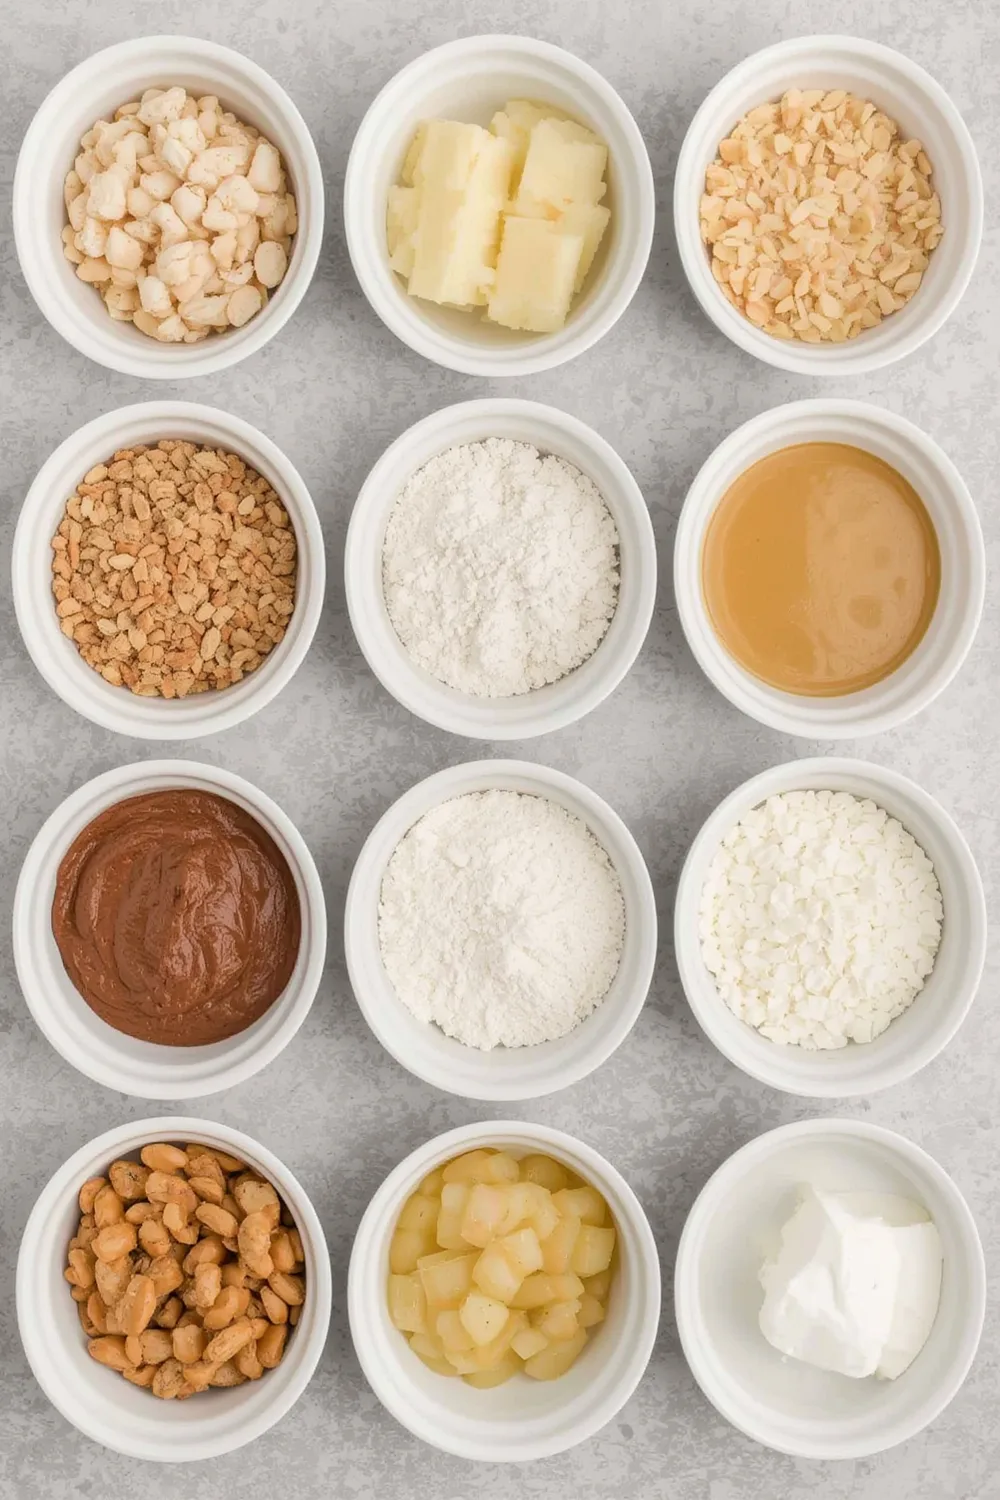
- 1 cup creamy peanut butter
- ½ cup honey or maple syrup
- 3 cups rolled oats
- ½ cup chocolate chips (optional)
- A pinch of salt
Tools Needed
- Mixing bowl
- Spatula or wooden spoon
- 9×9 inch baking pan
- Parchment paper
- Measuring cups
Suggested Substitutions and Additions
- Almond butter instead of peanut butter for a different nutty flavor.
- Maple syrup for a vegan-friendly sweetener.
- Add cinnamon or vanilla extract for enhanced flavor.
- Chopped nuts or dried fruit for added texture and nutrition.
- Protein powder for an extra protein boost.
How to Make
Step 1: Mix the Dry Ingredients
Start by grabbing a large mixing bowl. Toss in the rolled oats and a few pinches of salt. Stir them gently to distribute the salt evenly. As you mix, you’ll notice the inherent nutty aroma of the oats.
Step 2: Combine Peanut Butter and Sweetener
In a separate bowl, measure out the creamy peanut butter and honey. Microwave them together for about 30 seconds—this step makes the mixture easier to stir and helps them combine beautifully. You’ll know it’s ready when it smells nutty and warm.
Step 3: Combine the Mixtures
Pour the peanut butter mixture over the oats. With your spatula, mix everything together until all the oats are well coated. Don’t be afraid to get in there; you want a nice, thick consistency. At this point, if you’re adding chocolate chips, fold them in gently.
Step 4: Press Into the Baking Pan
Line your baking pan with parchment paper—this makes removing the bars a breeze. Now, transfer your mixture into the pan and use the spatula to press it down firmly and evenly. The more you compact the mixture, the firmer your bars will be.
Step 5: Chill and Set
Cover the pan with plastic wrap and place it in the refrigerator for at least two hours. This chilling period is essential as it allows the bars to set properly. The anticipation might be challenging, but trust me, the wait is worth it!
What to Serve with Classic No Bake Peanut Butter Bars
These bars are delicious on their own, but why not take it up a notch? Consider pairing them with:
- A hot cup of coffee or tea for a cozy afternoon.
- Fresh fruit, such as bananas or strawberries, for a refreshing balance.
- A dollop of Greek yogurt topped with honey for added creaminess.
If you’re looking for more delicious recipes, check out my Easy No Bake Chocolate Biscuit Cake or Mini Fruit Tarts for some delightful alternatives!
Tips for Making It Perfect
- Prep in advance by measuring out all your ingredients. It makes the process flowing and enjoyable.
- If the bars are crumbly, try adding a touch more peanut butter or honey to help bind them together.
- To make ahead, prepare the mixture and press it into the pan a day before serving.
- Double the batch to have plenty of bars on hand for gatherings or snacks throughout the week.
Storage Instructions
These bars are wonderfully simple to store, making them a convenient treat to keep on hand whenever a craving strikes. For short-term storage, place them in an airtight container in the refrigerator. When properly sealed, they’ll stay fresh, flavorful, and perfectly textured for up to one week. Refrigeration also helps the bars hold their shape and keeps them tasting just as good as the day they were made.
If you’d like to enjoy them over a longer period, freezing is an excellent option. To freeze, wrap each bar individually in parchment paper or plastic wrap to protect them from freezer burn and make it easy to grab a single serving at a time. Once wrapped, place the bars in a freezer-safe bag or container for extra protection.
Stored this way, the bars should stay good for up to three months, making them perfect for planning ahead or saving a sweet treat for later. When you’re ready to enjoy one, simply let it thaw in the refrigerator or at room temperature, and you’ll have a delicious, satisfying dessert ready whenever you need it.
General Information
Peanut butter bars have been around for generations, often enjoyed at gatherings, bake sales, or simply as an indulgent weeknight treat. The no-bake element makes them a timeless favorite, especially in warm weather when nobody wants to turn on the oven. My fondest memories include whipping up these bars with my grandmother, sharing stories and laughter in the kitchen, which makes this recipe even more special to me.
Frequently Asked Questions
- Can I substitute peanut butter for another nut butter?
Yes! Almond butter and sunflower seed butter work great for a different flavor profile.
- How long can I store these bars?
You can enjoy them for up to one week in the fridge or three months in the freezer.
- Why are my bars crumbly?
If your mixture doesn’t hold together well, you may need to add a bit more peanut butter or honey to bind everything.
- Can I make these gluten-free?
Absolutely! Simply use gluten-free oats, and you’re good to go.
- What’s the best way to cut these bars?
Let them chill properly, then use a sharp knife to cut them into squares. Warm the knife slightly to ease the cutting process.
Conclusion
In conclusion, these Classic No Bake Peanut Butter Bars are truly special: quick to make, full of flavor, and sure to make everyone smile. They’re a perfect balance of peanut butter goodness and wholesome oats, making them a fantastic option for any time you need a sweet fix.
Don’t forget to check out my No Bake Chocolate Oatmeal Cookies and Quick Banana Bread for more easy dessert offerings!
Until next time, happy cooking, and may your kitchen always be filled with joy and delicious smells!
Interactive Elements
I’d love to hear your thoughts on this recipe! Please leave a review or comment below with your experience. If you make these bars, share a photo on Pinterest and tag me on Instagram to show off your creation!
Nutritional Information
Here’s the approximate nutritional breakdown per serving (based on 16 servings):
Calories: 180
Total Fat: 10g
Saturated Fat: 2g
Cholesterol: 0mg
Sodium: 50mg
Total Carbohydrates: 18g
Dietary Fiber: 2g
Sugars: 8g
Protein: 4g
I hope you enjoy making and sharing these no-bake treats as much as I do!

Emily brings four years of dedicated baking experience and professional pastry-focused training to Moms Meals Daily. She oversees recipe validation and quality control to ensure every dessert performs consistently and reliably.
Classic No Bake Peanut Butter Bars
By Emily Hart
Ingredients
Instructions
Tools Needed
Save this recipe for later ❤️
Follow @mommealsdaily on Pinterest for easy dinners, desserts, and weekly inspiration.
Victoria Recipe | Easy Desserts & Dessert Recipes
Easy & Delicious Recipes
Follow for quick family-friendly recipes, baking inspiration, and comfort food favorites.
Follow on Pinterest