Thanks for being here! I’m so excited to share this no-bake Peanut Butter Marshmallow Bars recipe with you! If you’re anything like me, you’re always on the lookout for simple desserts that are not only delicious but also quick to whip up. These bars have been a favorite in my household for as long as I can remember. They remind me of childhood sleepovers, where we would gather around and indulge in these delightful, gooey treats. Plus, they stand out as a perfect dessert for any occasion, from bake sales to casual get-togethers.
Table of Contents
Overview of Recipe Content
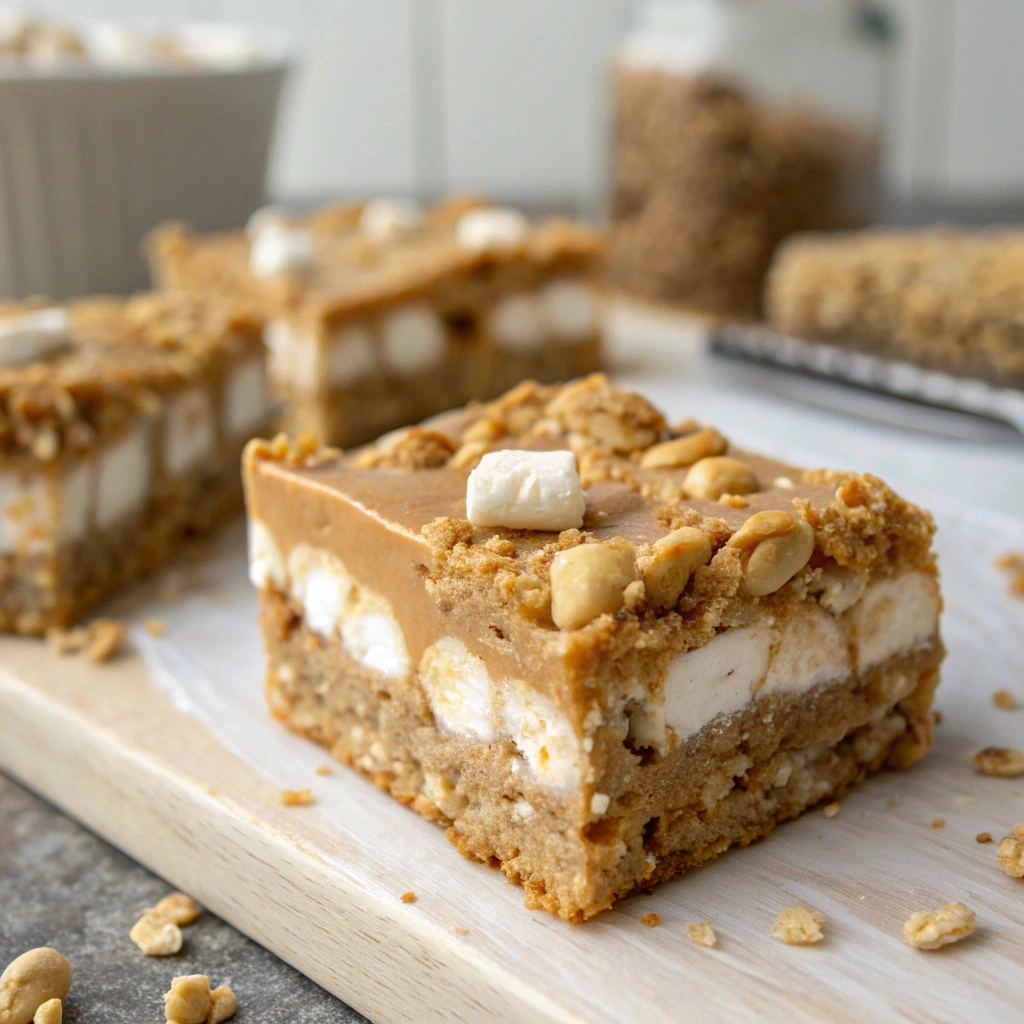
These Peanut Butter Marshmallow Bars are the epitome of easy desserts with few ingredients. Imagine biting into a bar that is sweet, nutty, and chewy all at once. They are a comforting treat that’s not only crowd-pleasing but also quick to make. You can enjoy them as an afternoon snack, a midnight indulgence, or even as a sweet addition to your kid’s lunchbox. On top of that, they’re packed with wholesome ingredients, making them a healthier option compared to many typical desserts. In the spirit of comfort food, these bars are sure to bring smiles to faces young and old alike!
Ingredients

- 1 cup creamy peanut butter
- 1 cup granulated sugar
- 1 cup mini marshmallows
- 1 cup crushed graham crackers
- 1/2 cup chocolate chips (optional)
Tools Needed
- Large mixing bowl
- Spoon or spatula
- 8×8 inch baking dish
- Parchment paper (for easy cleanup)
- Measuring cups
Suggested Substitutions and Additions
- Use crunchy peanut butter for added texture
- Substitute agave nectar or honey for granulated sugar for a healthier option
- Add cocoa powder for a chocolate twist
- Toss in some nuts or dried fruit for a unique variation
- Use vegan marshmallows for a dairy-free version
How to Make
Step 1: Mix the Dry Ingredients
Start by gathering all your ingredients and prepping your baking dish. Dust it with a bit of cooking spray or line it with parchment paper for easy removal later. In a large mixing bowl, combine the crushed graham crackers and mini marshmallows. The combination of crunchy and chewy will create a delightful texture.
Step 2: Combine Sugar and Peanut Butter
In another bowl, mix the creamy peanut butter with granulated sugar. You’ll want to stir this until it’s perfectly blended—smooth and creamy like a warm hug. The peanut butter should be thick yet spreadable, and you’ll know it’s right when it smells nutty and inviting!
Step 3: Mix Them Together
Next, gently fold the dry ingredients into the peanut butter mixture. Be sure to mix it thoroughly so that all the graham cracker bits and marshmallows get coated in that luscious peanut butter. The moment they unite, you’ll see that familiar sticky goodness.
Step 4: Press into the Baking Dish
Transfer the mixture into your prepared baking dish. Use a spatula or the back of a spoon to press it down evenly. Make sure it’s packed tightly, as this will help the bars hold together when set.
Step 5: Chill and Set
Pop your baking dish into the refrigerator for about 1-2 hours or until it has fully set. The anticipation will build, but trust me, the wait is totally worth it!
Step 6: Slice and Serve
Once set, remove the bars from the refrigerator and cut them into squares. You can drizzle a little melted chocolate over the top for an extra touch of decadence. Serve them up and watch them disappear!
What to Serve with Peanut Butter Marshmallow Bars (No Bake)
These Peanut Butter Marshmallow Bars pair well with a cup of hot chocolate or even an ice-cold glass of milk. For an elegant touch, consider serving them with fresh strawberries or banana slices on the side. If you’re planning a gathering, check out these related recipes:
Tips for Making It Perfect
- Prep in advance: You can crush the graham crackers ahead of time to save on prep time.
- Fix common mistakes: If the bars are too crumbly, try adding a bit more peanut butter to the mix.
- Make ahead: These bars can be made a few days in advance; just cover them tightly and keep them in the refrigerator.
- Double the batch: If you’re expecting a crowd, simply double the ingredients and use a larger baking dish!
Storage Instructions
To store these Peanut Butter Marshmallow Bars, place them in an airtight container at room temperature, where they will stay soft, fresh, and flavorful for up to one week. Keeping them tightly sealed helps protect the marshmallow layer from drying out and preserves the rich peanut butter flavor. Stored this way, they’re perfect for enjoying as a quick snack or dessert throughout the week.
If you’d like to extend their shelf life, the bars can also be refrigerated for up to two weeks. Refrigeration helps them stay firmer and can be especially helpful in warmer climates. Be sure they are still stored in an airtight container to maintain their texture and prevent them from absorbing any refrigerator odors.
For even longer storage, freezing is a great option. Wrap each bar individually in plastic wrap to protect them from freezer burn, then place them in a freezer-safe bag or container. They can be frozen for up to three months without sacrificing quality. When you’re ready to enjoy them, allow the bars to thaw in the refrigerator for the best texture, or enjoy them straight from the freezer if you’re craving a refreshing, cold treat.
General Information
The history of no-bake treats like these bars is fascinating. They emerged in kitchens across America during the 1950s, a time when convenience foods became highly popular. Following that era, no-bake recipes gained a loving following due to how easy they could be made, especially for busy families like mine. Whenever I make these bars, I’m reminded of family gatherings and how food has always been a way to connect with those I love.
Frequently Asked Questions
Can I substitute almond butter for peanut butter?
- Yes! Almond butter will work beautifully, although it will provide a different flavor.
How long do these bars last?
- They can be stored at room temperature for up to one week or refrigerated for up to two weeks.
What if my mixture doesn’t hold together?
- If it’s too crumbly, add a smidgen more peanut butter or a bit of honey or agave to help it bind.
Can I use gluten-free graham crackers?
- Absolutely! There are several gluten-free brands available that work just as well.
How do I adjust the sweetness?
- If you prefer a less sweet bar, you can reduce the amount of sugar or use a natural sugar alternative.
Conclusion
In summary, these Peanut Butter Marshmallow Bars are not just a simple dessert; they evoke nostalgia and offer a delicious way to satisfy your sweet tooth. Whether you’re prepping for a bake sale, an afternoon snack, or a cozy dessert after dinner, this recipe has you covered. Don’t forget to check out my other recipes like the No-Bake Oreo Dessert and Mini Cheesecakes in a Jar—they’re sure to delight just as much!
If you love cozy recipes like this, subscribe to my email list!
Interactive Elements
I would love to hear from you! Please leave a review or comment below. If you decide to whip up these bars, share a photo on Pinterest or tag me on Instagram!
Nutritional Information
Approximate calories and macros per serving:
- Calories: 220
- Protein: 4g
- Fat: 10g
- Carbohydrates: 30g
- Fiber: 1g
- Sugar: 12g

Emily brings four years of dedicated baking experience and professional pastry-focused training to Moms Meals Daily. She oversees recipe validation and quality control to ensure every dessert performs consistently and reliably.
Peanut Butter Marshmallow Bars (No Bake)
By Emily Hart
Ingredients
Instructions
Tools Needed
Save this recipe for later ❤️
Follow @mommealsdaily on Pinterest for easy dinners, desserts, and weekly inspiration.
Victoria Recipe | Easy Desserts & Dessert Recipes
Easy & Delicious Recipes
Follow for quick family-friendly recipes, baking inspiration, and comfort food favorites.
Follow on Pinterest