Thanks for being here! I’m so excited to share this classic Lemon Bars with Powdered Sugar recipe with you today. This recipe is a cherished favorite in my household, reminding me of sunny afternoons spent in the kitchen, brightened by the smell of fresh lemons. There’s truly nothing like the tart and tangy flavor of lemon bars, especially when topped with a dusting of powdered sugar. It’s like a sweet hug for your taste buds, and it fits perfectly into any spring celebration, particularly Easter.
Table of Contents
Overview of Recipe Content
Lemon bars are a delightful treat that combine a buttery shortbread crust with a smooth, tangy lemon filling, making them the star of any dessert table. This particular recipe is not only quick and easy to whip up, but it is also healthy, refreshing, and most definitely crowd-pleasing. With the burst of citrus and sweetness, these bars are the perfect bridge to welcoming warm weather.
One of the beauties of lemon bars is that they’re not overly sweet; the crispness of lemon plays beautifully against the sugar, making it a rejuvenating delight. Plus, lemons are in season during spring, giving an added bonus of freshness.
Ingredients
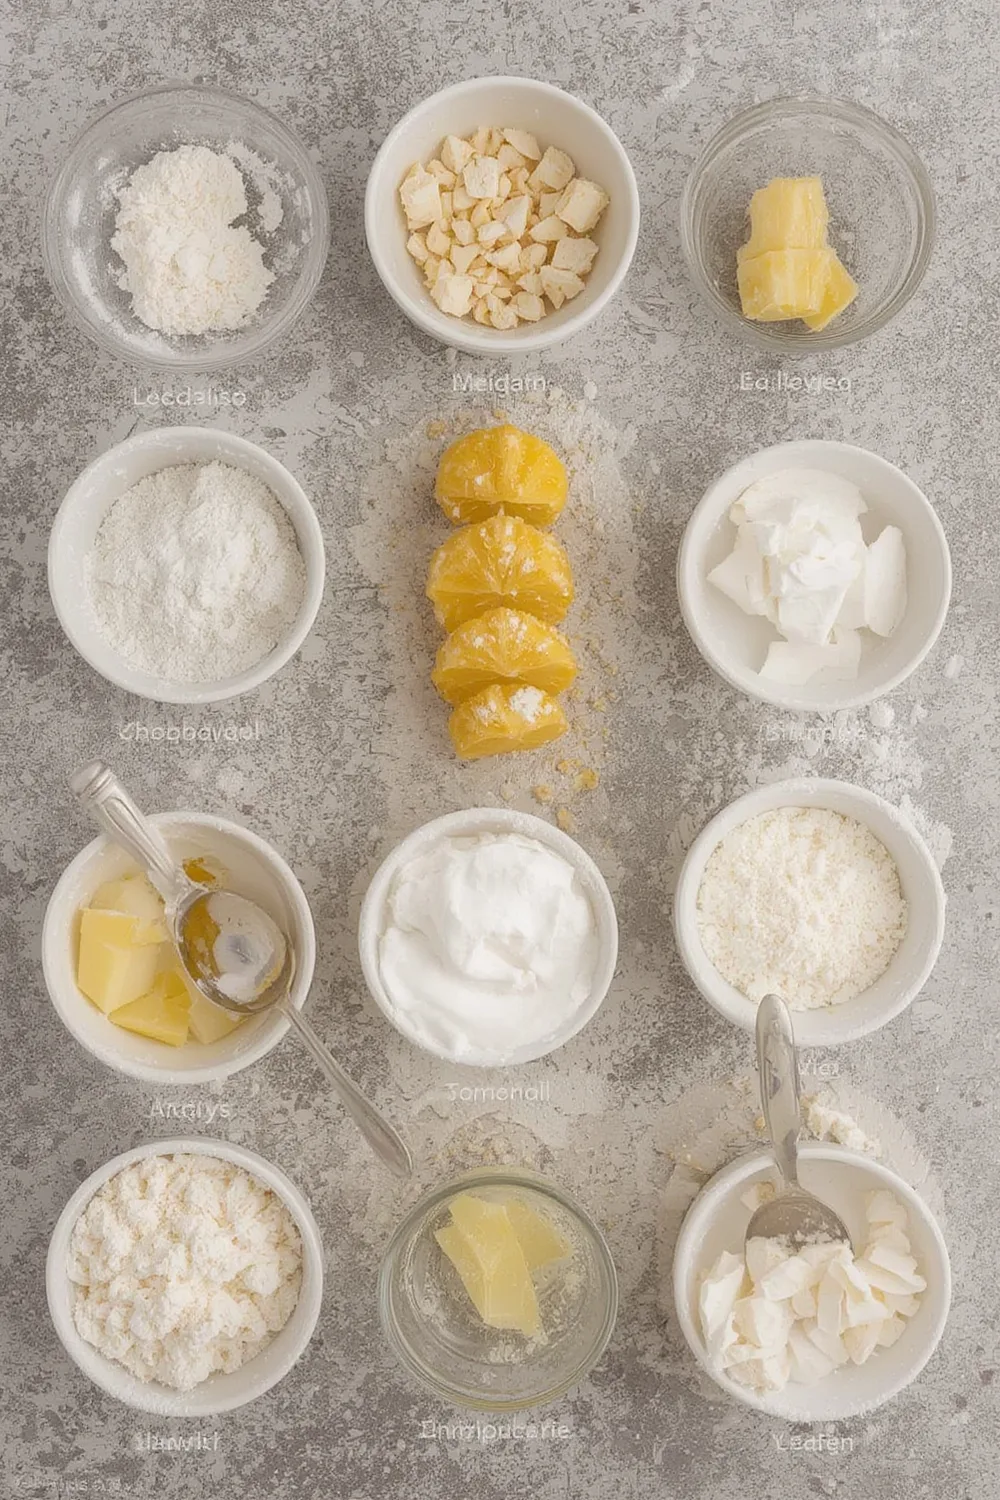
- 1 cup unsalted butter (softened)
- 1 cup granulated sugar (plus extra for sprinkling)
- 2 cups all-purpose flour
- 1/4 teaspoon salt
- 4 large eggs
- 1 cup freshly squeezed lemon juice
- 1 tablespoon lemon zest
- 1/2 cup powdered sugar (for dusting)
Tools Needed
- Mixing bowls
- Whisk
- 9×13 inch baking pan
- Parchment paper
- Zester or grater
- Sifter (for powdered sugar)
Suggested Substitutions and Additions
- If you prefer a gluten-free option, substitute with gluten-free all-purpose flour.
- For a vegan twist, use coconut oil instead of butter and flax eggs as an egg substitute.
- For added flavor, consider infusing some vanilla extract into the lemon filling.
- Top with fresh berries like raspberries or blueberries for a vibrant presentation.
How to Make
Step 1: Prepare the Crust
Start by preheating your oven to 350°F (175°C). Grease your 9×13 inch baking pan or line it with parchment paper for easy removal. In a mixing bowl, cream together your softened butter and granulated sugar until light and fluffy. You’ll know it’s ready when it’s a light yellow color and feels airy. Gradually add in the flour and salt until it forms a crumbly dough.
Step 2: Bake the Crust
Press the crust mixture evenly into the prepared baking pan. You want it to be about 1/4 inch thick all around. Pop it in the preheated oven and bake for about 20 minutes or until it’s just starting to turn a light golden color. The aroma filling your kitchen will be simply irresistible!
Step 3: Mix the Lemon Filling
While the crust is baking, in another bowl, whisk together the eggs, granulated sugar, lemon juice, and lemon zest until fully combined. You’ll want to ensure there are no egg streaks because this filling is silky smooth and delicious.
Step 4: Combine and Bake Again
Once your crust is ready, pour the lemon filling over it. Return the pan to the oven and bake for an additional 25-30 minutes. You’ll know it’s done when the filling is set but slightly jiggly in the center. Let it cool completely in the pan, which will allow the filling to firm up.
Step 5: Dust with Powdered Sugar
Once cooled, sift a generous layer of powdered sugar over the top. This gives your lemon bars that quintessential classic dessert look.
What to Serve with Classic Lemon Bars with Powdered Sugar
Lemon bars are delightful on their own but can be paired beautifully with many sides. Consider serving alongside:
- A scoop of vanilla ice cream for creamy contrast.
- Fresh whipped cream topped with berries for an elegant touch.
- A refreshing beverage like iced tea or lemonade to accentuate the citrus notes.
For even more springtime inspiration, check out my Raspberry Lemonade Cake or these refreshing Strawberry Shortcake Cups.
Tips for Making It Perfect
**Prep Ahead**: You can make the crust a day in advance. Just keep it covered in the fridge once it cools down, and make the filling the next day.
**Common Mistake**: If the filling looks a bit too jiggly when you take it out, don’t worry! It will set as it cools down.
**Double the Batch**: If you’re expecting guests or just want leftovers, it’s easy to double the recipe! Just use a larger pan and adjust the baking time.
**Lemon Juicing**: Always use fresh lemons for juicing – the flavor is incomparable to bottled.
Storage Instructions
Store your lemon bars in an airtight container in the refrigerator to help preserve their bright flavor and soft, tender texture. When properly sealed, they can stay fresh for up to a week, making them a great dessert to prepare ahead of time. Keeping them chilled also allows the citrus filling to set nicely, enhancing both the taste and structure of the bars.
If you’d like to freeze them for longer storage, start by cutting the lemon bars into individual squares for easy portioning later. Arrange the squares in a single layer on a baking sheet, making sure they are not touching, and place the sheet in the freezer until the bars are completely frozen. This step helps them hold their shape and prevents sticking. Once frozen solid, transfer the bars to a freezer-safe, airtight container or bag, where they will stay fresh for up to three months.
When you’re ready to enjoy them, you have a couple of easy options. You can move the frozen lemon bars to the refrigerator and let them thaw overnight for a softer texture, or enjoy them chilled straight from the fridge for a cool, refreshing treat. Either way, they retain their tangy flavor and creamy consistency, making them just as delightful as the day they were made.
General Information
Lemon bars have a rich history, believed to have originated in the U.S. during the 1960s. They quickly gained popularity and became a favorite for bake sales and special occasions. My relationship with lemon bars began in my grandmother’s kitchen, where we would bake them together for family gatherings. The sweetness of the powdered sugar dusted over the lively lemon filling was always the highlight of the meal.
Frequently Asked Questions
**Can I swap out the sugar?** Yes! You can use coconut sugar or a sugar substitute, but it may affect the texture slightly.
**How long can I store them?** In the fridge, lemon bars can last up to a week, but they’re best enjoyed fresh.
**Why is my filling too runny?** The filling should not be too runny; it may need more baking time. Make sure to let it cool completely before slicing.
**Can I make these bars dairy-free?** Yes! Substitute the butter with a plant-based alternative.
Conclusion
These Classic Lemon Bars with Powdered Sugar are a delightful way to welcome the refreshing flavors of spring. Their zesty profile combined with the sugary topping makes them irresistibly good! If you enjoyed this recipe, I think you’ll also love my Easiest Strawberry Rhubarb Crisp or my Lemon Meringue Pie.
Stay sweet, and I can’t wait for you to try these! If you love cozy recipes like this, subscribe to my email list!
Interactive Elements
I invite you to leave a review or comment below! If you make these bars, please share a photo on Pinterest or tag me on Instagram. I’d love to see your creations!
Nutritional Information
Approximate Calories and Macros per Serving (1 bar):
- Calories: 200
- Carbohydrates: 25g
- Protein: 2g
- Fat: 10g
- Sugar: 12g
Happy baking!

Emily brings four years of dedicated baking experience and professional pastry-focused training to Moms Meals Daily. She oversees recipe validation and quality control to ensure every dessert performs consistently and reliably.
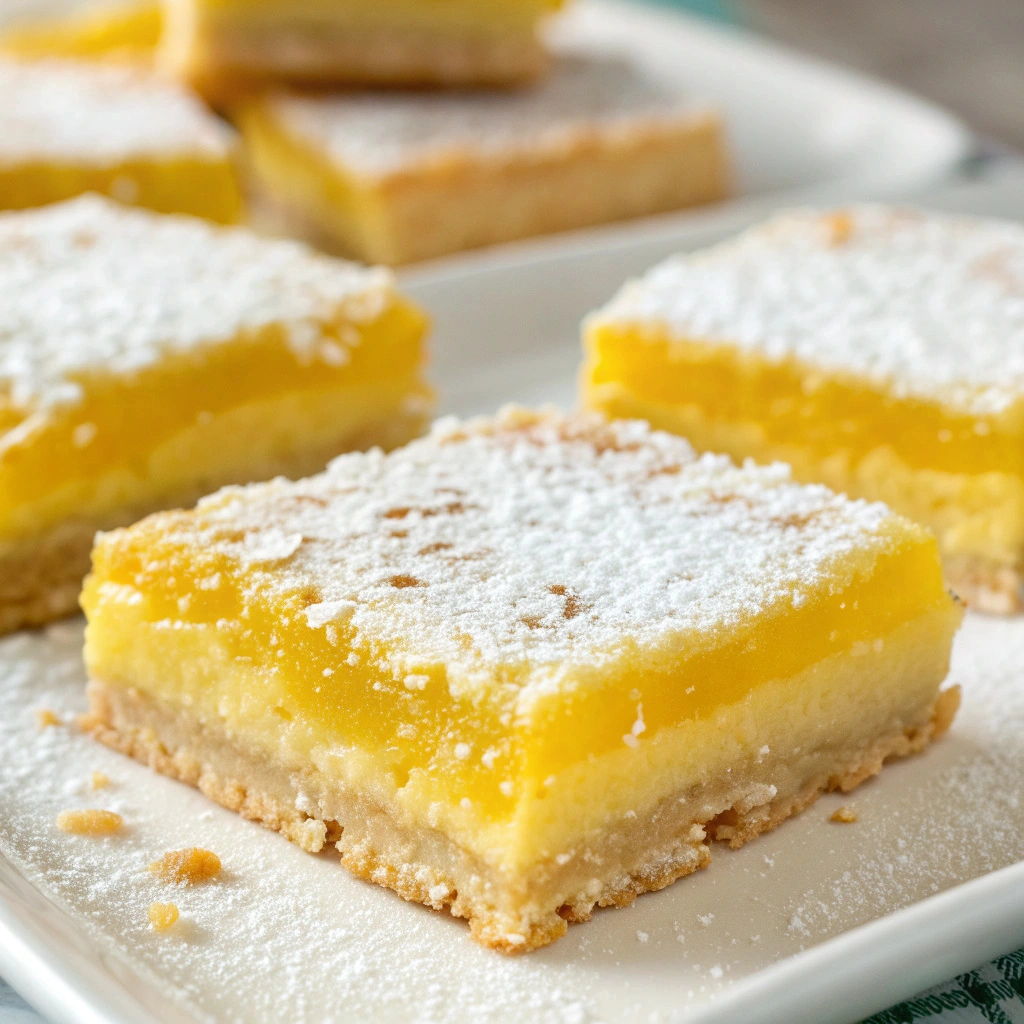
Classic Lemon Bars with Powdered Sugar
By Emily Hart
Ingredients
Instructions
Tools Needed
Save this recipe for later ❤️
Follow @mommealsdaily on Pinterest for easy dinners, desserts, and weekly inspiration.
Victoria Recipe | Easy Desserts & Dessert Recipes
Easy & Delicious Recipes
Follow for quick family-friendly recipes, baking inspiration, and comfort food favorites.
Follow on Pinterest