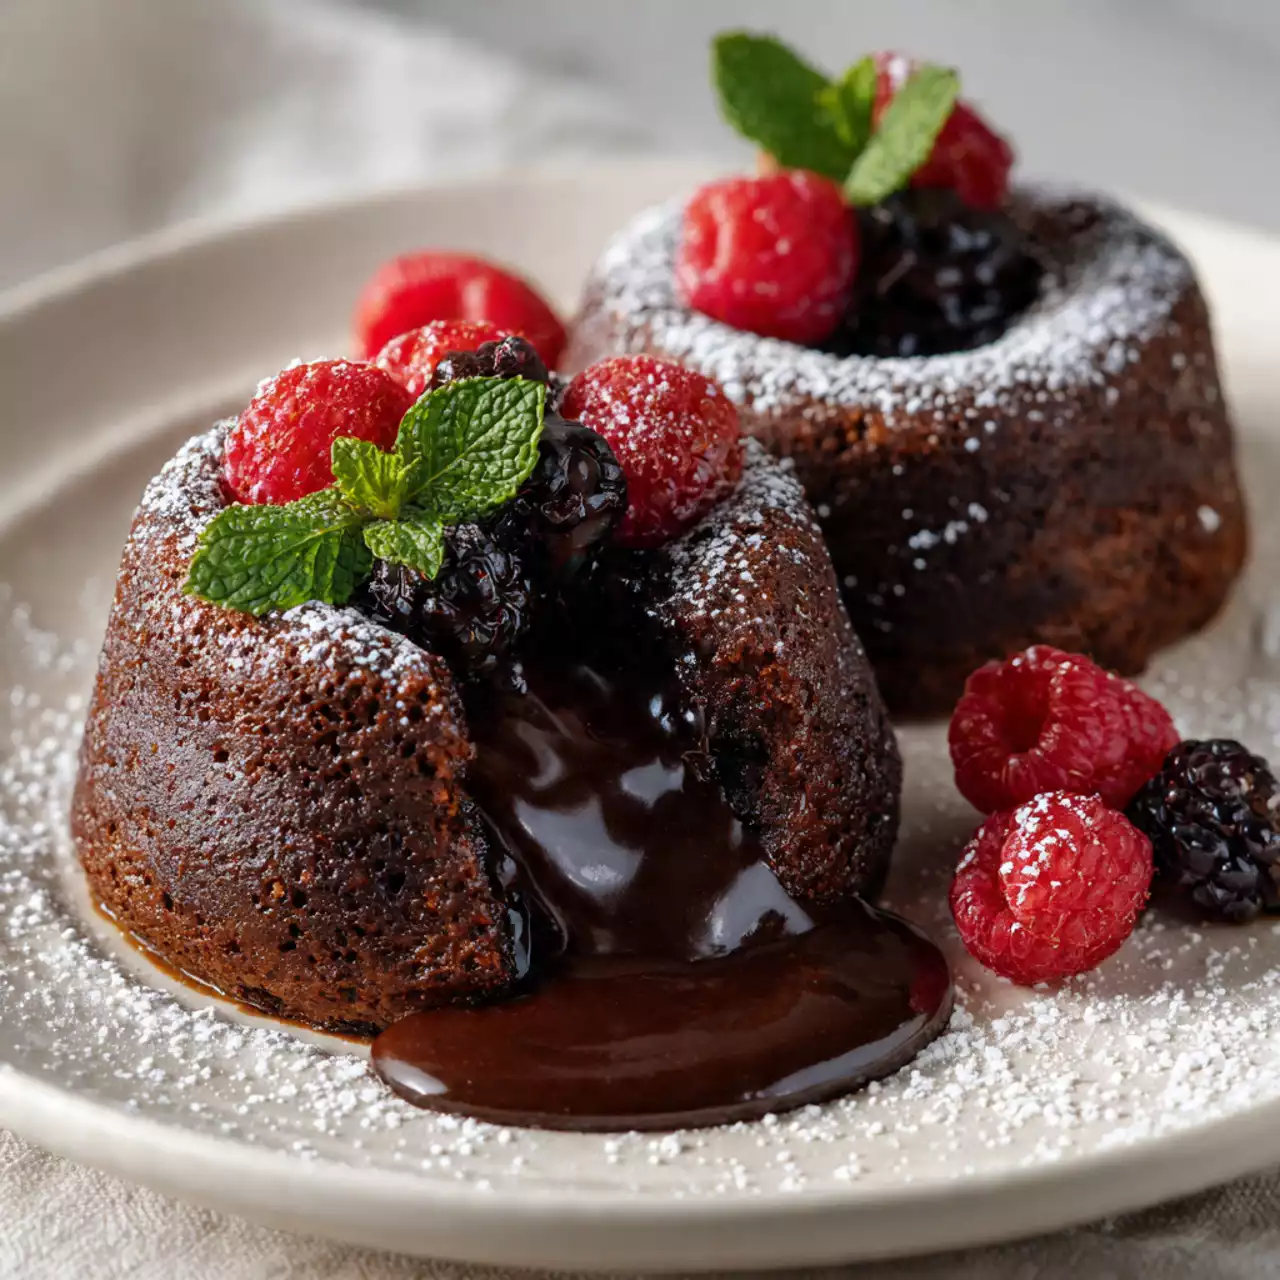
Thanks for being here! I’m so excited to share this chocolate lava cakes for two recipe with you! To me, these little indulgent desserts embody the essence of love, excitement, and warmth. Imagine cozying up with your special someone, sharing laughter, and devouring these deliciously gooey treats together. The rich chocolate that flows from the center is not just a dessert; it’s a delightful experience that speaks volumes about heartfelt moments. Plus, what’s better than impressing someone with a freshly baked chocolate lava cake? This recipe is perfect for Valentine’s Day or any intimate celebration.
Table of Contents
Overview of Recipe Content
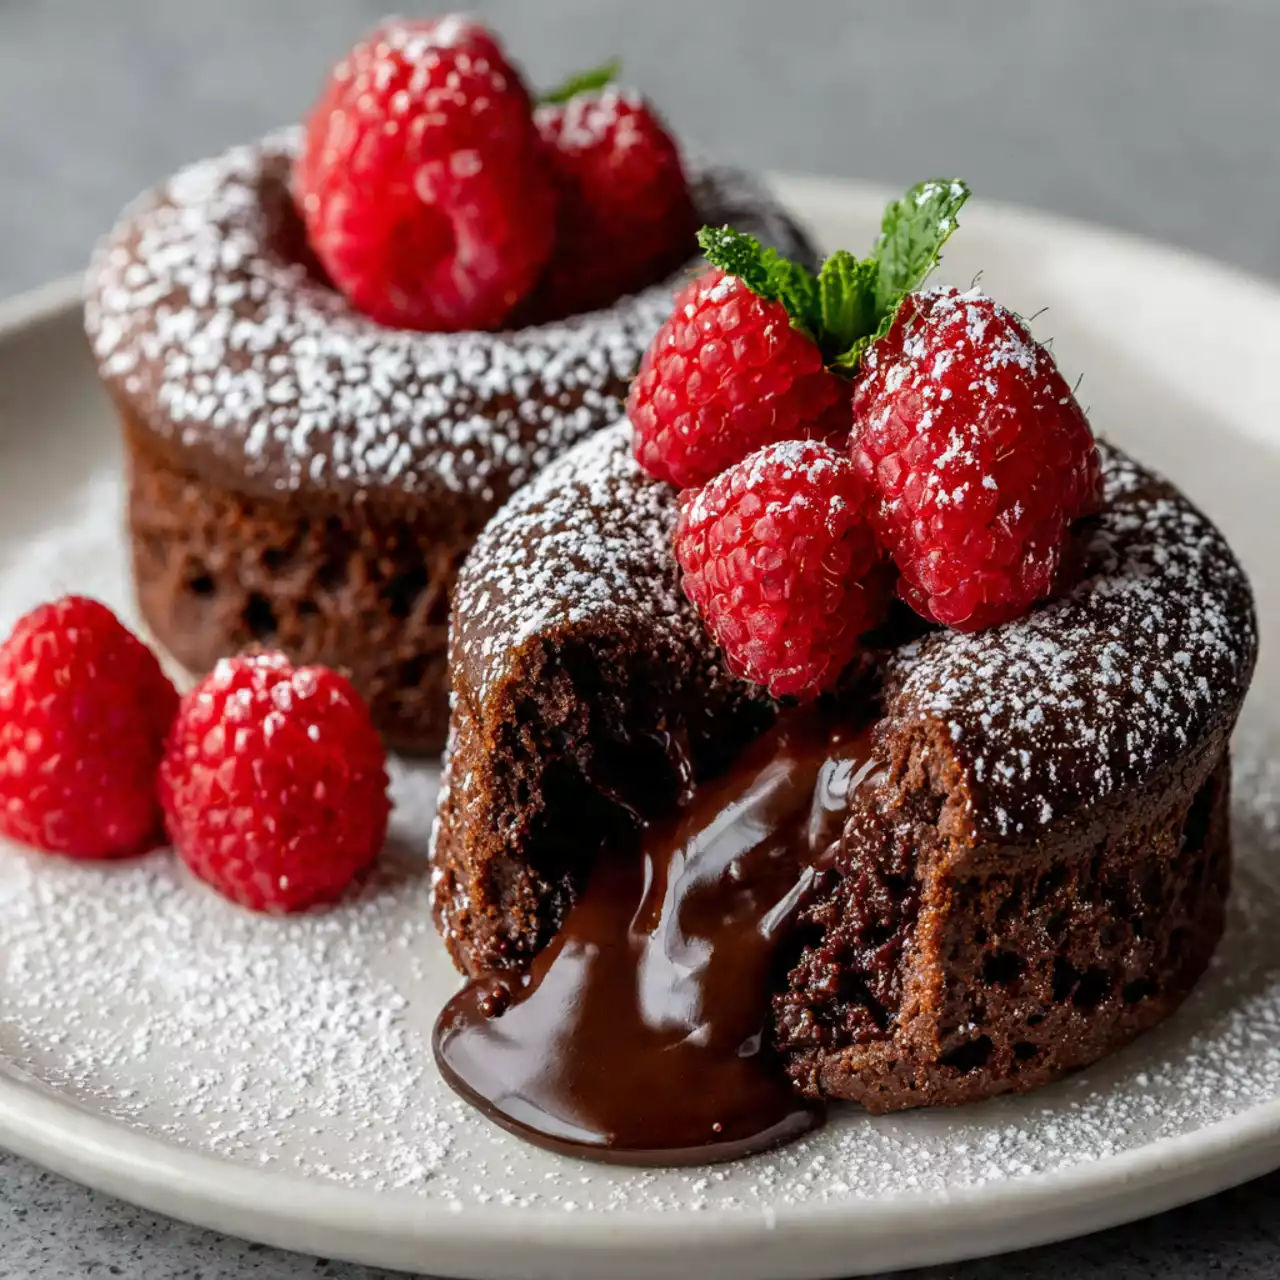
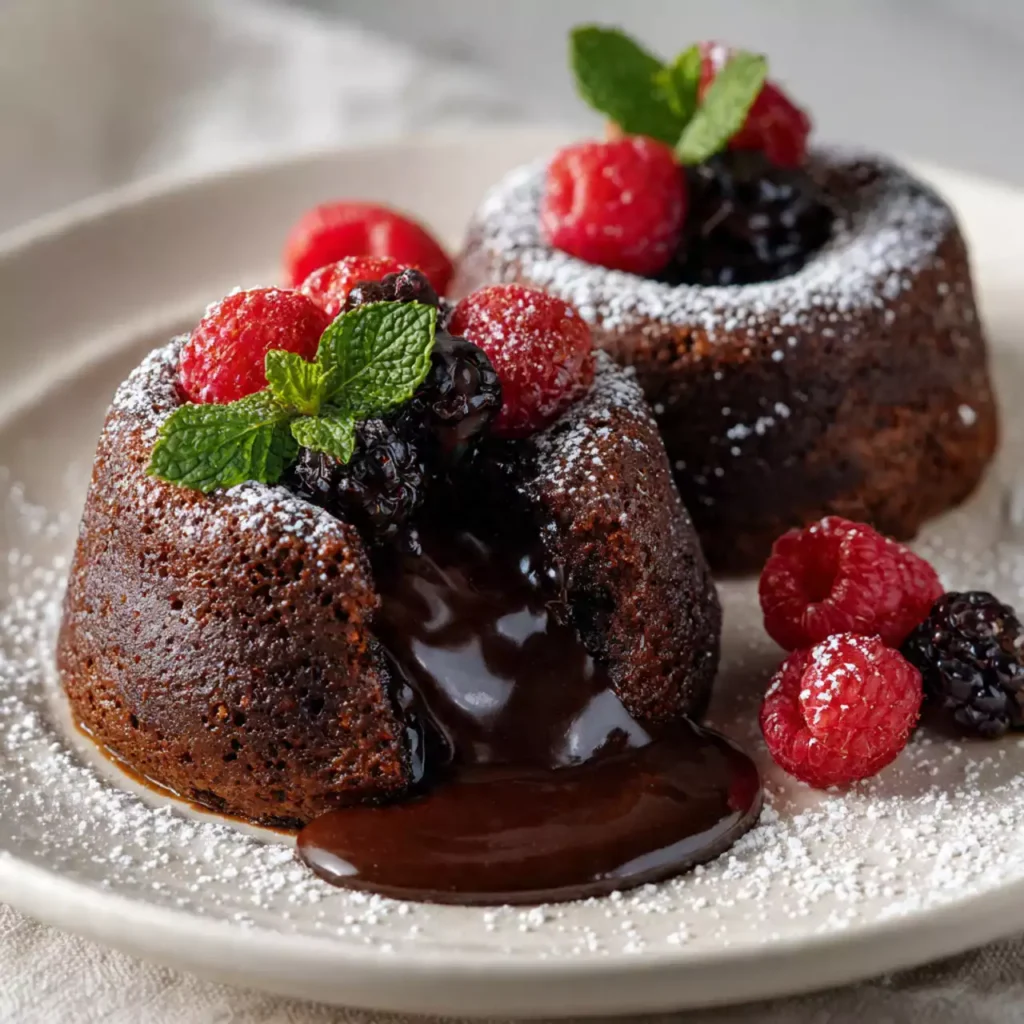
This chocolate lava cake recipe is a quick, easy, and decadent dessert that serves two. With its warm, molten center, it’s the perfect sweet finish to a romantic dinner or a cozy night in. It tastes rich and luxurious, offering that delightful contrast of a crispy exterior and a gooey core. Whether you’re celebrating love, friendship, or simply treating yourself, readers will love this recipe because of its simplicity and intense chocolate flavor. Chocolate is often celebrated for its mood-boosting properties, making this dessert a delightful treat for your mental well-being.
Ingredients
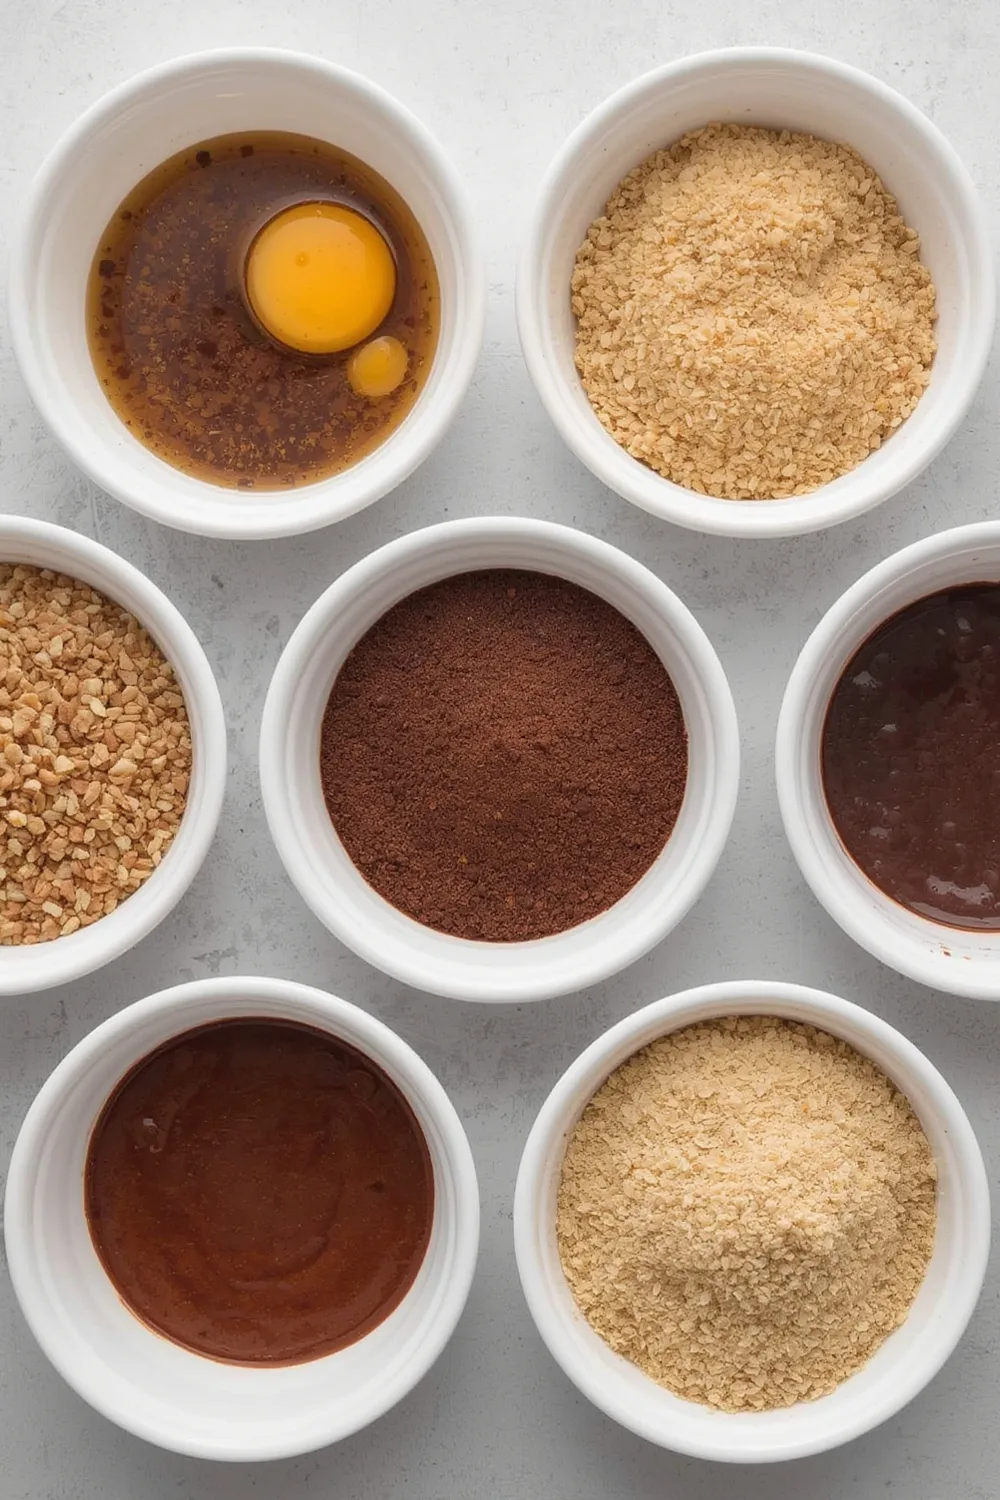
- 2 oz high-quality dark chocolate (at least 60% cocoa)
- 2 oz unsalted butter
- 1 large egg
- 1 large egg yolk
- 1/4 cup granulated sugar
- 2 tablespoons all-purpose flour
- Cooking spray or butter, for greasing
- Pinch of salt
Tools Needed
- 2 ramekins (6 oz)
- Mixing bowl
- Whisk or electric mixer
- Microwave-safe dish
- Baking sheet
- Rubber spatula or spoon
- Oven
Suggested Substitutions and Additions
- Substitute dark chocolate with semisweet or milk chocolate for a sweeter taste
- Use coconut oil or vegan butter instead of unsalted butter for a dairy-free option
- Incorporate a splash of vanilla extract for added flavor
- Add a tablespoon of cocoa powder for extra rich chocolate flavor
- Top with whipped cream, berries, or powdered sugar for presentation
How to Make

Step 1: Preheat the Oven
Start by preheating your oven to 425°F (220°C). This will ensure your lava cakes bake perfectly from the start, creating that desirable lava effect.
Step 2: Melt the Chocolate and Butter
In a microwave-safe dish, combine your dark chocolate and butter. Heat them in the microwave in 30-second intervals, stirring in between, until the mixture is completely melted. Be careful not to overheat it! You’ll know it’s ready when it becomes a smooth and silky texture.
Step 3: Whisk the Eggs and Sugar
In a mixing bowl, whisk together the egg, egg yolk, and granulated sugar. Beat this mixture until it becomes light and slightly thickened. This step creates a beautiful airy texture that compliments the richness of the chocolate.
Step 4: Combine Chocolate with Egg Mixture
Pour the melted chocolate and butter mixture into the egg and sugar mixture. Use a rubber spatula to fold gently—the goal is to incorporate everything without losing that lightness.
Step 5: Add Flour and Salt
Sift the all-purpose flour and salt over the batter, and gently fold until combined. Your batter should have no visible flour streaks, and you’ll be left with a rich chocolatey mixture.
Step 6: Prepare the Ramekins
Generously spray or butter the inside of your ramekins to prevent sticking. For a pretty touch, you can dust them with cocoa powder after greasing.
Step 7: Fill and Bake
Divide the batter evenly between the two ramekins. Place them on a baking sheet for easy handling. Bake in the preheated oven for 12-14 minutes. You’ll know they are done when the edges look firm, and the centers still wiggle slightly—this is where the lava magic happens!
Step 8: Cool and Serve
Take your gorgeous lava cakes out of the oven and let them cool for about 1 minute. Carefully run a knife around the edge before inverting onto a serving plate. And voila! You’re ready to indulge yourself and your loved one.
What to Serve with Chocolate Lava Cakes for Two
These luscious cakes pair beautifully with a variety of sides. Try serving with:
- A dollop of whipped cream or vanilla ice cream to balance the richness
- Fresh berries, like raspberries or strawberries, for a slight tartness and added color
- A dusting of powdered sugar or cocoa powder for that restaurant-style presentation
For additional dessert inspiration, check out my No-Bake Cheesecake for Two and the Rich Chocolate Mousse recipes, both of which are perfect for a romantic night.
Tips for Making It Perfect
- Prep the batter ahead of time! You can prepare it, store it in the fridge, and just bake it fresh when you’re ready to serve.
- Use high-quality chocolate. The taste directly affects the finished product, and the better the chocolate, the better the lava cake!
- If unsure about doneness, it’s better to underbake than overbake. The goal is that molten center, after all!
- To double the batch, simply multiply the ingredients by two and bake in a larger ramekin or multiple ramekins simultaneously.
Storage Instructions
If you have any leftover chocolate lava cakes (though I doubt you will!), store them in the refrigerator covered with plastic wrap for up to 3 days. To reheat, place them in the microwave for about 10-15 seconds for a quick warm-up. Unfortunately, these cakes are not refrigerator-friendly for long-term storage due to their molten cores, so enjoy them fresh!
General Information
The chocolate lava cake, which debuted in the 1980s, is often attributed to French chef Jean-Georges Vongerichten. Its luscious molten center became an immediate sensation, and it’s no surprise why! This dessert captures the love of chocolate in a way that’s both elegant and comforting. Personally, I’ve made this for birthdays, anniversaries, and even spontaneous date nights. Each time, the smiles on my loved ones’ faces inspire me to share this recipe.
Frequently Asked Questions
- Can I use milk chocolate instead of dark chocolate? Yes! Keep in mind that it may make the cake taste sweeter and affect the gooey texture slightly.
- What’s the best way to store leftovers? These lava cakes are best served fresh, but you can store them in the fridge for up to 3 days.
- Why is my cake not oozing? This can happen if it’s overbaked. Aim for a slightly jiggle in the center for that lava effect!
- Can I use a gluten-free flour? Absolutely! Just swap regular flour for an appropriate gluten-free substitute.
- Can these be made vegan? Yes, use flax eggs instead of chicken eggs and dairy-free butter for a delicious vegan lava cake.
Conclusion
What makes this chocolate lava cakes for two recipe special is its simplicity combined with the wow factor of gooey chocolatey goodness. You can create an unforgettable dessert that’s just as beautiful to share as it is to eat. I highly suggest trying my Easy Chocolate Fondue and Vanilla Cupcakes next for a perfect dessert three-course meal!
If you love cozy recipes like this, subscribe to my email list!
Interactive Elements
I would love to hear from you! Please leave a review or comment below sharing your experience with this recipe. Don’t forget to share a photo of your delightful cakes on Pinterest and tag me on Instagram!
Nutritional Information
Here’s a rough estimate of the nutritional content per serving based on standard ingredients:
Calories: 370
Fat: 24g
Carbohydrates: 36g
Protein: 5g
Enjoy your delightful chocolate lava cakes, and may your life be filled with sweet moments!

Emily brings four years of dedicated baking experience and professional pastry-focused training to Moms Meals Daily. She oversees recipe validation and quality control to ensure every dessert performs consistently and reliably.
Chocolate Lava Cakes for Two
By Emily Hart
Ingredients
Instructions
Tools Needed
Save this recipe for later ❤️
Follow @mommealsdaily on Pinterest for easy dinners, desserts, and weekly inspiration.
Victoria Recipe | Easy Desserts & Dessert Recipes
Easy & Delicious Recipes
Follow for quick family-friendly recipes, baking inspiration, and comfort food favorites.
Follow on Pinterest