There’s something magical about biting into a perfectly tangy lemon bar. The way the sunshine-yellow filling surprises your taste buds, combined with the buttery crust that crumbles ever so slightly, transports me to warm summer afternoons spent in my grandmother’s kitchen. I’m so excited to share this recipe with you because these gluten free lemon bars are a delightful treat that combines nostalgia with the vibrant zestiness of lemons. As a seasoned American chef and food blogger, I’ve made countless variations of this classic, yet there’s something about these bars that brings a cozy sense of comfort and joy.
Table of Contents
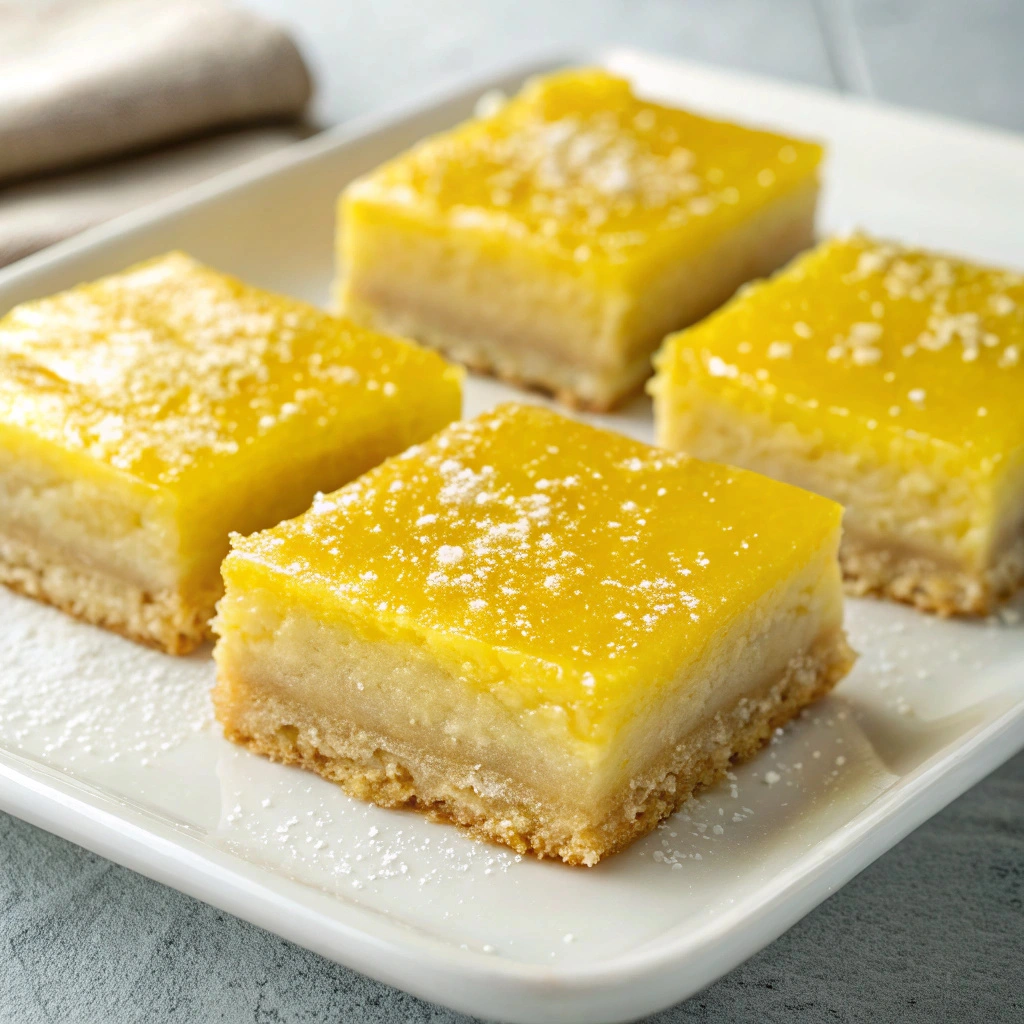
The natural tartness of the lemons paired with the sweetness of the sugar creates a harmonious balance that dances on your palate, making each bite a small moment of bliss. The smooth texture of the filling contrasts beautifully with the crumbly and buttery crust, making it an irresistible gluten free sweet. Best of all, they’re an ideal snack for any time of year—whether you’re hosting friends or treating yourself after a long day.
If you love cozy recipes like this, subscribe to my email list!
Overview of Recipe Content
This recipe for gluten free lemon bars is an easy and approachable dessert that everyone will love. They are best served chilled, allowing the flavors to meld and intensify, and the textured layers to set beautifully. Each bite bursts with refreshing lemon flavor, while the crust adds a satisfying crunch that holds its shape—making it a comforting treat to indulge in.
You’ll adore how quick and simple these bars are to whip up, and they can easily be customized to suit your taste. With their nutritional benefits—the lemon being a fantastic source of vitamin C—you can feel good about treating yourself. Their vibrant flavor is perfect for all occasions, from summer picnics to winter holidays.
Ingredients

For the crust:
- 1 ½ cups gluten free all-purpose flour
- ½ cup powdered sugar
- ½ teaspoon salt
- ½ cup unsalted butter, softened
For the filling:
- 1 cup granulated sugar
- ¼ cup gluten free all-purpose flour
- 4 large eggs
- 1 cup freshly squeezed lemon juice (about 4-6 lemons)
- Zest of 2 lemons
- Pinch of salt
For garnish:
- Extra powdered sugar for dusting
- Lemon slices (optional)
Tools Needed
- Mixing bowls
- A whisk or an electric mixer
- 9×9 inch baking pan
- Parchment paper
- Microplane or zester
- Measuring cups and spoons
- Cooling rack
Suggested Substitutions and Additions
If you’re looking to make these lemon bars fit your dietary preferences or just want to experiment, here are some helpful substitutions:
- For a lower-carb option, consider substituting granulated sugar with erythritol or another low-carb sweetener.
- For a vegan alternative, use flax eggs (1 tablespoon ground flaxseed mixed with 2.5 tablespoons water for each egg) and replace the butter with coconut oil or a vegan butter substitute.
- If you want to add a twist to the flavor, consider mixing in a teaspoon of vanilla extract or adding fresh herbs like mint for a refreshing finish.
- To make your bars richer, you can use coconut cream instead of regular dairy, making it a lovely non-dairy dessert option.
How to Make
Step 1: Prepare the Crust
To start, preheat your oven to 350°F (175°C). Take your mixing bowl and combine the gluten free all-purpose flour, powdered sugar, and salt. This dry mixture will create the base of your crust, which is the foundation for your beautiful lemon filling.
Next, add the softened butter into the dry ingredients. Using a fork or pastry cutter, mix the ingredients together until the mixture resembles fine crumbs. You want the pieces of butter to be small enough that they’ll melt into the flour during baking, creating a flaky texture.
Once fully combined, press the mixture evenly into the bottom of your prepared 9×9 inch baking pan. This will be the hearty base of your bars.
Step 2: Bake the Crust
Place the pan in the preheated oven and let it bake for about 15-18 minutes, or until the crust is lightly golden. The heavenly aroma of baked butter and sugar will start to fill your kitchen. While you wait, use this time to organize the ingredients for your filling.
Step 3: Whisk the Filling
While the crust is baking, let’s prepare the lemon filling. In another mixing bowl, whisk together the granulated sugar and gluten free flour. Slowly incorporate the eggs, one at a time, whisking well after each addition. You want to create a smooth, frothy mixture.
Now, add in the freshly squeezed lemon juice, lemon zest, and a pinch of salt. The zest is crucial as it intensifies the lemon flavor within the bars. Whisk everything together until it’s well combined and you see a beautiful, bright yellow mixture.
Step 4: Assemble the Bars
When the crust is finished baking, remove it from the oven and immediately pour the lemon filling over the hot crust. This contrast between the warm crust and the cool filling will enhance the flavors and create a delightful layer of textures.
Step 5: Bake the Lemon Bars
Return the pan to the oven and bake for an additional 20-25 minutes. The filling should be set but still slightly jiggly in the center—this will ensure that they have that creamy texture when you take a bite. Your kitchen will be filled with the most delightful citrus aroma.
Step 6: Cool and Serve
Once baked, remove the bars from the oven and allow them to cool on a rack before transferring them to the refrigerator for at least two hours to chill and set completely. This is the hard part, as the anticipation may just make your mouth water!
Once your bars are fully chilled, dust the top with powdered sugar, cut into squares, and enjoy!
What to Serve with Gluten Free Lemon Bars
These gluten free lemon bars can stand beautifully on their own, or you can elevate the experience a bit by pairing them with:
- A dollop of fresh whipped cream or a scoop of vanilla ice cream for those dessert lovers.
- Hot tea or fresh lemonade—perfect for an afternoon gathering.
- A sprinkle of fresh berries on the side, such as raspberries or blueberries, to complement the tartness.
Looking for more delightful recipes? Consider trying my gluten free strawberry shortcake or a non dairy coconut cream pie to enjoy the sweet side of life!
Tips for Making It Perfect
- Make sure all your ingredients are at room temperature for the best mixing results.
- Use fresh lemons for the most intense flavor—trust me, you’ll taste the difference!
- Want to make ahead? Bake the crust and filling, then let them cool fully; they can be stored in the refrigerator for a few days.
- If you’d like to make a double batch for gatherings, simply adjust the ingredient quantities and use a larger baking pan.
- For a more intense flavor, try adding a touch of lemon extract!
Storage Instructions
To keep your gluten free lemon bars deliciously fresh:
- Store them in an airtight container in the refrigerator for up to 5 days. The coolness enhances the flavors while keeping them firm.
- If you wish to reheat, do so gently in the microwave for about 10-15 seconds; just enough to take the chill off.
- These bars can be frozen for longer storage—wrap them tightly in plastic wrap and then in aluminum foil. They’ll stay good in the freezer for up to 3 months.
General Information
Lemon bars have a history traceable back to the early 20th century, believed to have originated in the United States. While the exact origins are unclear, their delightful flavor and easy preparation have made them a favorite in many households. I remember spending afternoons with my grandmother, watching her whip up these treats, teaching me the importance of enjoying the process of cooking as much as the final product.
Frequently Asked Questions
Can I swap the ingredients for a different gluten free all-purpose flour blend?
- Absolutely! However, be sure to select a blend that contains xanthan gum to ensure good texture.
How long can I store the lemon bars?
- In the refrigerator, they’ll last about 5 days. If frozen, they can last up to 3 months.
What if my lemon bars turn out too runny?
- This could mean they need to bake a little longer. Remember, the filling should still have a slight jiggle when you take them out.
Can I double this recipe?
- Yes! You can easily double the ingredients and use a larger pan, just be mindful of the bake time as it may vary.
Conclusion
These gluten free lemon bars are not just a treat; they’re a celebration of flavor and nostalgia. They encapsulate the essence of bright and sunny days, bringing joy with each bite. So effortless to make and impeccably delicious, this recipe proves to be perfect for any season. You can enjoy them as a gluten free treat or share them with friends and family during gatherings.
For more delightful desserts, don’t forget to check out my gluten free chocolate chip cookies or my tasty non dairy berry mousse!
Thank you for joining me on this journey through flavor and tradition. Let’s keep sharing the love of food—until next time!
Interactive Elements
I would love to hear from you! Please leave a comment or review if you make these lemon bars, or share a photo of your beautiful creations on Pinterest. You can also tag me on Instagram—I can’t wait to see your versions of this delicious recipe!
Nutritional Information
Here’s an approximate breakdown of the nutritional values per serving (1 square):
Calories: 180
Protein: 2g
Carbohydrates: 24g
Fat: 9g
Fiber: 1g
Sodium: 80mg

Emily brings four years of dedicated baking experience and professional pastry-focused training to Moms Meals Daily. She oversees recipe validation and quality control to ensure every dessert performs consistently and reliably.
Gluten Free Lemon Bars
By Emily Hart
Ingredients
Instructions
Tools Needed
Save this recipe for later ❤️
Follow @mommealsdaily on Pinterest for easy dinners, desserts, and weekly inspiration.
Victoria Recipe | Easy Desserts & Dessert Recipes
Easy & Delicious Recipes
Follow for quick family-friendly recipes, baking inspiration, and comfort food favorites.
Follow on Pinterest