There’s something magical about a birthday cake. It’s an emblem of celebration and love, a tradition that transcends time and culture, bringing together friends and family to share in joy. As a chef and storyteller, I find that the best recipes are not just about the ingredients but the memories they create. This Homemade Birthday Cake recipe is light, fluffy, and holds a timeless appeal that makes every celebration feel special. Inspired by the classic cakes of my childhood, it features layers of airy vanilla goodness, soft frosting, and an overwhelming amount of nostalgia. You’ll love not just the taste but the joy it brings into your home. So, gather your loved ones, turn on some music, and let’s get baking. If you love cozy recipes like this, subscribe to my email list!
Table of Contents
Overview of Recipe Content
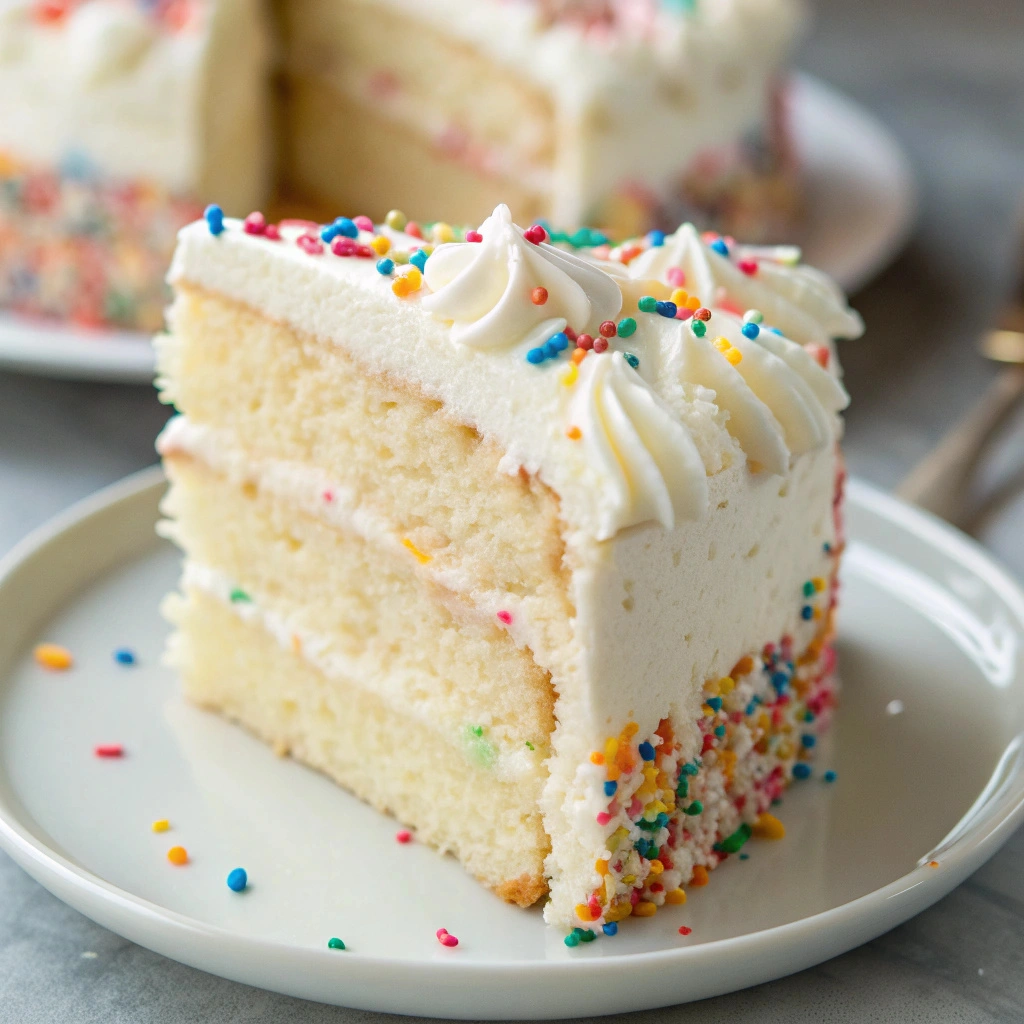
This recipe celebrates the essence of a traditional birthday cake. It’s perfect for birthdays, anniversaries, or any gathering where sweet indulgence is welcomed. Each slice unveils a light texture with a perfect flavor balance that dances on your palate—lightly sweet, with hints of vanilla that bring warmth and comfort. Readers will appreciate the fact that it’s quick to make, customizable to suit different tastes, and a true crowd-pleaser. Plus, this cake can be adapted for any season, making it a versatile pick for year-round celebrations.
Ingredients

For the Cake:
- 2 ½ cups all-purpose flour
- 1 ½ cups granulated sugar
- 1 ½ teaspoons baking powder
- 1 teaspoon baking soda
- ½ teaspoon salt
- 1 cup buttermilk (at room temperature)
- ½ cup unsalted butter (softened)
- 2 large eggs (at room temperature)
- 2 teaspoons pure vanilla extract
For the Frosting:
- 1 cup unsalted butter (softened)
- 4 cups powdered sugar
- 2 teaspoons vanilla extract
- 2-3 tablespoons heavy cream or milk
- Pinch of salt
For Decoration:
- Sprinkles (optional)
- Fresh berries
- Edible flowers
Tools Needed
- Mixing bowls
- Electric mixer (or whisk)
- Measuring cups and spoons
- Spatula
- Baking pans (two 9-inch round)
- Cooling rack
- Piping bag (optional for frosting)
- Cake stand or serving plate
Suggested Substitutions and Additions
- For a dairy-free option, replace buttermilk with almond milk and use dairy-free butter.
- You can substitute granulated sugar with coconut sugar for a more caramelized flavor.
- Add a handful of chocolate chips or citrus zest for a unique twist on flavor.
- For a minimalist birthday cake, skip the frosting and dust with powdered sugar.
How to Make
Step 1: Preheat the Oven and Prepare the Pans
Preheat your oven to 350°F (175°C). Grease your 9-inch cake pans with butter and line the bottoms with parchment paper. This step is crucial to ensure your cake comes out smoothly without sticking, allowing you to showcase those beautiful layers.
Step 2: Combine Dry Ingredients
In a large mixing bowl, whisk together the flour, baking powder, baking soda, and salt. This method ensures that the leavening agents are evenly distributed—a key component in achieving that light, fluffy texture you crave for a birthday cake.
Step 3: Mix Wet Ingredients
In another bowl, beat the softened butter and sugar together until light and fluffy. This process introduces air into the mixture, setting the stage for that cloud-like texture. Gradually add the eggs and vanilla, blending well after each addition. Finally, mix in the buttermilk until just combined.
Step 4: Combine Wet and Dry Mixtures
Slowly add the dry ingredients to the wet mixture, mixing until smooth. Be careful not to overmix, as this could lead to a dense cake instead of a fluffy one. The batter should be thick yet pourable.
Step 5: Bake the Cakes
Divide the batter evenly between the prepared cake pans. Bake in the preheated oven for 25-30 minutes, or until a toothpick inserted in the center comes out clean. As your cakes bake, the aroma of vanilla will subtly fill your kitchen, comforting anyone nearby.
Step 6: Cool the Cakes
Once baked, remove the cakes from the oven and allow them to cool in the pans for about 10 minutes. Then, transfer them to a wire rack to cool completely. This step ensures your cake has the right moisture without becoming soggy.
Step 7: Make the Frosting
While the layers are cooling, prepare your frosting. Beat the softened butter in a mixing bowl until creamy. Gradually add the powdered sugar, alternating with the heavy cream, and beat until smooth and fluffy. The right consistency is key—the frosting should be thick enough to hold its shape but creamy enough to spread easily.
Step 8: Frost and Decorate
Once the cake layers are completely cooled, place one layer on your cake stand and spread a generous amount of frosting on top. Place the second layer on top and cover the entire cake with frosting. Don’t worry about making it perfect—embrace that homemade aesthetic! Add sprinkles, fresh berries, or edible flowers to elevate your creation.
What to Serve with Homemade Birthday Cake Recipe
This delightful cake goes beautifully with a range of options:
- Serve with a scoop of vanilla ice cream for an extra treat.
- Complement with a light fruit salad for a refreshing side.
- Pair with a cup of coffee or tea to balance the sweetness of the cake.
If you’re in the mood for more treats, try making my Chocolate Ganache Tart or Lemon Drizzle Loaf Cake.
Tips for Making It Perfect
- **Prep-Ahead Advice:** You can bake the cake layers in advance. Just store them wrapped tightly in plastic wrap at room temperature for up to two days or in the fridge for up to a week.
- **Fixing Common Mistakes:** If your cake rises unevenly, it might be due to improper oven temperature. Always use an oven thermometer for accuracy.
- **Texture Adjustments:** If your batter feels too thick, add a splash more of buttermilk to loosen it up.
- **Doubling the Recipe:** This recipe can easily be doubled to create a multi-layer cake for larger gatherings.
- **Make-ahead Tips:** You can prepare the frosting up to a week in advance. Just keep it stored in the refrigerator and whip it again before using.
Storage Instructions
- **Refrigerator Storage:** Store leftover cake in an airtight container in the fridge for up to five days.
- **Reheating Methods:** If you prefer to enjoy it warm, microwave a slice for just 10-15 seconds.
- **Make-ahead Options:** You can freeze un-frosted cake layers for up to three months. Just wrap them tightly in plastic wrap.
- **Freezing Recommendations:** Thaw in the refrigerator overnight before frosting or serving.
General Information
The concept of a birthday cake is deeply rooted in history, with practices dating back to ancient Greece. The tradition has blossomed over the years, evolving into the beautiful and intricate birthday cakes that grace our celebrations today. In my own life, birthdays have always meant being surrounded by family, laughter, and of course, cake! It’s a joyous circle of love and connection that I cherish deeply.
Frequently Asked Questions
- **Can I substitute the eggs in this recipe?** Yes, you can use flax eggs or applesauce for a vegan option.
- **What’s the best way to store my cake?** An airtight container in the fridge will keep it fresher for longer.
- **Why did my cake come out dense?** Overmixing the batter or not using fresh ingredients can lead to a dense cake.
- **How long can I keep leftovers?** Leftover cake can typically be stored for up to five days in the refrigerator.
- **What if my cake isn’t rising well?** This could be due to expired baking powder or too much flour.
Conclusion
This Homemade Birthday Cake recipe is not just about indulging in something sweet; it’s an experience, a moment of joy, and a sprinkle of love that will surely bring smiles to faces. It’s easy to whip up, bursting with flavor, and can be customized to your heart’s desire. Whether you’re celebrating a milestone or simply wanting to treat yourself, this cake is your go-to recipe. For more delicious recipes, I highly recommend trying my Classic Chocolate Chip Cookies or Funfetti Cupcakes.
Thank you for joining me on this baking adventure! Remember, every lovely cake tells a story, so get creative in the kitchen.
Interactive Elements
I invite you to share your thoughts! Please leave a comment or review on this post. If you whip up this cake, don’t forget to share a photo on Pinterest. And tag me on Instagram @mommealsdaily.
Nutritional Information
Approximate nutritional values per serving:
Calories: 390
Protein: 3g
Carbohydrates: 55g
Fat: 18g
Fiber: 1g
Sodium: 200mg

Emily brings four years of dedicated baking experience and professional pastry-focused training to Moms Meals Daily. She oversees recipe validation and quality control to ensure every dessert performs consistently and reliably.
Homemade Birthday Cake Recipe That’s Light, Fluffy, and Timeless
By Emily Hart
Ingredients
Instructions
Tools Needed
Save this recipe for later ❤️
Follow @mommealsdaily on Pinterest for easy dinners, desserts, and weekly inspiration.
Victoria Recipe | Easy Desserts & Dessert Recipes
Easy & Delicious Recipes
Follow for quick family-friendly recipes, baking inspiration, and comfort food favorites.
Follow on Pinterest