Thanks for being here! I’m so excited to share this No Bake Chocolate-Dipped Cake Batter Truffles recipe with you. These delightful little treats are not only a fun and indulgent twist on traditional cake batter but they also fit perfectly into life’s sweet moments – celebrations, quick snacks, and cozy evenings. If you enjoy easy treats that require no baking and are bursting with flavor, then you’re in for a real treat with these truffles!
Table of Contents
Overview of Recipe Content
This No Bake Chocolate-Dipped Cake Batter Truffles recipe is a fun and enjoyable way to satisfy your sweet tooth without the fuss of preheating the oven. They’re rich and fudgy, wonderfully sweet, and have the nostalgic flavor of cake batter that many of us love. These truffles are perfect for parties, gifts, or a delicious self-care snack on a rainy day.
Why will readers love it? Well, aside from being incredibly easy to make and requiring just a handful of ingredients, these truffles are wonderfully versatile. You can customize them not only based on your favorite flavors but also based on what you’ve got in your pantry. Plus, they are a light-hearted dessert that brings joy and smiles, making them a crowd-pleaser at any gathering.
Whether you’re catering for a bake sale, planning a kids’ party, or simply need a little treat for yourself, these truffles also score high in terms of nutritional value, with options to include protein powder and other wholesome ingredients, making them a guilt-free pleasure!
Ingredients
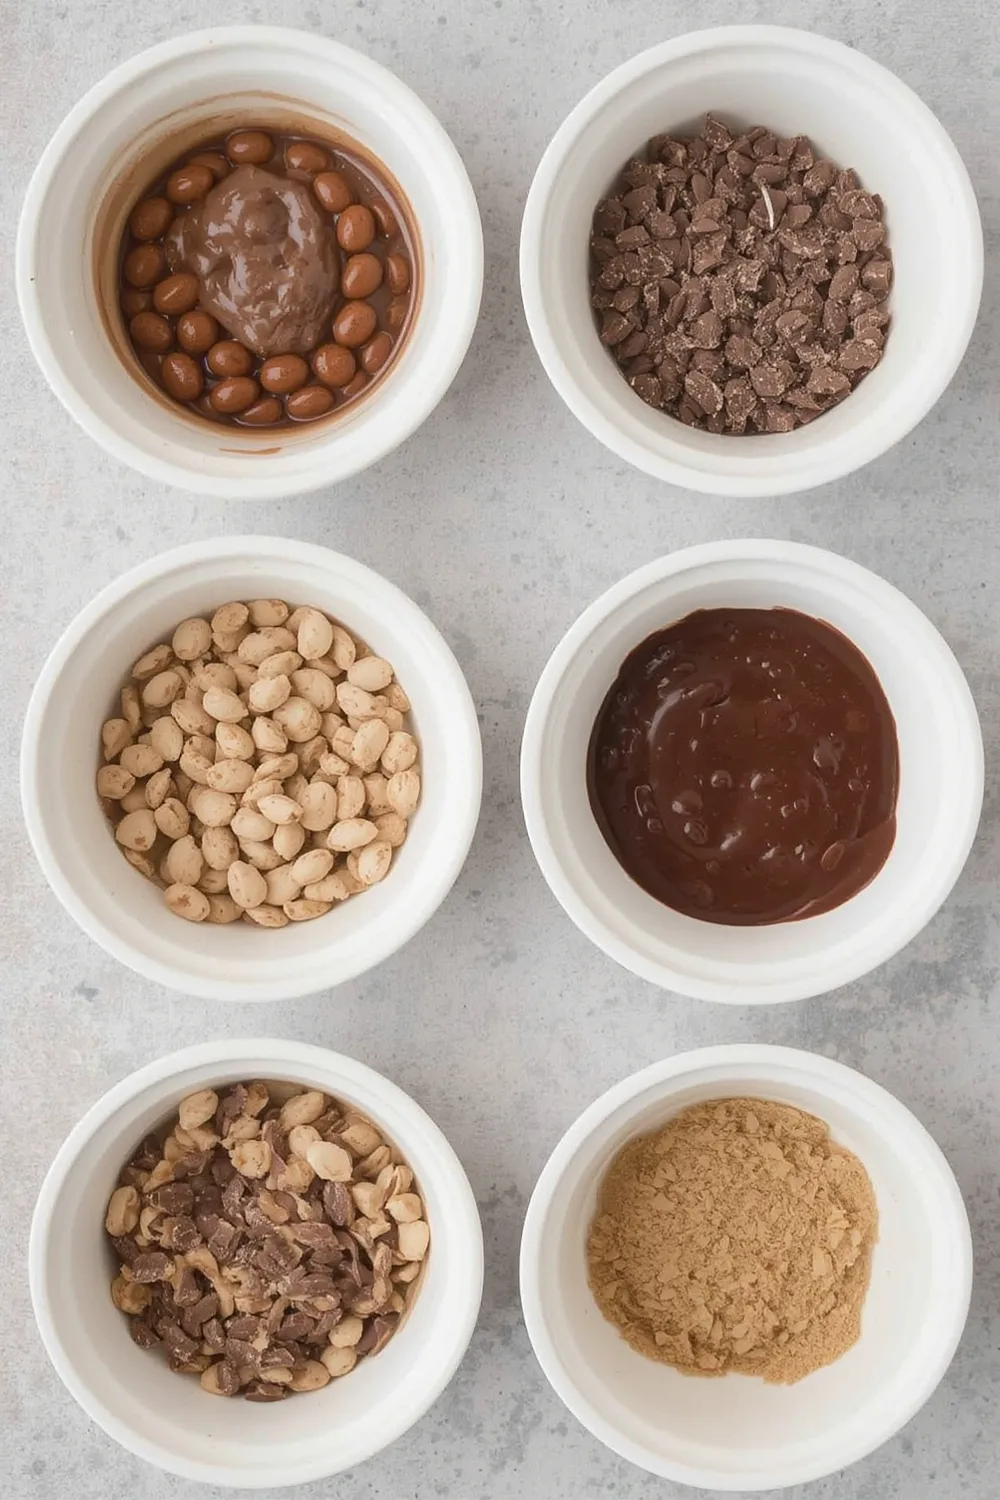
- 1/2 cup unsalted butter, softened
- 1 cup brown sugar
- 2 cups all-purpose flour (heat-treated for safety)
- 1/4 teaspoon salt
- 1 teaspoon vanilla extract
- 1/2 cup chocolate chips (plus more for dipping)
- 1-2 tablespoons milk (as needed)
Tools Needed
- Mixing bowls
- Silicone spatula or wooden spoon
- Cookie scoop or tablespoon
- Baking sheet lined with parchment paper
- Microwave-safe bowl for melting chocolate
Suggested Substitutions and Additions
- Use coconut oil or vegan butter for a dairy-free version.
- Substitute almond flour or oat flour for a gluten-free option.
- For flavor variations, add a tablespoon of sprinkles, peanut butter, or almond extract.
- Use white chocolate or colored chocolate melts for dipping.
How to Make
Step 1: Cream the Butter and Sugar
Start by blending the softened butter with the brown sugar in a mixing bowl. You’ll want to mix it until it’s light and fluffy – this should take about 2-3 minutes. The sweet aroma will fill your kitchen, and you’ll know you’re on your way to something wonderful!
Step 2: Combine the Dry Ingredients
Next, in a separate bowl, combine the heat-treated flour and salt. Heat-treating flour is important here to ensure it’s safe since we are not baking it! Just spread it on a baking sheet and toast it in the oven at 350°F (about 5 minutes). Combine the flour mix with the butter mixture, adding in the vanilla extract and chocolate chips. Mix until just combined, enjoying the sight of your luscious dough coming together.
Step 3: Form the Truffles
Using a cookie scoop or tablespoon, measure out small portions of the dough and roll them into balls. This step is so much fun! You’ll see the golden and chocolatey dough transform into round, delightful little bites. Place the truffles on the prepared baking sheet.
Step 4: Chill the Truffles
Once all your truffles are shaped, pop the baking sheet into the fridge for about 30 minutes. This will help them firm up so they hold their shape when you dip them in chocolate.
Step 5: Melt the Chocolate
While the truffles are chilling, melt some chocolate chips in a microwave-safe bowl. Heat it for 30 seconds at a time, stirring in between, until it’s completely smooth and glossy.
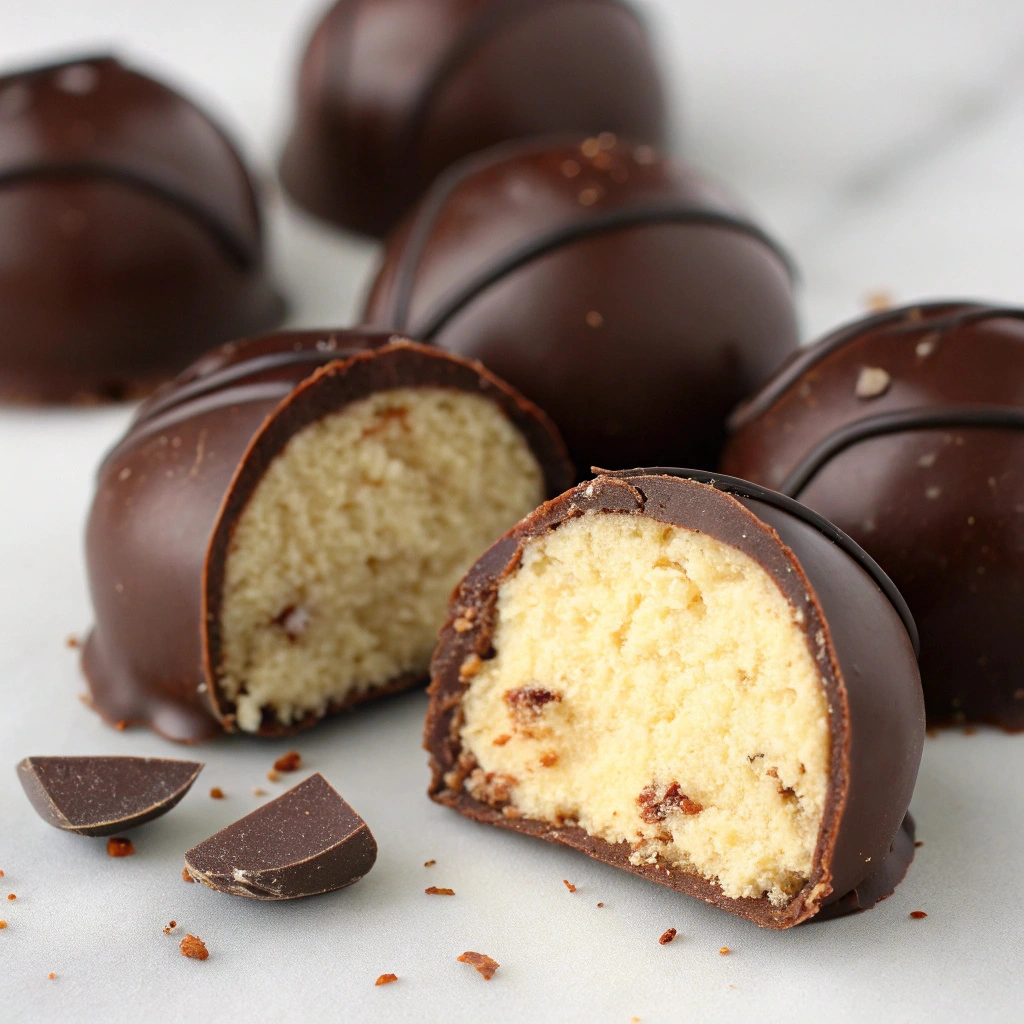
Step 6: Dip the Truffles
When the truffles are firm, take them out of the fridge. Dip each truffle into the melted chocolate, ensuring it’s thoroughly coated. Use a fork to lift them out, allowing any excess chocolate to drip back into the bowl. Place them back on the parchment-lined baking sheet.
Step 7: Add Final Touches
Before the chocolate sets, feel free to sprinkle on some extra toppings like colorful sprinkles or a drizzle of white chocolate for that extra flair and beautiful finishing touch.
What to Serve with No Bake Chocolate-Dipped Cake Batter Truffles
These truffles are delightful on their own, but if you want to pair them with something special, here are some suggestions:
- Serve them alongside a glass of cold milk or a rich hot chocolate for a decadent treat.
- Offer them during a movie night with popcorn for the ultimate cozy snack platter.
- Pair with fresh fruit like strawberries or raspberries for a lovely contrast of flavors.
You might also want to check out these related recipes:
Tips for Making It Perfect
- Prep Ahead: You can prepare the truffle base a day in advance and keep it in the fridge before rolling into balls and dipping.
- Fix Common Mistakes: If your dough seems too crumbly, add a teaspoon of milk at a time until it reaches the desired consistency.
- Double Batch: These truffles are so popular that you may want to double the recipe so you have plenty to share!
- Chocolate Dipping: Use high-quality chocolate for dipping; it makes all the difference in taste.
Storage Instructions
Store the No Bake Chocolate-Dipped Cake Batter Truffles in an airtight container in the fridge for up to one week. They can also be frozen for up to three months. For freezing, layer them between parchment paper in an airtight container. When ready to enjoy, just let them thaw in the fridge overnight.
General Information
Cake batter truffles have grown in popularity as a sweet treat, and there are many variations you can find in the contemporary dessert world. With their no-bake appeal, they blend nostalgia and modern flavor while allowing creativity in dessert making. These truffles remind me of joyous moments baking with my grandmother, who would often let me lick the bowl after mixing and spoil me with stories while we baked. There’s something about the aroma of warm chocolate and sweet cookie dough that evokes a sense of comfort and warmth.
Frequently Asked Questions
- Can I substitute flour for protein powder?
Yes, you can use protein powder as a substitute for part of the flour in this recipe, but you may want to adjust the liquid slightly.
- How long can I keep these in the fridge?
They will last about one week when stored properly in an airtight container.
- What if my truffles are too soft?
If your truffles are too soft to roll, make sure to chill them longer before dipping. Alternatively, add a bit more flour to the mix.
- Can I make these dairy-free?
Absolutely! Use a dairy-free butter substitute and dairy-free chocolate chips for a tasty vegan treat.
Conclusion
In summary, these No Bake Chocolate-Dipped Cake Batter Truffles are special for their nostalgic flavor, simplicity, and the joy they bring to any gathering. With just a handful of ingredients and steps, anyone can whip up this delightful dessert. If you’re interested in more sweet treat ideas, check out my other recipes for No Bake Cheesecake Bites or Chocolate Peanut Butter Energy Bites.
Until next time, enjoy these truffles and all the sweet moments they create. Goodbye, and happy baking!
Interactive Elements
I would love to hear from you! Please leave a review or comment on this recipe. If you make these truffles, share your photos on Pinterest or tag me on Instagram! I can’t wait to see your delicious creations!
Nutritional Information
Approximate calories and macros per serving (based on 20 truffles):
Calories: 80
Fat: 4g
Carbohydrates: 9g
Fiber: 0g
Protein: 1g

Emily brings four years of dedicated baking experience and professional pastry-focused training to Moms Meals Daily. She oversees recipe validation and quality control to ensure every dessert performs consistently and reliably.
No Bake Chocolate-Dipped Cake Batter Truffles
By Emily Hart
Ingredients
Instructions
Tools Needed
Save this recipe for later ❤️
Follow @mommealsdaily on Pinterest for easy dinners, desserts, and weekly inspiration.
Victoria Recipe | Easy Desserts & Dessert Recipes
Easy & Delicious Recipes
Follow for quick family-friendly recipes, baking inspiration, and comfort food favorites.
Follow on Pinterest