
Thanks for being here! I’m so excited to share this delightful recipe for No-Bake Valentine’s Cheesecake Cups with you. Since Valentine’s Day is just around the corner, it’s the perfect time to whip up something sweet and special. These cheesecake cups not only have a lovely creamy texture but also burst with flavor and love. They’re an adorable treat that I’ve made for my family and friends countless times, and they always leave smiles on their faces. This recipe is special to me because it captures the essence of celebration while providing a simple yet delicious dessert that everyone can enjoy. So, let’s get started, shall we?
Table of Contents
Overview of Recipe Content
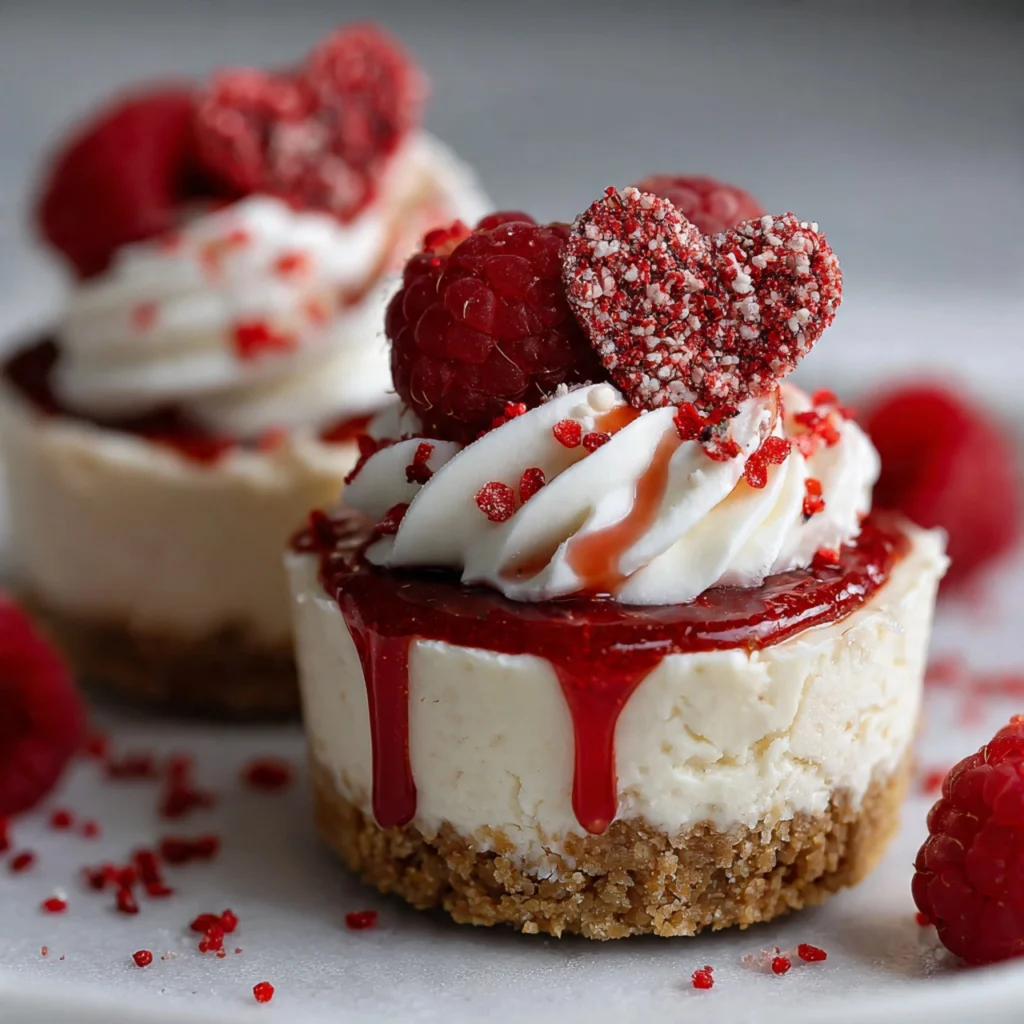
These No-Bake Valentine’s Cheesecake Cups are a fabulous and easy way to celebrate love in the air! They are creamy, luscious, and not overly sweet, making them the ideal dessert for a romantic dinner or a fun Galentine’s party. Picture individual cups filled with velvety cheesecake goodness and topped with fresh strawberries or a drizzle of chocolate – pure bliss!
Readers will love this recipe because it’s not just quick to make but also a healthier alternative to traditional cheesecake. Plus, they’re a crowd-pleaser, so you can be sure that everyone will be fighting over the last cup. And as an added bonus, each cup can be tailored to different tastes, making them a perfect fit for a variety of dietary needs.
Ingredients
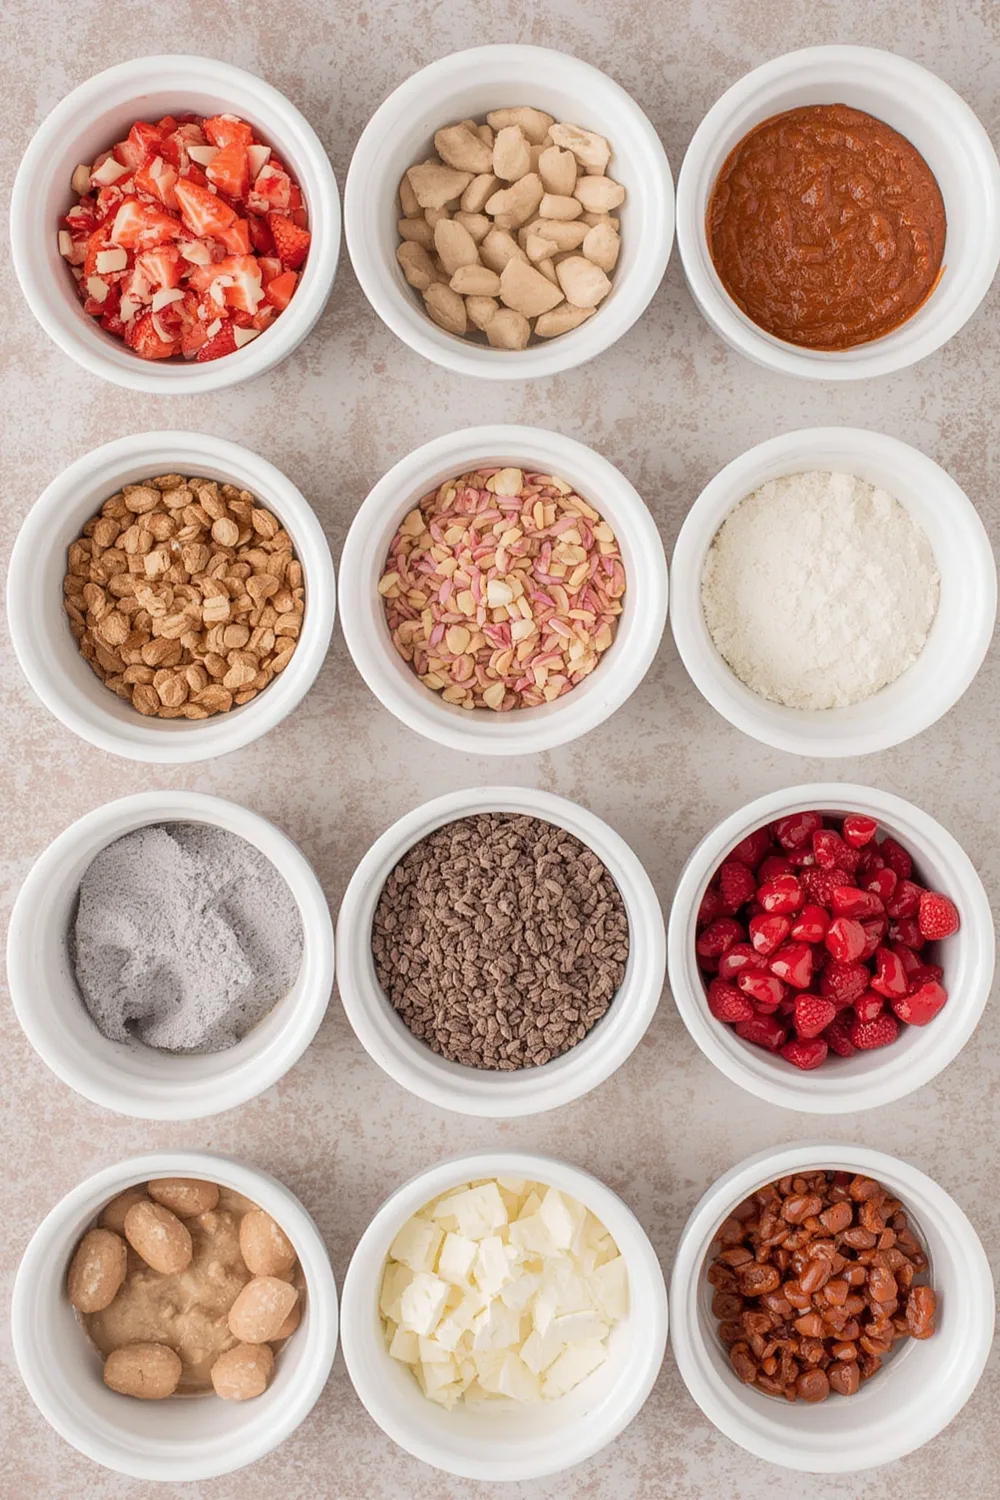
- 1 cup graham cracker crumbs
- 1/4 cup unsalted butter, melted
- 2 cups cream cheese, softened
- 1 cup powdered sugar
- 1 teaspoon vanilla extract
- 1 cup heavy whipping cream
- 1/2 cup fresh strawberries, sliced (for topping)
- Optional: chocolate shavings or sprinkles for decoration
Tools Needed
- Mixing bowls
- Electric mixer
- Measuring cups and spoons
- Glass dessert cups or jars
- Spatula
- Refrigerator for chilling
Suggested Substitutions and Additions
- Swap graham cracker crumbs for crushed Oreos for a chocolate version.
- Use coconut cream instead of cream cheese for a dairy-free alternative.
- Add a layer of fruit puree, like raspberry or blueberry, for enhanced flavor.
- Use sweetened condensed milk instead of powdered sugar for added creaminess.
- Top with nuts or crushed cookies for added texture.
How to Make
Step 1: Prepare the Crust
Start by mixing the graham cracker crumbs and melted butter in a bowl until it resembles wet sand. It should hold together when you press it into a cup. You’ll know it’s ready when it smells buttery and sweet!
Step 2: Form the Crust
Take your dessert cups or jars and evenly distribute the crumb mixture in the bottom of each one. Using your fingers or the back of a spoon, press it down firmly to create a nice and sturdy base. This will give your cheesecake a delightful crunch.
Step 3: Make the Cheesecake Filling
In a separate bowl, beat the softened cream cheese until it’s smooth and creamy using an electric mixer. Add in the powdered sugar and vanilla extract, and mix until well combined. The batter should be luscious, fluffy, and ready to mingle!
Step 4: Whip the Cream
In another bowl, whip the heavy cream until soft peaks form. You’ll know it’s ready when it feels light and airy – a heavenly texture that will elevate your cheesecake cups!
Step 5: Combine the Mixtures
Gently fold the whipped cream into the cream cheese mixture. Be careful not to deflate the whipped cream; you want to keep the filling light and airy. This step is crucial for that dreamy cheesecake texture.
Step 6: Assemble
Now, it’s time to layer! Spoon the cheesecake filling over the crust in each cup. You can leave some space at the top for your toppings later. Level out the filling and smooth it down with a spatula for a beautiful finish.
Step 7: Chill
Place the filled cups in the refrigerator and let them chill for at least 2 hours. This helps the flavors meld and the cheesecake set, making each bite incredibly delicious!
Step 8: Serve Your Cups
Once your cheesecake cups have chilled and are ready to rock, top each one with a slice of fresh strawberry or a sprinkle of chocolate shavings. Don’t forget to put your own spin on the decoration!
What to Serve with No-Bake Valentine’s Cheesecake Cups
These cheesecake cups pair wonderfully with a glass of sparkling rosé or a refreshing mint lemonade. They also make for a delightful dessert alongside a nice cheese platter or some chocolate-covered strawberries.
For more sweet inspirations, you might want to try out these related recipes:
Tips for Making It Perfect
- Prep your ingredients in advance. Make sure everything is at room temperature for easier mixing.
- Avoid overmixing the whipped cream after folding it into the cream cheese mixture.
- If the filling seems too thick, you can add a splash of milk to achieve the desired consistency.
- These cups can be made ahead and stored for up to three days in the fridge; just add toppings before serving!
- Want to double the batch for a bigger gathering? Simply multiply all ingredients by two and follow the same instructions.
Storage Instructions
To store your No-Bake Valentine’s Cheesecake Cups, simply cover them with plastic wrap or lid and keep them refrigerated. They will last for about 3-5 days. If you want to freeze them, let them chill completely, then cover them tightly and freeze for up to a month. Just remember, you’ll want to top with fresh ingredients after thawing.
General Information
The beautiful tradition of indulging in sweet treats on Valentine’s Day has been around for centuries, with roots traced back to ancient Roman festivals and later spreading to modern-day celebrations. These No-Bake Valentine’s Cheesecake Cups pay homage to that rich history, combining tradition with a modern twist. Whenever I make these cups, I’m reminded of the joy that food brings to our lives. They’ve become a staple in my holiday celebrations, creating lasting memories with loved ones.
Frequently Asked Questions
Can I use low-fat cream cheese?
Yes, low-fat cream cheese can be swapped in, but the texture may vary slightly.
How long can I store these cheesecake cups?
These treats can be stored in the fridge for 3-5 days, depending on the freshness of your ingredients.
What if my whipped cream doesn’t whip?
Make sure your heavy cream is cold, and using a chilled bowl can help achieve better results.
Can I make these gluten-free?
Certainly! Just use gluten-free graham crackers or cookie crumbs for the crust.
Can I change the flavor?
Absolutely! You can add different flavorings like lemon or almond extract to make it uniquely yours.
Conclusion
These No-Bake Valentine’s Cheesecake Cups not only look beautiful but taste incredible too. They will bring a touch of elegance to your dessert table, and their easy preparation makes them a must-try this Valentine’s Day. If you’re looking for more delicious ideas, don’t forget to check out my Chocolate-Dipped Fruit or Easy Strawberry Shortcake recipes for more festive inspiration.
Warm wishes and happy baking from me to you—until next time!
Interactive Elements
I’d love to hear from you! Leave a review or comment about your experience making these cheesecake cups. If you create a beautiful dessert plate, share a photo on Pinterest [here] and tag me on Instagram!

Emily brings four years of dedicated baking experience and professional pastry-focused training to Moms Meals Daily. She oversees recipe validation and quality control to ensure every dessert performs consistently and reliably.
No-Bake Valentine’s Cheesecake Cups
By Emily Hart
Ingredients
Instructions
Tools Needed
Save this recipe for later ❤️
Follow @mommealsdaily on Pinterest for easy dinners, desserts, and weekly inspiration.
Victoria Recipe | Easy Desserts & Dessert Recipes
Easy & Delicious Recipes
Follow for quick family-friendly recipes, baking inspiration, and comfort food favorites.
Follow on Pinterest