Thanks for being here! I’m so excited to share this delicious Peanut Butter Cookie Dough Bars (Healthy) recipe with you today. If you’re anything like me, you have those moments when you crave something sweet, comforting, and utterly delicious — while also keeping an eye on health. That’s why these no-bake bars are near and dear to my heart. They are wholesome, easy to make, and perfect for snacking. Trust me, once you try them, you’ll want to keep them at the forefront of your dessert rotation!
Table of Contents
Overview of Recipe Content
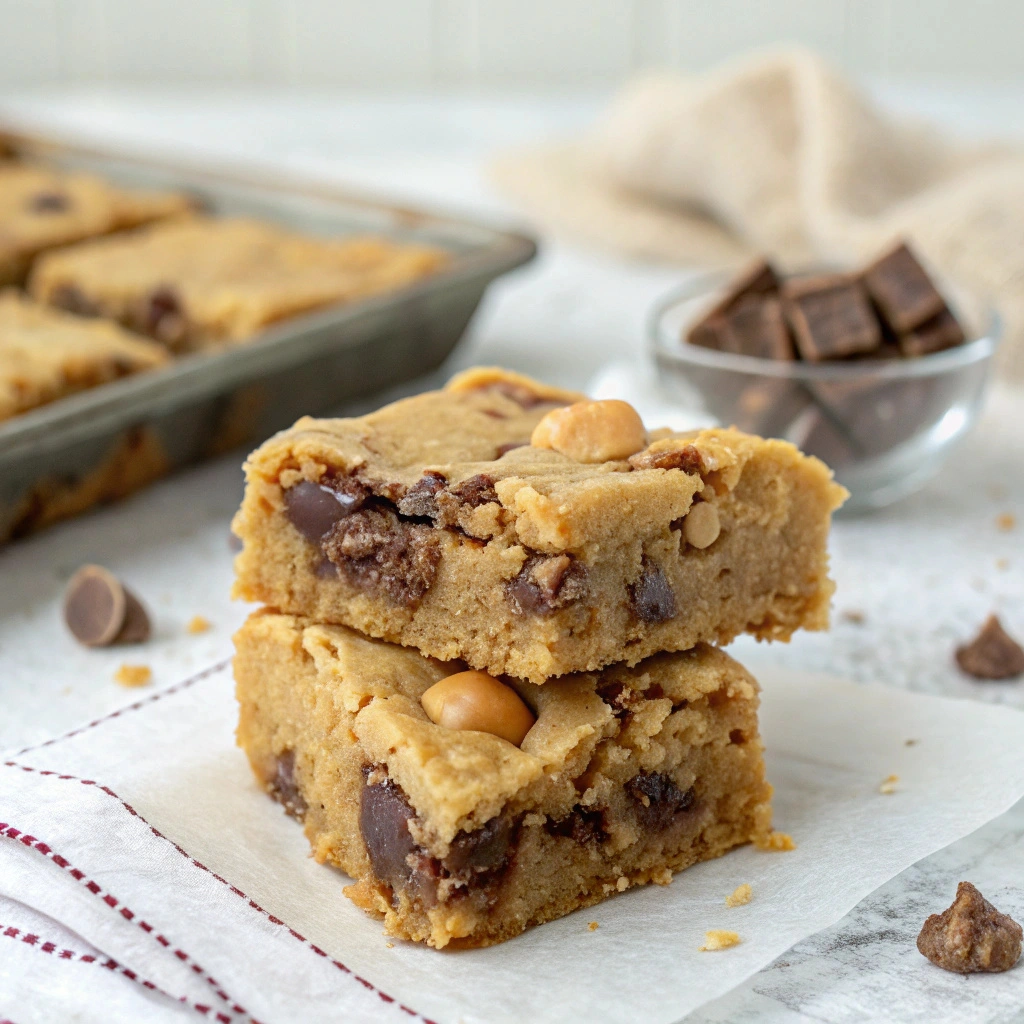
These Peanut Butter Cookie Dough Bars are a delightful no-bake treat that everyone in the family will love. They are rich, creamy, and have that nostalgic cookie dough flavor. You can serve these as a quick snack after school, a satisfying dessert after dinner, or even take them to your next bake sale. They cater to your sweet tooth without any guilt thanks to their healthy ingredients!
Why will readers love this recipe? For starters, it comes together quickly with just a handful of ingredients, it’s incredibly satisfying, and it’s a healthy option for those who want to indulge without going off the rails. Packed with protein and wholesome nutrients, they give you a sweet boost without the sugar crash!
Ingredients
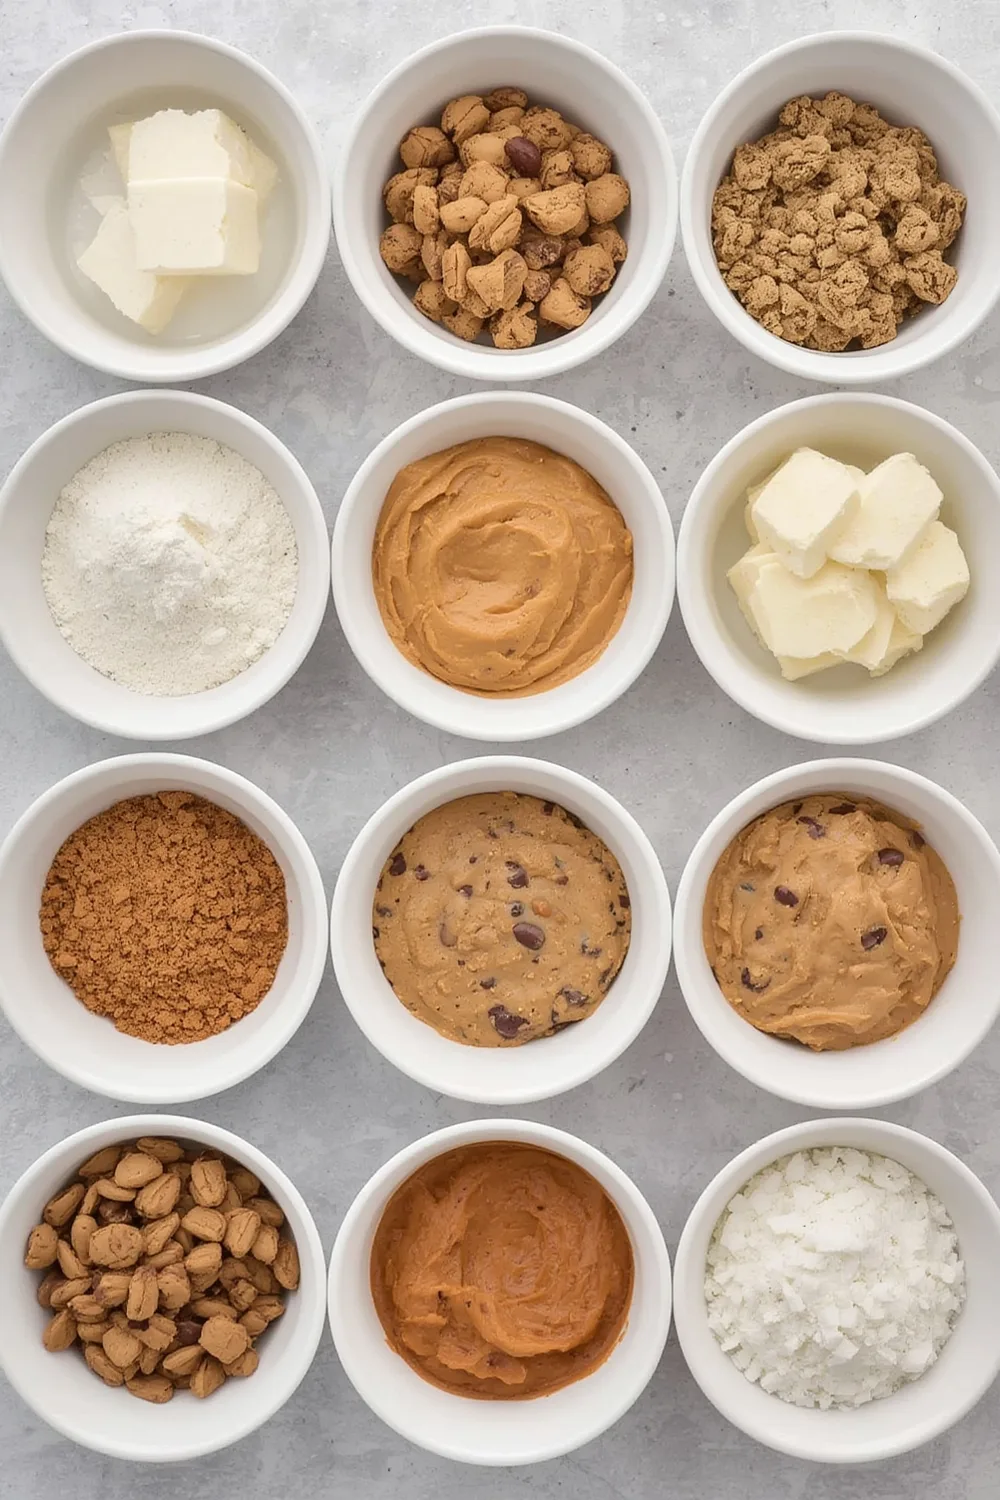
- 1 cup natural peanut butter (smooth or crunchy)
- 1/2 cup honey or maple syrup
- 1 teaspoon vanilla extract
- 1 cup rolled oats (gluten-free, if needed)
- 1/2 cup chocolate chips (dark or semi-sweet)
- Pinch of salt
Tools Needed
- Mixing bowl
- Spoon or spatula
- 8×8 inch baking pan
- Parchment paper (for lining the pan)
- Measuring cups and spoons
Suggested Substitutions and Additions
- Almond butter instead of peanut butter
- Agave syrup in place of honey or maple syrup
- Swap rolled oats for almond flour for a lower-carb option
- Add chopped nuts like walnuts or pecans for extra crunch
- Toss in dried fruit such as cranberries or raisins for added sweetness
How to Make
Step 1: Prepare Your Baking Pan
Start by lining your 8×8 inch baking pan with parchment paper. This prevents the bars from sticking and makes removal a breeze. Grease the parchment lightly with a little coconut oil for good measure.
Step 2: Mix the Wet Ingredients
In a large mixing bowl, combine the natural peanut butter, honey (or maple syrup), and vanilla extract. Using a spatula, mix until everything is well blended. You’ll know it’s ready when the mixture is creamy and almost has a shiny finish.
Step 3: Add the Dry Ingredients
Next, add the rolled oats, salt, and chocolate chips into the wet mixture. Stir well until combined. You want to ensure every oatmeal flake and chocolate chip is coated in that decadent peanut butter goodness. The aroma will be irresistible!
Step 4: Press the Mixture into the Pan
Pour your mixture into the prepared baking pan and press it down firmly using the back of a spatula or your fingers. Getting it even is key to ensure all bars are of the same size. You want it packed tight, but not so much that the chocolate chips get crushed.
Step 5: Chill and Set
Cover the pan with plastic wrap or foil and place it in the fridge for at least 1–2 hours. This allows the bars to set nicely. You’ll know it’s done when you can lift them out of the pan without any stickiness.
Step 6: Slice and Serve
Once the bars are set, remove them from the pan using the parchment paper. Carefully cut into squares or rectangles. Serve them with a side of fresh fruit or a glass of almond milk for a wholesome treat!
What to Serve with Peanut Butter Cookie Dough Bars (Healthy)
These Peanut Butter Cookie Dough Bars are fantastic on their own, but they pair beautifully with a variety of accompaniments:
A side of sliced bananas or strawberries which adds freshness.
A glass of cold almond milk or oat milk for a delightful dip.
A sprinkle of sea salt or a drizzle of dark chocolate for extra indulgence.
Other related recipes you might enjoy are my Banana Chocolate Chip Muffins and No-Bake Chocolate Oatmeal Cookies — both are easy and delicious!
Tips for Making It Perfect
- If you plan to prep in advance, you can make the bars up to three days ahead and store them in the fridge.
- If your mixture feels crumbly, add a little more honey or maple syrup to bind it better.
- Always pack the mixture tightly in the pan to ensure the bars hold their shape when cut.
- You can easily double this recipe if you’re making a large batch for a crowd or a bake sale.
- Try adding a sprinkle of vanilla protein powder to boost the protein content if desired.
- If chocolate chips aren’t your thing, try swapping with butterscotch chips for a fun twist!
Storage Instructions
These Peanut Butter Cookie Dough Bars can be stored in an airtight container in the refrigerator for up to one week, allowing you to enjoy them over several days while they remain fresh and flavorful. Keeping them tightly sealed helps preserve their creamy texture and rich peanut butter taste, while refrigeration ensures they stay firm and easy to slice.
If you’d like to keep them for a longer period, freezing is a fantastic option. Simply layer the bars between sheets of parchment paper and place them in an airtight, freezer-safe container. Stored this way, they can be frozen for up to three months without sacrificing quality or flavor, making them a perfect make-ahead dessert or snack.
When you’re ready to enjoy one, you can pull a bar straight from the freezer and let it thaw for a few minutes until it softens slightly. If you prefer a firmer texture, you can also enjoy it frozen for a cool, chocolatey treat. Either way, the bars are delicious and ready whenever a craving strikes.
General Information
The inspiration for these Peanut Butter Cookie Dough Bars comes from my love of cookie dough snacks — you know, the ones you sneak when making cookies? They are such a nostalgic treat that evokes childhood memories of baking with my family. I decided to create a healthier version that everyone can enjoy without the guilt. I hope it inspires you to create your own warm memories in the kitchen!
Frequently Asked Questions
- Can I swap the peanut butter for another nut butter? Absolutely! Almond butter or cashew butter will work just fine.
- How long can I store these bars? They last up to one week in the fridge, but they can be frozen for three months.
- Why are my bars too soft or crumbly? They might need more binding ingredients like honey or peanut butter. Make sure to pack the mixture tightly in the pan as well.
- Can I adapt this recipe for special diets? Yes! Substitute the honey with maple syrup for a vegan option and use gluten-free oats to make it gluten-free.
- What’s the best way to cut these bars? Use a sharp knife and cut with a gentle sawing motion for precise squares.
Conclusion
These Peanut Butter Cookie Dough Bars are not just easy to make but also pack a delightful punch of nutrition, sweetness, and nostalgia. The combination of creamy peanut butter and rich chocolate chips will leave you and your loved ones craving more. If you enjoyed this recipe, you may also love my No-Bake Chocolate Oatmeal Cookies or Quick Almond Flour Brownies. Thanks for joining me in the kitchen, and I can’t wait to see you again soon!
Interactive Elements
I would love to hear your thoughts! Please share your experiences in the comments below or leave a review. If you whip up these Peanut Butter Cookie Dough Bars, snap a picture and tag me on Instagram! Don’t forget to share this recipe on Pinterest.
Nutritional Information
Approximate calories and macros per serving (makes 16 servings):
- Calories: 150
- Protein: 4g
- Fat: 9g
- Carbohydrates: 15g
- Fiber: 2g
- Sugar: 6g

Emily brings four years of dedicated baking experience and professional pastry-focused training to Moms Meals Daily. She oversees recipe validation and quality control to ensure every dessert performs consistently and reliably.
Peanut Butter Cookie Dough Bars (Healthy)
By Emily Hart
Ingredients
Instructions
Tools Needed
Save this recipe for later ❤️
Follow @mommealsdaily on Pinterest for easy dinners, desserts, and weekly inspiration.
Victoria Recipe | Easy Desserts & Dessert Recipes
Easy & Delicious Recipes
Follow for quick family-friendly recipes, baking inspiration, and comfort food favorites.
Follow on Pinterest