I’m Victoria—mom, home cook, and the heart behind Moms Meals Daily. 💛 I was born and raised in a cozy, food-loving family where meals weren’t just about eating—they were about connection, comfort, and creating memories. From a young age, I found joy in the kitchen, helping my mom whip up simple, nourishing meals that brought everyone to the table. While my life has taken many twists and turns, my love for food and family has always remained constant. That love grew even stronger when I became a mom myself. Between juggling little ones, busy days, and the never-ending “What’s for dinner?” question, I realized I needed meals that were easy, nourishing, and real—and I knew other moms did too. That’s how Moms Meals Daily was born: out of a passion for sharing doable, everyday recipes that bring joy without the stress. Welcome to my kitchen! 🍽️✨
Table of Contents
Overview of Recipe Content
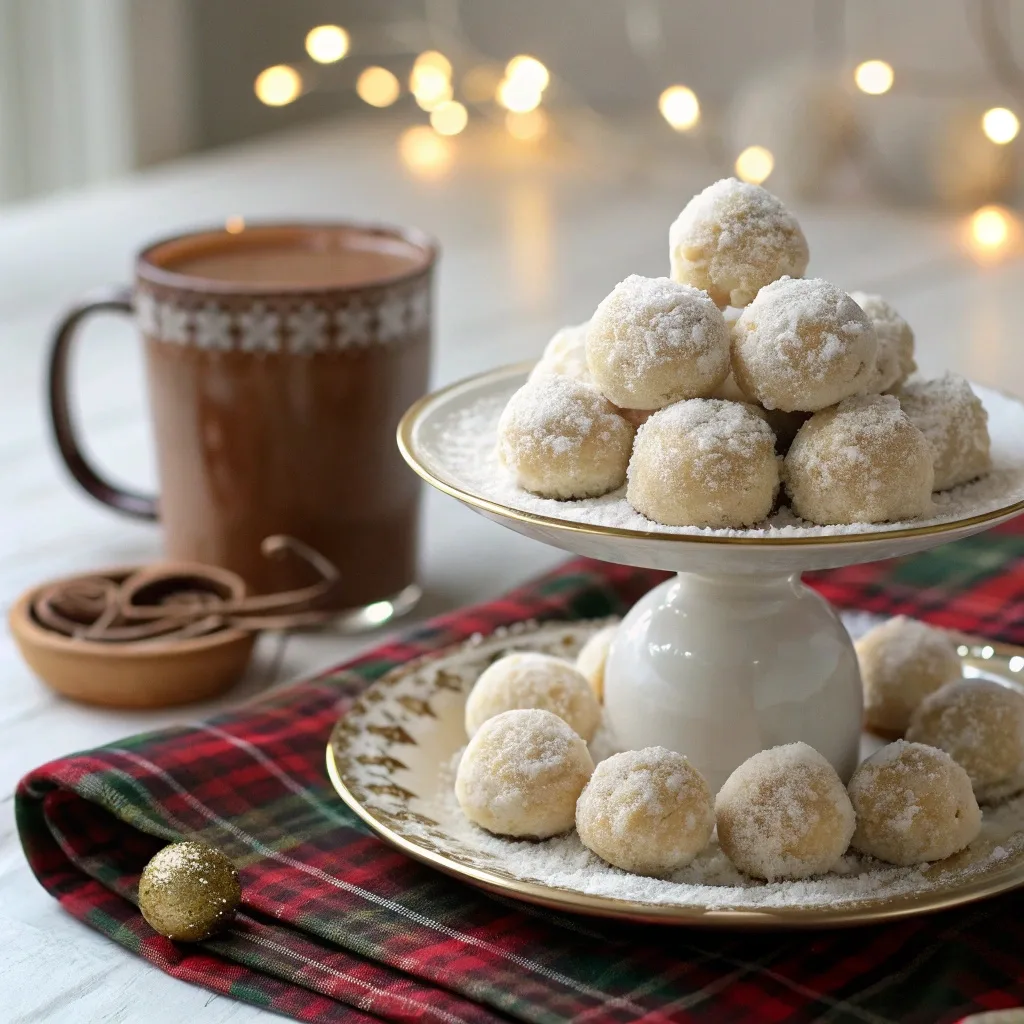
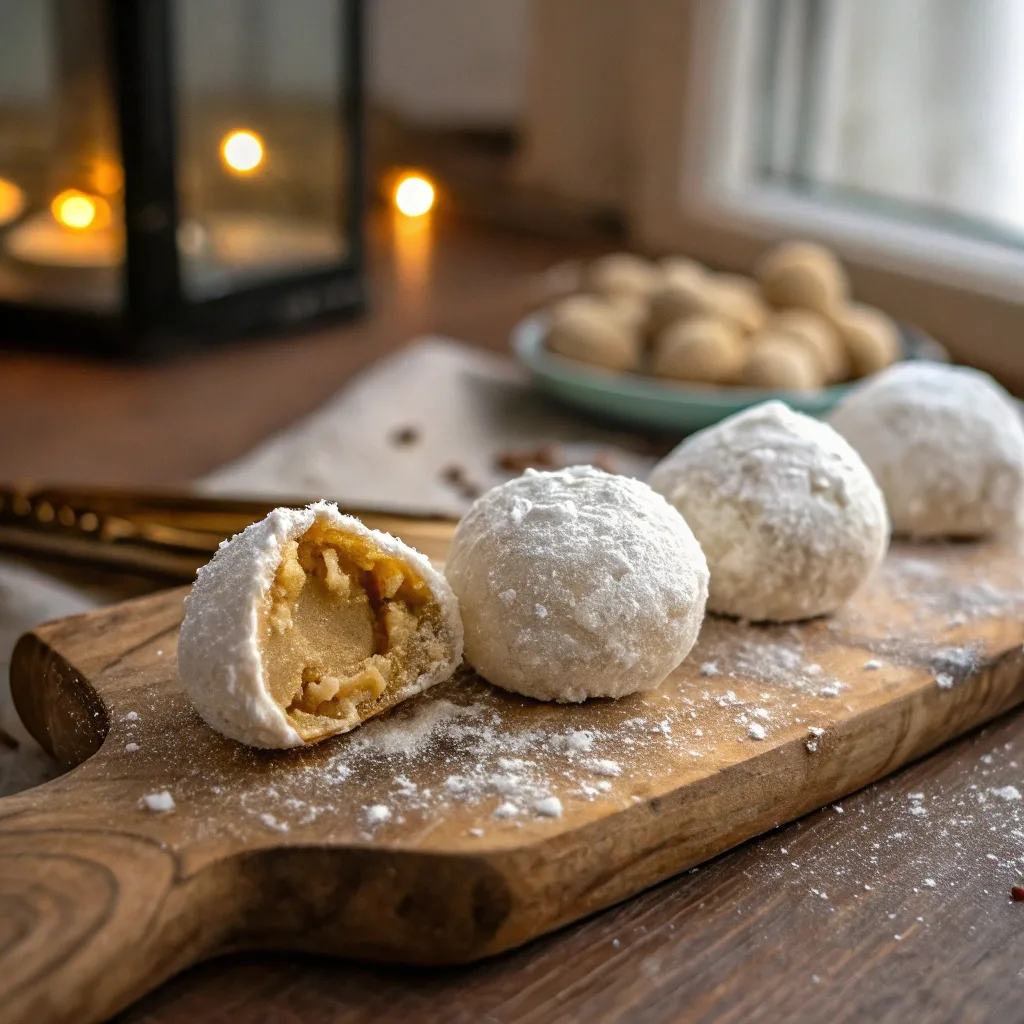
These Peanut Butter Snowballs are the simplest, quickest holiday treat you will ever make. You will love how fast they come together and how happy they make everyone who grabs one from the platter. I typically serve these during the December rush, when I need a beautiful dessert but simply cannot stand in front of the oven for another minute. They are the perfect solution!
Why You Will Love These Wondrous Treats
- No-Bake Magic: You use only your stand mixer (or a bowl and a strong arm!) and the refrigerator. This recipe is wonderful for avoiding oven competition during big holiday baking projects.
- Happy Nostalgia: This is a classic American treat. One bite takes you right back to your childhood holiday potlucks and school bake sales. They just taste like home.
- Terrific for Kids: This recipe is one of the best ways to get your children involved. They love mixing the dough and rolling the balls in the powdered sugar. We make a great memory every time we make these together.
- Simple Ingredients: The recipe relies on pantry staples you probably already have, making it a budget-friendly dessert.
What They Taste Like
Imagine the richest, creamiest peanut butter fudge—but much lighter, thanks to the addition of butter. The texture is velvety and smooth, almost melting right in your mouth. The intense sweetness from the powdered sugar is perfectly balanced by the salty, savory notes of the peanut butter. That coating of powdered sugar provides a wonderful, slightly powdery finish that tells you instantly that you are biting into a Peanut Butter Snowball.
Ingredients You Need
This recipe is simple, calling for just five ingredients. Make sure you use creamy peanut butter, not the natural, stir-style kind, as the oils separate and make the dough messy and difficult to handle.
- 1 cup creamy peanut butter (like Jif or Skippy)
- 1/2 cup (1 stick) unsalted butter, softened to room temperature
- 1 teaspoon pure vanilla extract
- 3 cups powdered sugar (confectioners’ sugar), divided
- 1/4 teaspoon salt (reduce if using salted peanut butter)
Tools Needed
- Large mixing bowl
- Handheld or stand mixer (highly recommended for a smooth texture)
- Cookie scoop (1-tablespoon size) or a simple spoon
- Baking sheet lined with parchment paper
- Shallow dish for rolling
Simple Substitutions and Additions
Making these treats is about joy, so feel free to change things up based on your family’s favorites!
- Chocolate Shell: Instead of rolling them in powdered sugar, melt 1 cup of semi-sweet chocolate chips with 1 teaspoon of coconut oil. Dip the chilled balls into the melted chocolate for a fantastic chocolate peanut butter truffle!
- Peanut Butter Swap: You can swap the creamy peanut butter for almond butter or sunbutter if someone has an allergy, but note that you may need to adjust the amount of powdered sugar slightly, as different nut butters have different consistencies.
- Crunch Factor: Mix 1/2 cup of finely chopped pretzels or crispy rice cereal into the finished dough for an amazing salty crunch.
- Spice It Up: Add 1/2 teaspoon of ground cinnamon or nutmeg into the dough for a warm, fall flavor.
How to Make Peanut Butter Snowballs
This recipe moves quickly! I love to think of this as a delightful, two-part process: making the velvety dough, and then transforming it into magical, snow-covered orbs.
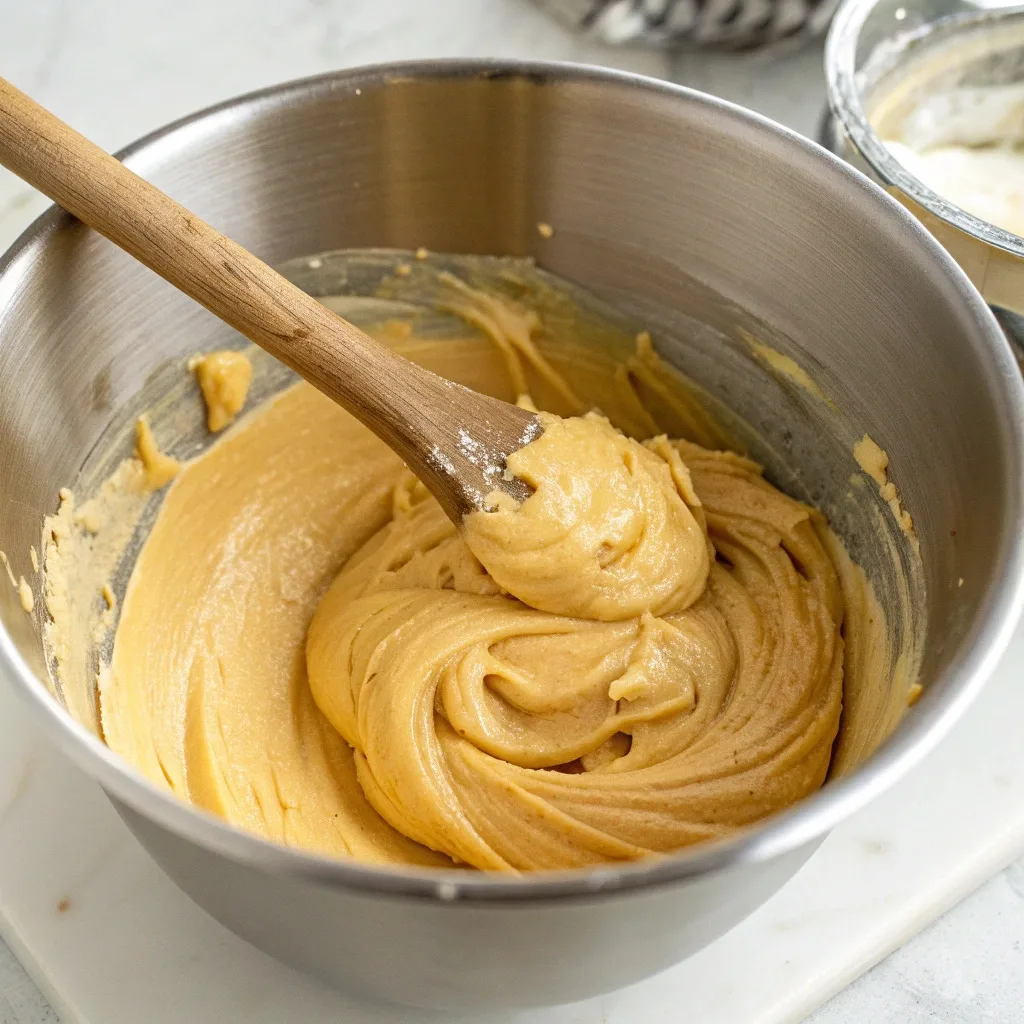
Step 1: Cream the Fats Together
First, grab your beautiful, softened butter and the creamy peanut butter. Throw them into your mixing bowl. Use your stand mixer fitted with the paddle attachment, or a sturdy handheld mixer, and cream them together until the mixture looks pale, fluffy, and light. This usually takes two to three minutes and is a vital step for that fantastic texture. You want the fats fully unified before you add the sugar. Next, pour in your vanilla extract and the salt, mixing quickly to combine.
Step 2: Form the Rich Dough
The magic happens now! Measure out 2 cups of the powdered sugar. Add this in gradually—about a cup at a time—mixing on low speed. The mixture will quickly become stiff and transform from a paste into a beautiful, workable dough. When it becomes too stiff for your mixer to handle easily, turn it off and switch to kneading it quickly with your hands. You want a dough that you can roll without it sticking all over your fingers. If your dough feels too soft or sticky, simply mix in an extra tablespoon of powdered sugar until it feels firm, like playdough.
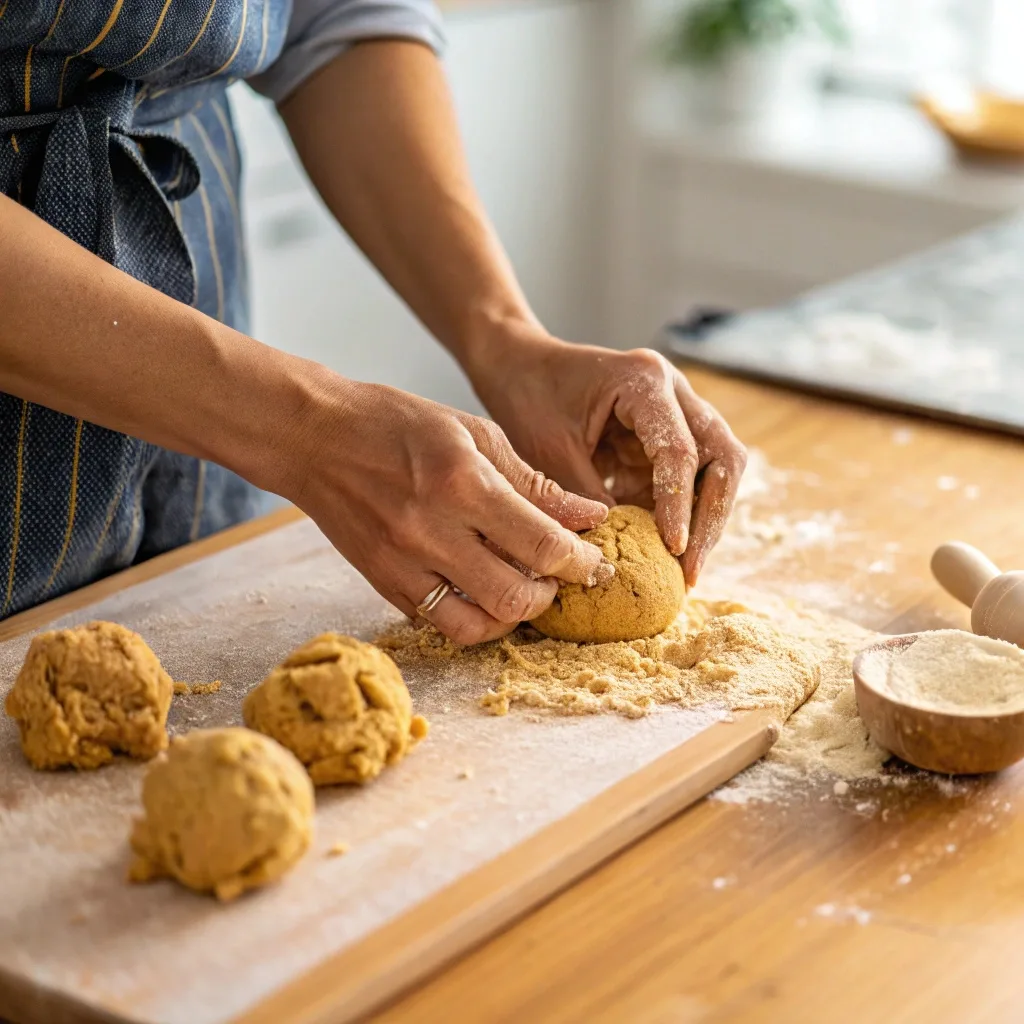
Step 3: Roll the Perfect Snowball
Grab your lined baking sheet and get ready for the fun part. Using a tablespoon-sized cookie scoop gives you perfectly uniform balls (which is a plus for impressive holiday platters!). If you don’t have one, just use a teaspoon and roll them quickly in your palms. Aim for balls about one inch in diameter. Roll them lightly and place them on the lined sheet. This step is a fantastic job for little hands!
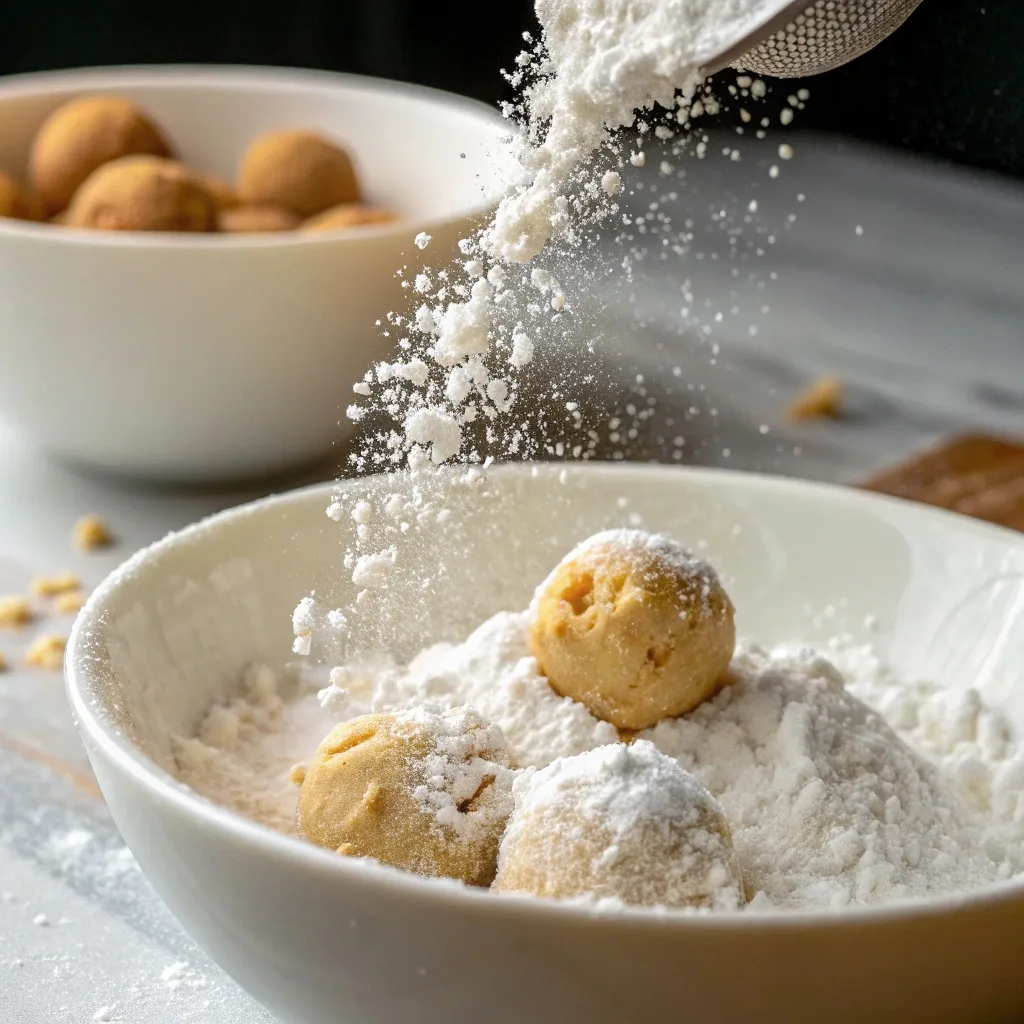
Step 4: The Wintery Finish and Final Chill
Take your remaining cup of powdered sugar and pour it into a wide, shallow dish. Roll each peanut butter ball generously in the powdered sugar. This is what gives them their stunning, signature “snowball” look! Be sure to cover every inch. Place the finished Peanut Butter Snowballs back on the baking sheet and transfer them to the refrigerator.
You must chill these for at least 30 minutes. This chilling time is important; it firms up the butter and peanut butter mixture, which makes them easy to store and gives them that dreamy, melt-in-your-mouth texture when you bite into them. Do not skip this step!
What to Serve with Peanut Butter Snowballs
These treats are quite rich, so pairing them with something refreshing, bright, or warm and comforting is always the best way to go.
Pairing Ideas
- Hot Beverages: A tall, steaming mug of strong, black coffee or a delicate cup of English Breakfast tea cuts through the sweetness wonderfully. For a cozier feel, serve them alongside a homemade hot cocoa with a sprinkle of cinnamon.
- Side Desserts: If you are building a holiday dessert table, pair these no-bake wonders with baked goods that offer a textural contrast. Try something crunchy or crumbly. For a surprising, yet fantastic pairing, serve a small scoop of Homemade Old-Fashioned Vanilla Ice Cream next to a snowball.
- Salty Snacks: The best desserts pair perfectly with a salty bite! A simple bowl of salted pretzels or even potato chips (trust me on this!) next to the dessert platter provides a pleasing savory foil.
Tips for Making It Perfect
I have made these hundreds of times over the years, and I have gathered a few little secrets that make the process simple and the results sensational every single time.
Prep Tips
- Butter Temperature is Key: Make sure your butter is truly at room temperature. You should be able to press into it easily with your finger. If it’s too cold, it won’t cream well with the peanut butter, and your dough will be crumbly. If it’s melted, the dough will be greasy and too sticky.
- Scrape the Bowl: While creaming the fats and while mixing in the powdered sugar, stop your mixer several times. Use a spatula to scrape down the sides and the bottom of the bowl. This ensures everything is incorporated completely and prevents pockets of unmixed ingredients.
- Hand Test: The dough should feel like soft modeling clay. If you roll it between your palms and it leaves a greasy coating, add a little more powdered sugar. If it cracks, your butter might have been too cold, or you may need a tiny splash of milk or water (about 1/2 teaspoon) to bring it together.
Make-Ahead Advice
These are truly the ultimate make-ahead holiday treat! You can prepare the dough, roll the balls, and coat them up to a week in advance. Simply keep them stored in an airtight container in the refrigerator. In fact, they taste even better after a day or two in the fridge, as the flavors mingle and the texture sets.
Common Pitfalls to Avoid
- Using Natural Peanut Butter: I mentioned this earlier, but it is worth repeating! Natural peanut butter (the kind where the oil separates) makes a very soft, oily dough that requires far more sugar and loses its pleasing, firm texture. Stick to a classic brand for this recipe.
- Over-Rolling: Once the balls are coated in powdered sugar, handle them gently. Over-rolling or touching them too much will cause the sugar to melt and absorb into the dough, ruining that lovely white, snowy finish.
Storage Instructions
You’ve got a big batch of these sweet treats—how do you keep them tasting fresh?
How to Store Leftovers
Store your finished Peanut Butter Snowballs in an airtight container. Keep the container in the refrigerator for up to two weeks. I find that layering them between sheets of parchment paper helps prevent them from sticking together, especially if you live in a warmer climate.
Freezing Instructions
Yes, you can absolutely freeze them! These treats freeze beautifully, making them perfect for starting your holiday baking early.
- Place the finished, chilled snowballs on a parchment-lined sheet, making sure they do not touch.
- Place the sheet in the freezer for about 1 hour, or until the snowballs are rock-solid.
- Transfer the frozen balls to a freezer-safe zip-top bag or airtight container.
- They will keep in the freezer for up to three months.
How to Reheat
No heat needed! Simply pull your frozen snowballs out of the freezer and let them sit at room temperature for about 15-20 minutes before serving. This allows the creamy center to soften slightly, giving you that delightful, melt-in-your-mouth bite.
General Information
The history of no-bake peanut butter desserts like these Peanut Butter Snowballs is rooted deeply in American home cooking, particularly surrounding the holiday season. The concept originated, most famously, with the “Buckeye” candy, named because it looks just like the nut from the Ohio state tree—a sphere of peanut butter dough partially dipped in chocolate.
My nonna always said that the easiest recipes were often the most memorable because they let you focus on the people you were cooking for, not the complex instructions. Recipes like this one came to popularity because they were simple, required no expensive ingredients, and were sturdy enough to travel to church picnics, family gatherings, and cookie exchanges. It is a genuine, authentic piece of American culinary history that emphasizes family and sharing—the exact spirit of Moms Meals Daily.
Frequently Asked Questions
Can I use natural peanut butter?
What is the best way to get them perfectly round?
Do I have to chill them?
Can I add melted chocolate to the dough?
Are these gluten-free?
Can I make the dough ahead of time?
Conclusion
These simple, stunning Peanut Butter Snowballs remind me that some of the greatest joy comes from the easiest acts of sharing. They are a timeless family favorite for a clear reason: they taste incredible, they require little effort, and they make everyone smile. I hope you give these a try this season and that they bring a wonderful sense of warmth and happy memories to your kitchen.
If you are craving more easy, classic desserts that focus on family time, you should certainly try my recipe for The Simple & Moist Banana Bread Recipe or my ever-popular Ultimate Gooey Chewy Chocolate Brownies. If you are loving the no-bake life, check out the Quick 15-Minute No-Bake Peanut Butter Energy Balls. And for a total classic, you can never go wrong with Mom’s Secret-Ingredient Chocolate Chip Cookies.
Happy cooking, friends!
Interactive Elements
Did you make these beautiful Peanut Butter Snowballs? Tell me how you customized them in the comments below! I love hearing your stories. You can also tag me on Pinterest when you share your delicious creations!
Follow Moms Meals Daily on Pinterest

Emily brings four years of dedicated baking experience and professional pastry-focused training to Moms Meals Daily. She oversees recipe validation and quality control to ensure every dessert performs consistently and reliably.
Peanut Butter Snowballs
By Emily Hart
Ingredients
Instructions
Tools Needed
Save this recipe for later ❤️
Follow @mommealsdaily on Pinterest for easy dinners, desserts, and weekly inspiration.
Victoria Recipe | Easy Desserts & Dessert Recipes
Easy & Delicious Recipes
Follow for quick family-friendly recipes, baking inspiration, and comfort food favorites.
Follow on Pinterest