There’s something magical about celebrating a birthday. It’s a time when we gather with loved ones, reflect on another year gone by, and indulge in the joy of sweet treats. I’m so excited to share with you my Simple Aesthetic Birthday Cake Recipe for Elegant Celebrations. In a world where cake can often be overwhelming and over-the-top, this cake stands out for its charming simplicity and elegance. With its soft texture, delicate flavors, and visually stunning layers, this cake will enchant your guests while leaving your taste buds dancing with delight.
Table of Contents
My inspiration for this cake comes from cherished family traditions, where my grandmother would whip up the most delightful cakes for our birthdays, radiating warmth and love in every bite. The gentle aroma of vanilla, the silky feel of whipped cream, and the sweetness of fresh fruits all blend together to create a nostalgic culinary experience. Imagine the way the cake crumbles perfectly with each slice, how the frosting spreads smoothly, and the fresh fruit glistens on top like nature’s jewels.
This Simple Aesthetic Birthday Cake is everything you can dream of for a memorable birthday party. Not only is it visually stunning, but it is also customizable to fit any celebration. I invite you to continue exploring this recipe that balances elegance with simplicity, promising to be the centerpiece of your next gathering. If you love cozy recipes like this, subscribe to my email list!
Overview of Recipe Content
This cake is a beautiful layered creation that is perfect for birthdays, anniversaries, or any festive gathering. Its light, fluffy texture paired with refreshing fruit flavors makes it satisfying and delightful. Every bite melts in your mouth, and the subtle notes of vanilla elevate it to a new level of indulgence.
This cake is best served at room temperature at your celebration, allowing every person to savor its luscious layers. You will love this recipe not only for its comfort but also for its quick assembly and customizable nature; you can easily adapt it to cater to any dietary restrictions or flavor preferences. Plus, it’s a fabulous opportunity to experiment with seasonal fruits, making it a canvas for your culinary creativity.
Ingredients

For the Cake:
- 2 ½ cups all-purpose flour
- 2 ½ cups granulated sugar
- 1 ½ teaspoons baking powder
- 1 teaspoon baking soda
- 1 teaspoon salt
- 1 cup unsalted butter, softened
- 1 cup buttermilk, at room temperature
- 4 large eggs, at room temperature
- 2 teaspoons pure vanilla extract
For the Frosting:
- 1 cup unsalted butter, softened
- 4 cups powdered sugar
- 2 teaspoons pure vanilla extract
- 2-4 tablespoons heavy cream (adjust for consistency)
For the Decoration:
- Fresh berries (strawberries, raspberries, blueberries)
- Edible flowers (if available)
- Optional: edible gold leaf for an added touch of elegance
Tools Needed
- 2 9-inch round cake pans
- Parchment paper
- Large mixing bowl
- Electric mixer
- Rubber spatula
- Offset spatula
- Cake stand or serving plate
- Cooling rack
Suggested Substitutions and Additions
- For a gluten-free version, substitute all-purpose flour with a 1-to-1 gluten-free flour blend.
- If you want to cut back on sugar, you can reduce the granulated sugar in the cake by about 1/2 cup without compromising texture.
- Add a splash of almond extract or lemon zest to the batter for a unique flavor twist.
- Substitute the heavy cream with coconut milk for a dairy-free frosting.
How to Make
Step 1: Preheat Your Oven
Start off by preheating your oven to 350°F (175°C). This step is vital for ensuring the cakes bake evenly and rise beautifully. The warmth of the oven fills your kitchen with excitement and sets the perfect stage for baking.
Step 2: Prepare Your Cake Pans
Line the bottom of your 9-inch round cake pans with parchment paper and grease the sides with butter or cooking spray. This small act will ensure that your cakes release easily once baked, maintaining their lovely shape.
Step 3: Mix Dry Ingredients
In a large mixing bowl, whisk together the all-purpose flour, baking powder, baking soda, and salt. The colors and textures mix beautifully, laying the foundation for your cake’s structure and flavor.
Step 4: Cream Butter and Sugar
Using an electric mixer, cream together the softened butter and granulated sugar until light and fluffy. This should take about 3-4 minutes. The mixture will become pale and airy, creating a rich base packed with flavor.
Step 5: Incorporate Eggs and Vanilla
Add the eggs, one at a time, mixing well after each addition. Stir in the vanilla extract. The mixture should appear smooth and glossy, and the aroma will be intoxicating!
Step 6: Alternate Adding Dry Ingredients and Buttermilk
Gradually add the dry ingredients and buttermilk to the butter mixture, starting and ending with the flour. Mix until just combined. Avoid overmixing, as this can make the cake dense rather than light and fluffy.
Step 7: Bake the Cakes
Divide the batter evenly between the prepared cake pans and smooth the tops with an offset spatula. Bake in the preheated oven for 25-30 minutes or until a toothpick inserted in the center comes out clean. The smell of the baking cake will fill your home with warmth and anticipation.
Step 8: Cool the Cakes
Once baked, remove the cakes from the oven and let them cool in the pans for about 10 minutes. Then, transfer them to a cooling rack to cool completely. This is a perfect time for cleaning up the kitchen while the cakes cool.
Step 9: Prepare the Frosting
In another mixing bowl, combine softened butter, powdered sugar, vanilla extract, and 2 tablespoons of heavy cream. Mix on low speed until combined, then increase to medium speed for about 3-4 minutes until fluffy. Adjust consistency with additional cream if needed.
Step 10: Assemble Your Cake
Once the cakes are completely cooled, place one layer on your cake stand. Spread a generous layer of frosting on top. Add the second layer and frost the top and sides of the cake. Don’t worry about perfection; the simplicity gives it character!
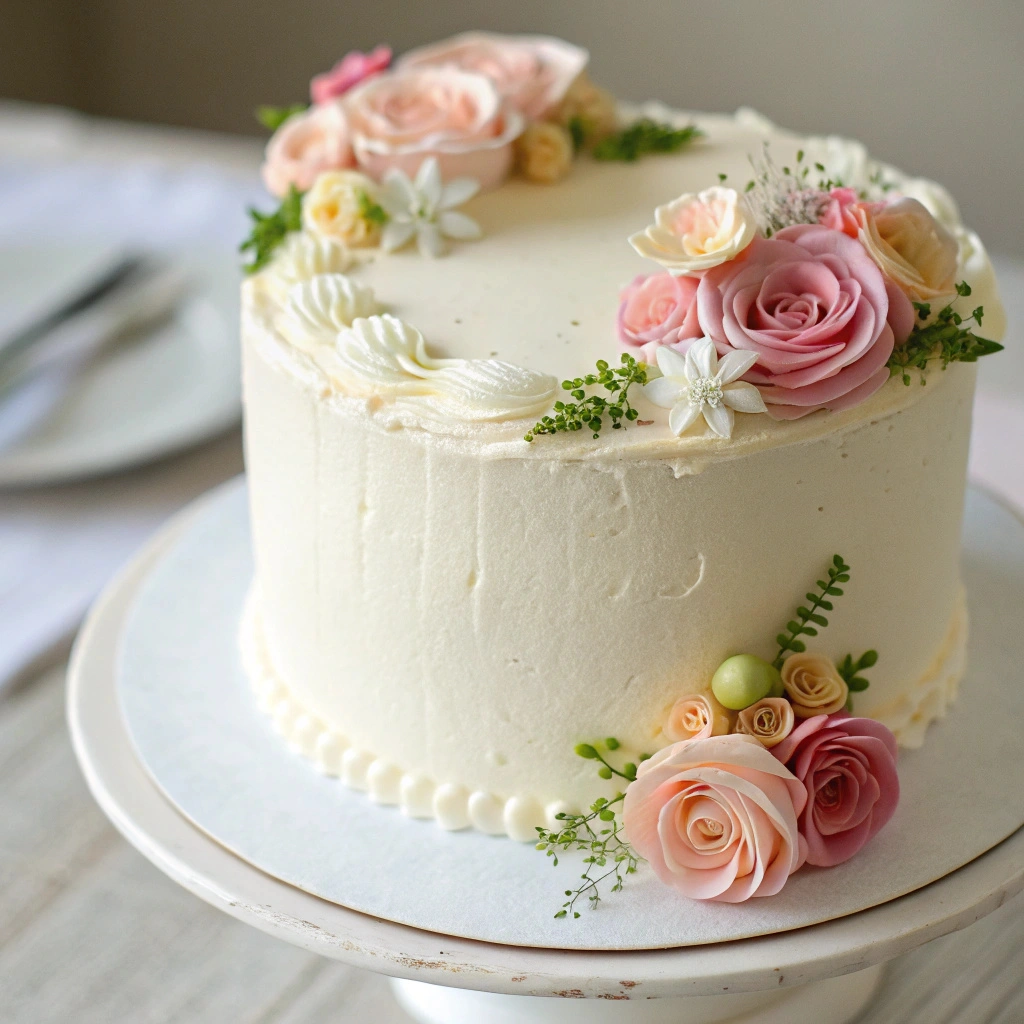
Step 11: Decorate Your Cake
Top your frosted cake with fresh berries and edible flowers, creating a stunning aesthetic. Consider the colors that pop—the bright red of strawberries, the deep blue of blueberries, and the delicate hues of flowers. Decoratively place them on top or around the edges for an elegant finish.
What to Serve with Simple Aesthetic Birthday Cake Recipe for Elegant Celebrations
This cake pairs wonderfully with a variety of treats that complement its softness and flavor:
- Serve with a scoop of vanilla ice cream for a delightful contrast.
- Complement with a side of fresh whipped cream to enhance the cake’s richness.
- Accompany with a cup of freshly brewed coffee or herbal tea that balances the sweetness of the cake.
- Offer fruit-based drinks or sparkling water with citrus for a refreshing touch.
For more deliciousness, you might also enjoy:
Tips for Making It Perfect
- Leave your eggs and buttermilk out at room temperature for at least 30 minutes before using them. This will help create a lighter and fluffier cake.
- If your cakes dome on top, simply level them off with a serrated knife before frosting.
- Make your frosting while the cakes cool to save time.
- Want to prepare ahead? You can bake and frost the cake a day before your event; store it in the refrigerator, covered tightly to keep it fresh.
- To double the recipe, simply multiply each ingredient by two. Ensure you have enough mixing space for the doubled batter!
Storage Instructions
- Store the cake in an airtight container at room temperature for up to 3 days to keep its moisture and flavor intact.
- If you need to refrigerate it, be mindful of storing it in a container that won’t deform the frosting.
- To reheat individual slices, microwave them for 10-15 seconds.
- For make-ahead options, consider freezing the unfrosted cake layers wrapped tightly in plastic wrap for up to 3 months; let thaw in the fridge before frosting on the day of serving.
General Information
The birthday cake has a rich and diverse cultural background, originating centuries ago when cakes were made from simple ingredients before evolving into the layered, elaborate confections we know today. Historically, it was believed that round cakes symbolized the moon, and were often adorned with candles to mark a person’s birthday, reflecting light and warmth.
As I reflect on my own birthday memories, I remember the cake that was decorated simply yet profoundly; it was the love that surrounded it, not just the cake itself. This Simple Aesthetic Birthday Cake represents not just a dessert, but a celebration filled with laughter and connections—each slice telling a story of joy, life, and community.
Frequently Asked Questions
- Can I use different fruits for decoration?
Absolutely! Think about using kiwi, peaches, or even chocolate shavings for a different aesthetic and flavor profile.
- How long can I store leftover cake?
Stored correctly in an airtight container, leftover cake will last about 3-4 days at room temperature or up to a week in the fridge.
- Can I freeze the cake layers?
Yes, unfrosted cake layers freeze beautifully! Just wrap them tightly in plastic wrap to prevent freezer burn.
Conclusion
In conclusion, my Simple Aesthetic Birthday Cake Recipe is a delightful way to celebrate those special moments in life. Its ease of preparation, sophisticated flavor, and visual appeal make it a show-stopper at any event. The comforting elements draw upon years of cherished memories, ensuring each bite transports you to a place of warmth and happiness.
If you’re looking for more fabulous recipes, don’t miss my classic Chocolate Cake or my delightful Strawberry Shortcake. I hope you give this cake a try and immerse yourself in the celebrations that follow.
Thank you for joining me today in creating this masterpiece. May your birthday celebrations be as sweet as this cake, filled with love and laughter.
Interactive Elements
I would love to hear from you! Please leave a comment or review about how your cake turned out, or share a photo of your lovely dessert on Pinterest . Don’t forget to tag me on Instagram to let me see your beautiful creations!
Nutritional Information
Nutritional values are approximate and based on a standard serving size (1 slice, about 1/12 of the cake).
Calories: 350
Protein: 3g
Carbohydrates: 50g
Fat: 15g
Fiber: 1g
Sodium: 180mg

Emily brings four years of dedicated baking experience and professional pastry-focused training to Moms Meals Daily. She oversees recipe validation and quality control to ensure every dessert performs consistently and reliably.
Simple Aesthetic Birthday Cake Recipe for Elegant Celebrations
By Emily Hart
Ingredients
Instructions
Tools Needed
Save this recipe for later ❤️
Follow @mommealsdaily on Pinterest for easy dinners, desserts, and weekly inspiration.
Victoria Recipe | Easy Desserts & Dessert Recipes
Easy & Delicious Recipes
Follow for quick family-friendly recipes, baking inspiration, and comfort food favorites.
Follow on Pinterest