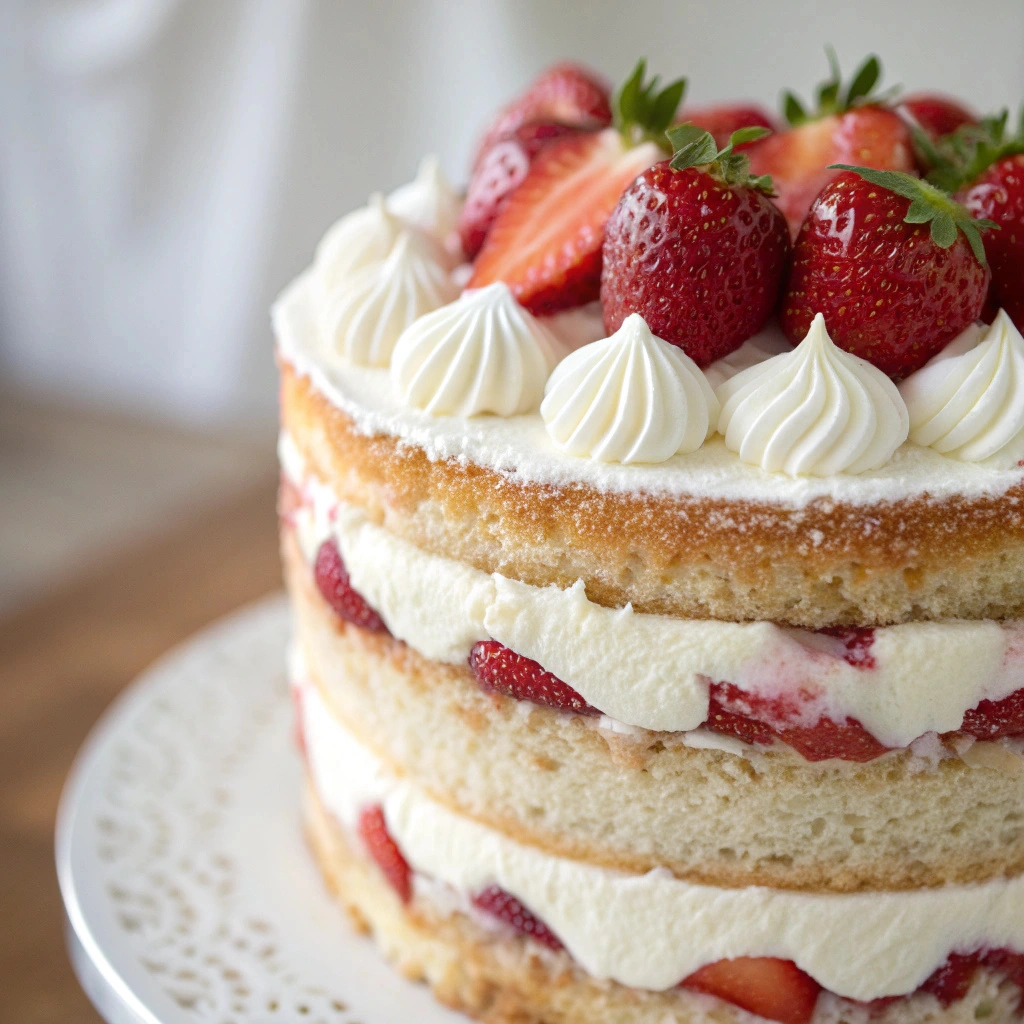
Thanks for being here! I’m so excited to share this beautiful Strawberries & Cream Naked Cake with you! Not only is it a feast for the eyes, but it also embodies the essence of summer, lightness, and joy. There’s something so joyful about creating a dessert that showcases fresh strawberries, creamy frosting, and a rustic charm. I remember the first time I made this cake for my sister’s birthday; it was a hit and has since become a staple for celebrations in our family. So whether it’s a birthday party, a warm-weather gathering, or just because, this naked cake is sure to impress!
If you love cozy recipes like this, subscribe to my email list!
Table of Contents
Overview of Recipe Content
This Strawberries & Cream Naked Cake is a simple yet elegant dessert that features layers of light sponge cake, fresh strawberries, and whipped cream. You can serve it on special occasions or enjoy it on a sunny afternoon with a cup of tea. It has a light, airy texture that perfectly complements the luscious cream and sweet-tart strawberries, making this cake a crowd-pleaser.
Readers will love it because it’s relatively quick to prepare, boasts fresh ingredients, and provides a comforting and satisfying dessert experience. Strawberry season is a perfect opportunity for this cake, as nothing beats the flavor of ripe, juicy strawberries in the summertime.
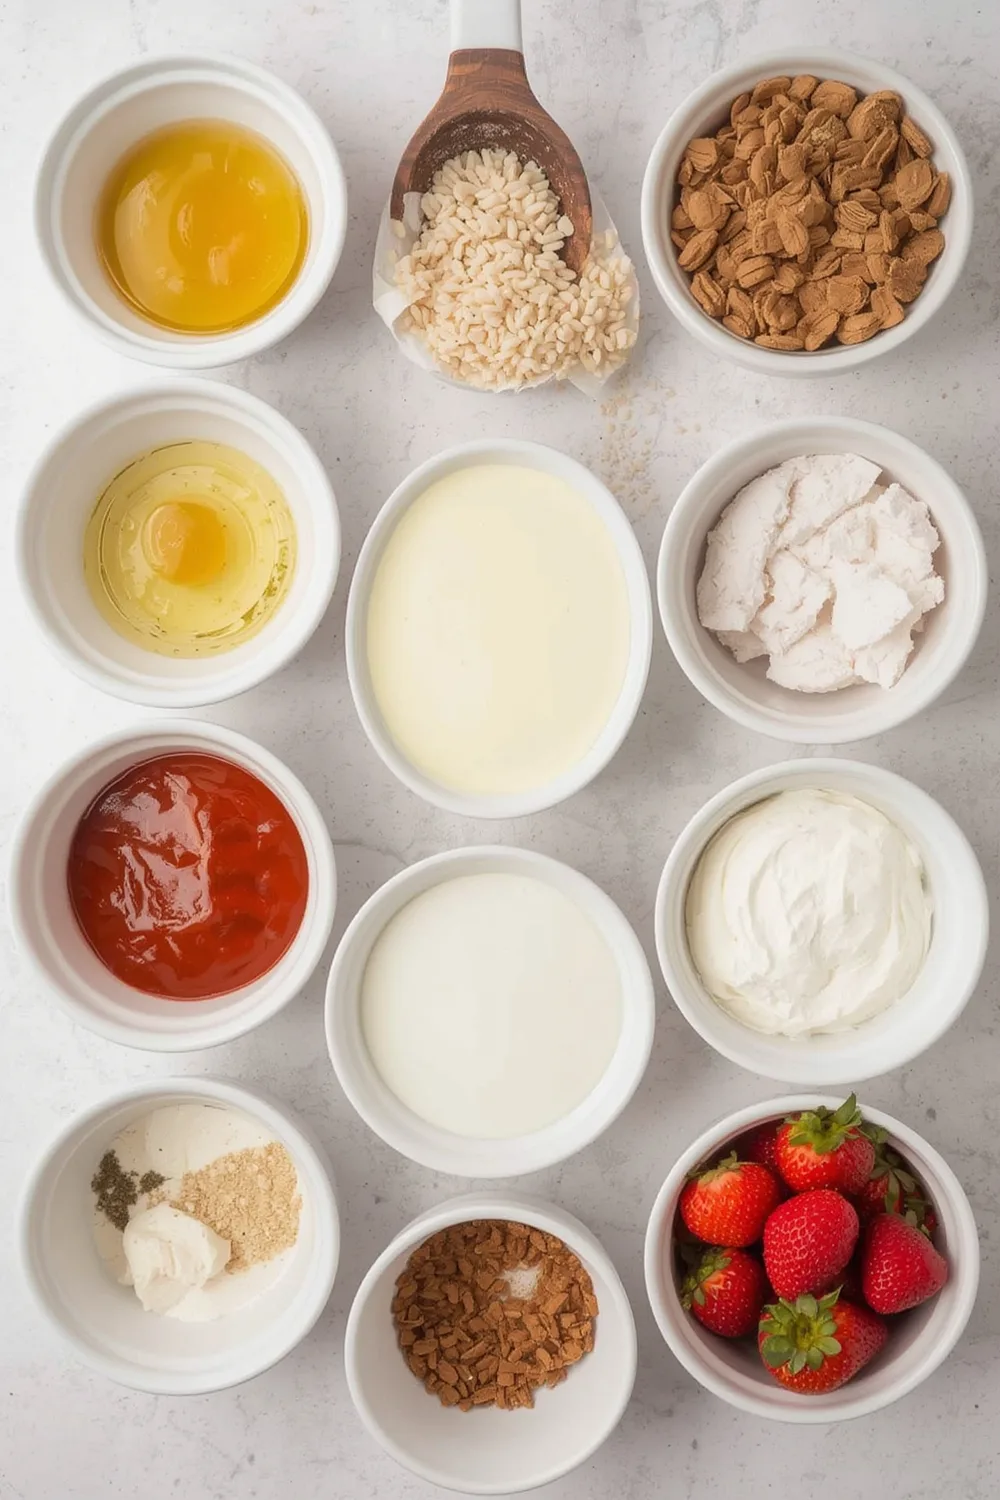
Ingredients
- 2 cups all-purpose flour
- 1 1/2 cups granulated sugar
- 1 tablespoon baking powder
- 1/2 teaspoon salt
- 1/2 cup unsalted butter, softened
- 1 cup whole milk
- 2 large eggs
- 1 teaspoon vanilla extract
- 3 cups fresh strawberries, sliced
- 2 cups heavy whipping cream
- 1/4 cup powdered sugar
- 1 teaspoon vanilla extract (for cream)
Tools Needed
- 2 9-inch round cake pans
- Mixing bowls
- Electric mixer or whisk
- Rubber spatula
- Measuring cups and spoons
- Parchment paper
- A serrated knife for slicing the cake
- A cake stand or serving platter
Suggested Substitutions and Additions
- Substitute almond flour for gluten-free cake
- Use coconut cream for a dairy-free alternative
- Add a splash of lemon juice or zest for extra flavor
- Consider adding a layer of mascarpone cheese mixed with the cream for richness
- Replace strawberries with raspberries for a delicious twist
How to Make
Step 1: Preheat the Oven
Start by preheating your oven to 350°F (175°C). This step is crucial for achieving the perfect rise in your cake.
Step 2: Prepare the Cake Pans
Grease your 9-inch round cake pans with butter or non-stick spray and line the bottoms with parchment paper. This will prevent your cake from sticking and help with easy removal.
Step 3: Mix the Dry Ingredients
In a large mixing bowl, whisk together the flour, sugar, baking powder, and salt. You’ll know it’s ready when the mixture is combined well and looks light and fluffy.
Step 4: Combine Wet Ingredients
In another bowl, combine the softened butter, milk, eggs, and vanilla extract. Use an electric mixer to beat the mixture until creamy and well combined. You’ll know it’s perfect when it’s smooth and has a lovely sheen.
Step 5: Combine Mixtures
Gradually add the wet ingredients into the dry mixture, mixing gently with a spatula until just combined. Be careful not to overmix; you want the batter to be airy.
Step 6: Bake the Cakes
Divide the batter evenly between the two prepared cake pans. Bake in the preheated oven for 25 to 30 minutes, or until a toothpick inserted in the center comes out clean. You’ll smell a sweet, warm fragrance filling your kitchen!
Step 7: Cool the Cakes
Allow the cakes to cool in the pans for about 10 minutes, then turn them out onto a wire rack to cool completely. Waiting for them to cool is crucial to avoid melting your whipped cream!
Step 8: Make the Whipped Cream
While the cakes cool, whip the heavy cream in a mixing bowl until soft peaks form. Add in the powdered sugar and vanilla extract, continuing to whip until it reaches stiff peaks. You want it fluffy, with a smooth texture – it should hold its shape but still be spreadable.
Step 9: Assemble the Cake
Once the cakes are fully cooled, use a serrated knife to slice each cake in half horizontally. Place one layer on a cake stand, spread a generous layer of whipped cream on top, and scatter a pile of sliced strawberries. Repeat with the next layers, finally topping with the last layer of cake. You can dress the top with more whipped cream and a beautiful arrangement of strawberries.
Step 10: Serve and Enjoy!
Slice into your beautiful cake to reveal those gorgeous strawberry layers. Take a moment to enjoy the colorful presentation before digging in!
What to Serve with Strawberries & Cream Naked Cake
This cake pairs wonderfully with a light herbal tea or a refreshing lemonade. You might also consider serving it alongside a scoop of vanilla ice cream for extra indulgence.
If you’re looking for more delicious inspiration, check out these related recipes:
Tips for Making It Perfect
- Prep in Advance: You can bake the cakes a day ahead and store them tightly wrapped in plastic wrap in the fridge.
- Fix Common Mistakes: If your whipped cream isn’t thickening, try chilling your bowl and beaters in the fridge beforehand.
- Make Ahead: This cake holds up well in the fridge. You can whip up the cake in advance and assemble it the day you plan to serve.
- Double the Batch: Need a bigger cake? Simply double the ingredients and use three cake pans!
Storage Instructions
Store any leftovers in an airtight container in the refrigerator for up to three days. It’s a good idea to keep the layers separate if possible, as the whipped cream can soften the cake. You can freeze the layers individually wrapped in saran wrap for up to three months; simply thaw in the refrigerator before serving.
General Information
The naked cake trend celebrates the minimalist beauty of cakes. Originating in the wedding celebration sphere, it emphasizes fresh ingredients and flavors, allowings for the ingredients to shine through. This Strawberries & Cream Naked Cake traces its roots to the classic strawberry shortcake but adds an elegant touch. I remember making this cake with my grandmother, who would always emphasize the importance of using the freshest fruits—something I’ve never forgotten over the years!
Frequently Asked Questions
- What can I substitute for strawberries? You can replace them with raspberries or blueberries for a different flavor.
- How long can I store the cake? The assembled cake can be stored in the refrigerator for up to three days, but it’s best enjoyed fresh!
- What if my cake is too dense? Ensure you’re not overmixing your batter, and make sure your baking powder is fresh—this can impact the texture!
- Can I make this cake vegan? Yes! You can use flax eggs and dairy-free cream to make it suitable for a vegan diet.
Conclusion
This Strawberries & Cream Naked Cake is special because it brings together simple ingredients to create something truly magical. The vibrant strawberries and light cream make each bite a delightful experience. If you’re looking for more delicious recipes, try my Lemon Drizzle Cake or Easy Vanilla Cupcakes for your next celebration.
Thank you for being part of this sweet journey! I hope you find joy in making this cake; it’s truly a labor of love. Until next time, happy baking!
Interactive Elements
I would love to hear from you! Please leave a review or comment below letting me know how your cake turned out. Feel free to share your beautiful dessert pics on Pinterest, and don’t forget to tag me on Instagram!

Emily brings four years of dedicated baking experience and professional pastry-focused training to Moms Meals Daily. She oversees recipe validation and quality control to ensure every dessert performs consistently and reliably.
Strawberries & Cream Naked Cake
By Emily Hart
Ingredients
Instructions
Tools Needed
Save this recipe for later ❤️
Follow @mommealsdaily on Pinterest for easy dinners, desserts, and weekly inspiration.
Victoria Recipe | Easy Desserts & Dessert Recipes
Easy & Delicious Recipes
Follow for quick family-friendly recipes, baking inspiration, and comfort food favorites.
Follow on Pinterest